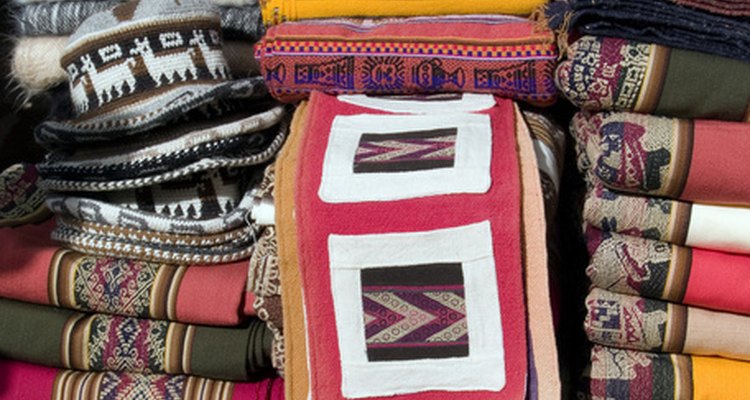
Originating from Mexico, ponchos are pieces of clothing typically made from a warm blanket or a loose knit fleece. Ponchos are available around the world in every color and shape imaginable. Making a no-sew poncho out of fleece is quick and easy; alternatively, choose a piece of fabric and make a stylish poncho with minimal sewing or cutting.
Lay the fabric flat on a large surface or on the floor. Fold the fabric in half, so the edges meet.
Measure the fabric along the center line. Draw a cross where the middle point is. Measure each side of the cross to make sure they are the same. If you want a short poncho, cut each side to the desired length. Medium-length ponchos typically measure 22 inches per side.
Measure straight across the top of the material where the cross is. Draw a line six inches long. Cut along the line to make the hole for the head. Cut a 3-inch slit along the front of the neck hole for the center.
Try the poncho on. If you want it to be shortened, adjust the length; if you want a bigger neck hole or an off-the-shoulder style, make the hole bigger.
Thread the needle. Hem all the way around the edge of the poncho using a hemming stitch to prevent the material from running. Knot the threat and cut it. Hem the neck hole in the same way.
Attach ribbons or buttons to decorate your poncho.
Related Articles
How to Sew a Medieval Cowl

How to Cut Up a Shirt for the Gym
Making a Cummerbund

How to Wear a Scarf to Cover the Ears

How to Cut the Neckline of a Hoodie
How to Sew slippers
How to Tie a Jabot Knot
How to Make a Bridal Cape for a Wedding ...

How to Make Your Own Bulletin Board ...

How to Sew Your Own Tubular Bandana
How to Make Decorative Graduation ...
How to Make a Chapel Veil
How to Make a Jacket From a Sweatshirt

How to Make a Wedding Shawl
Instructions for Sewing Basketball ...
How to Cook Tender Rolled Flank Steaks ...

How to Make a Necktie With Elastic

How to Give a Sweatshirt an ...
How to Make Kilts

How to Sew Elbow Patches on a Knit ...
References
Writer Bio
Roxy Freeman has been writing professionally since 2006. She has written for "The Guardian," "The Daily Mail" and "YOU." She also works as a ghostwriter for authors. Freeman holds a National Certificate Training Journalists award from Brighton Journalist Works and a Bachelor of Arts in European politics from The Open University.
Photo Credits
artesanias image by Norberto Lauria from Fotolia.com