Things You'll Need
Razor
Rubbing alcohol
Cotton balls
Temporary tattoo
Damp sponge
Translucent powder
Finishing spray
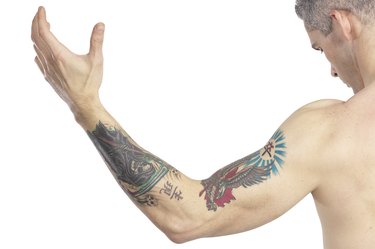
Temporary tattoos are great fun for kids of all ages because they allow you to express yourself in ink without the long term commitment of a real tattoo. Though fun, if your temporary tattoo looks like a fake tattoo, much of the fun in wearing it is gone. Learning to make your temporary tattoo look real will extend its life and make wearing it much more enjoyable. You may even find that others assume that you have gone out and gotten the real thing.
Step 1
Shave the area where you want to apply your temporary tattoo. Nothing looks more like a fake tattoo than painted hair on your arms, legs or other body part.
Video of the Day
Step 2
Clean the shaved area with a bit of rubbing alcohol on a cotton ball. Allow the alcohol to dry completely before proceeding. If the area is not clean, your temporary tattoo will not stick evenly, causing it to look fake.
Step 3
Place the temporary tattoo face-down onto your skin and then place a damp sponge on top. You will need to follow the directions on you temporary tattoo in order to know how long the damp sponge must remain on the tattoo. Usually, 30 seconds to 1 minute is sufficient. Getting the tattoo moist enough is key in evenly releasing it from the backing so that it looks real. Without enough moisture, parts of the tattoo will stick to the backing, causing your tattoo to look like a fashion-don't instead of a fashion-do.
Step 4
Peel off the protective backing on your temporary tattoo. You will need to move slowly in order to ensure that you do not damage the tattoo. If any area is difficult to peel back, press your sponge onto the back of the tattoo once again and wait a little longer before trying to remove the backing. It is better to take your time so that the design is intact. This will make your tattoo look more believable and pleasing to the eye.
Step 5
Dust the area with translucent powder. While you could use baby powder, the powder sold in the cosmetic section usually provides a more matte finish.
Step 6
Spray the temporary tattoo with a finishing spray designed especially for temporary tattoos. Your local party supply or costume shop should carry this specialty spray. Once dried, it well help your tattoo to look more realistic and last longer before cracking or peeling.
Video of the Day