Strike up the band and start the parade. Everyone can join in the fun with their own baton. This craft is perfect for a little girls' sleep over or a fun birthday party. Read on to learn how to make a baton.
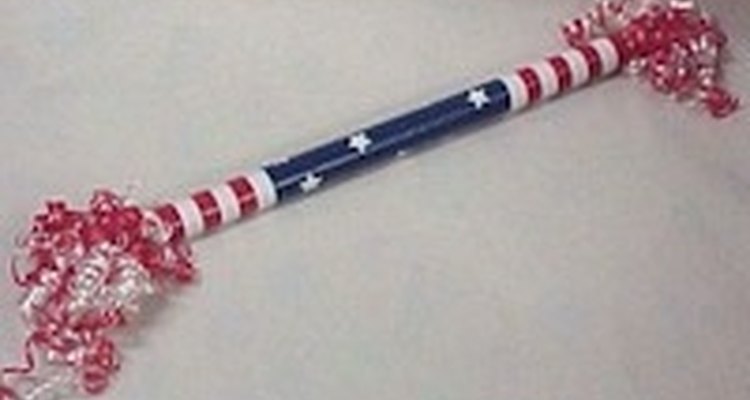
Wrap red tape around the tube at one end.
Wrap a stripe of white tape next to it. Then a stripe of red.
Continue alternating colors until you have about ten stripes. Repeat for other end.
Wrap the remaining area in the middle with blue tape.
Cut 10 pieces red and white curling ribbon about 2 inches long. Curl using the end of a scissor.
Tape or glue inside one end. Repeat for the other end.
Stick on stars in the blue section.
Related Articles

How to Make a Swan Lake Headpiece
How to Determine What Size Perm Rods to ...

How to Make a Helghast Costume

How to Cover a Really Red Scar

Tie-Dye Techniques With Bleach
How to Make a Dew Rag

How to Make a Toga Costume for a Kids' ...

Ideas for Patriotic Day Dress

How to Dye Pantyhose
Nutritional Facts of Mint Chocolate ...

How to Make Renaissance Headpieces
How to Make a Pinata With a Balloon
How to Make Kilt Flashes

How to Put on a Weave Ponytail Using ...
How to Make Decorative Graduation ...

How to Shrink Cotton Shirts
How to Make Toasted Bread Sticks With ...

How to Turn a Regular Collar Into a ...

How to Sew Marine Corps Stripes on ...
How to Dress Like Punky Brewster for ...
Tips
- Make sure to have an adult help while using the scissors.
- You can also mix up the colors and stickers to your own preference.