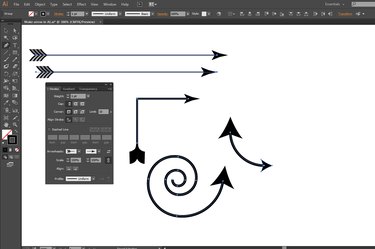
Arrows perform a long list of attention-getting tasks in informational artwork, along with their roles as literal symbols in other types of illustrations. Drawing pointers and "feathers," and aligning them to the path objects that form arrow shafts, becomes a laborious task, especially when a project requires several arrow graphics of differing types and sizes. When you create your artwork in Adobe Illustrator, the program's arrowhead options save you the time and effort involved in crafting your own arrowheads and tails from scratch.
Step 1
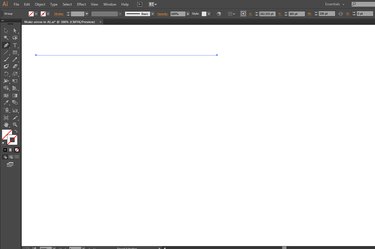
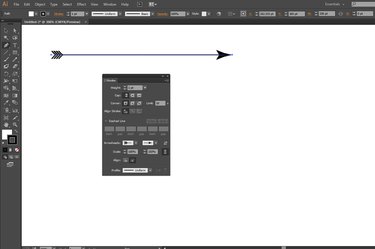
Draw a path object with any Adobe Illustrator tool that produces curved or straight lines, including the Pen, Pencil, Line Segment, Arc and Spiral. You also can create the basis for an arrow out of any open path, including segments from objects you draw with the Rectangle and Ellipse tools.
Video of the Day
Step 2
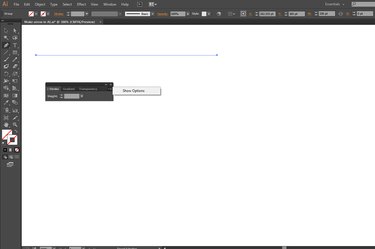
Press "Ctrl-F10" to open the Stroke panel. Open the fly-out menu at the top right corner of the panel and choose "Options" to view all the attributes you can set, including the features that create arrows.
Step 3
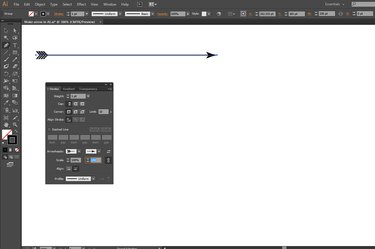
Apply a stroke weight to your path object.
Step 4
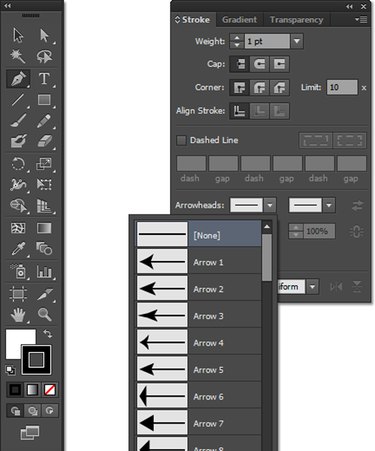
Open the unlabeled arrowhead Start and End drop-down menus in the Stroke panel to choose a style for either or both ends of the path. Adobe Illustrator identifies the start and end of a path based on the direction in which you draw it or the order in which you click on your artboard to create the anchor points that define it. To switch arrowheads relative to the path's start and end, click the unlabeled Swap Start and End Arrowheads icon.
Step 5
Set the scale of each arrowhead -- start and end -- independently in the Stroke panel's Scale fields. The scale percentage maintains a relationship between arrowhead size and the thickness of the stroke weight you apply to a path. To set the scale for one end and apply the same scale to both, click the unlabeled Link Start and End of Arrowhead Scales icon.
Step 6
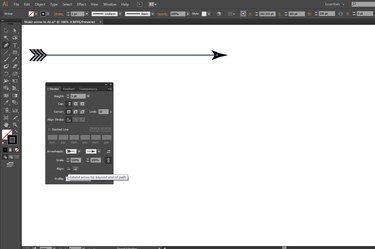
Click on the "Align" icons to establish how each arrowhead positions itself relative to the end of the path on which it appears. An arrowhead either becomes part of the overall length of the path, or attaches to the end of the path and extends the length.
Video of the Day