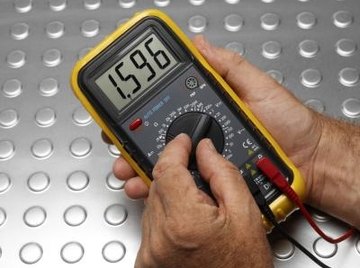
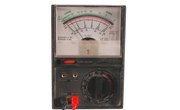
In any given circuit, it is paramount to measure AC or DC voltages, current and resistance within the circuit. You can employ different electrical equipment to handle each of the parameters mentioned. However, a single instrument can perform all three tasks, acting as a voltmeter, ammeter and an ohmmeter. This instrument is known as a multimeter and has a switch that makes it possible to change the parameter being measured. There are two types of multimeters -- analogue and digital -- and the instructions for use are the same for both.
Never rotate the dial of the multimeter while it is still connected to the circuit as doing so may damage the instrument.
Loosen the probes on the multimeter and connect the terminals of the multimeter to the circuit in correct order. The positive terminal has the red color while the negative one is black. The positive end of the circuit goes to the positive end of the multimeter and the negative end of the circuit goes to the multimeter's negative end.
Set the switch of the multimeter to resistance mode. An icon having a horseshoe magnet shape represents this. Check the display screen on the multimeter and jot down the resistance in units of ohms.
Set the multimeter to VDC mode to start measuring DC voltage on the circuit. Lead the wire from the negative terminal to ground and the positive one to the point where you are checking the voltage. The reading on the display screen denotes the voltage passing through the circuit at that particular point. Check ADC voltage by setting the switch to the ADC mode.
Set the multimeter to the AC or DC modes to begin measuring current. Also set the negative wire to ground and the positive to the point where you are measuring the current. Observe the display to obtain the current in amperes.
Warnings
References
Warnings
- Never rotate the dial of the multimeter while it is still connected to the circuit as doing so may damage the instrument.
About the Author
Nelson Reed started writing professionally in 2007. He has contributed to several publications including "The Daily Mirror." Reed holds a Bachelor of Arts in mass media and journalism from Winchester, University, England. He also holds a master's degree in international media relations from City University, London.
Photo Credits
Polka Dot Images/Polka Dot/Getty Images