
Wilson Glove Relacing Instructions
In the course of heavy use, most baseball gloves will snap a lace or two eventually. But the repair kits and relacing services offered by most companies are more expensive and more involved than you need. If your glove is in need of repair, these easy steps can help you get it back in tip-top condition yourself.
How to relace a Wilson glove
Examine your glove thoroughly to identify your glove's problem areas. The most common problems with baseball gloves arise when the leather dries out and becomes brittle. Sometimes the lacing of a dried-out or long-used glove can snap.
Isolate the tear or tears in the lacing by tracing each broken lace to its end point, where it will be knotted. Then unlace the broken rawhide completely from your glove.
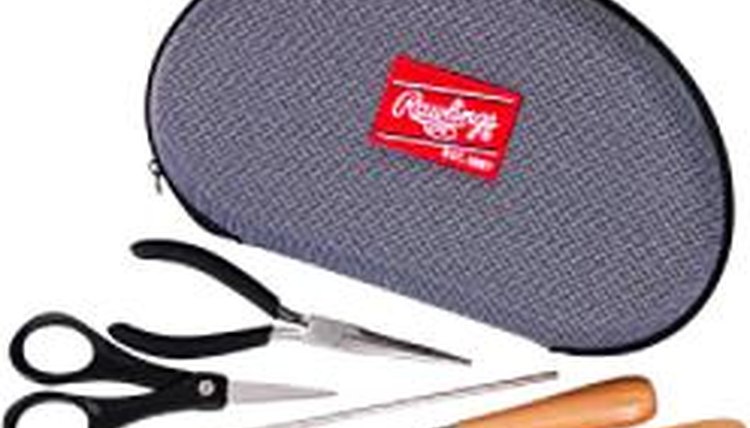
Restring the glove with your new replacement rawhide laces, using the awl with the eyelet to draw the strap through the narrow holes in the leather of the glove. Be sure to relace your glove in the same pattern in which you unlaced it. Tie off the ends with a knot to ensure that the new lacing cannot slide out.
Lubricate your glove to ensure that the leather is supple, especially the new lacing you have just installed. Many companies sell special cream for baseball gloves, including Louisville Slugger and Kelley. Alternative household lubricants, such as shaving cream or petroleum jelly, will do the job in a pinch, but the best choice is usually a specially designed and produced glove lubricant.
Perform regular maintenance on your glove. Lubricate it regularly, and play with it regularly if you can. A well-broken in and supple glove is much less likely to have more problems in the future.
Writer Bio
Joe White has been writing since 2007. His work has appeared in various online publications, such as eHow and Insure.com. He graduated from the University of Dallas with a Bachelor of Arts in English.