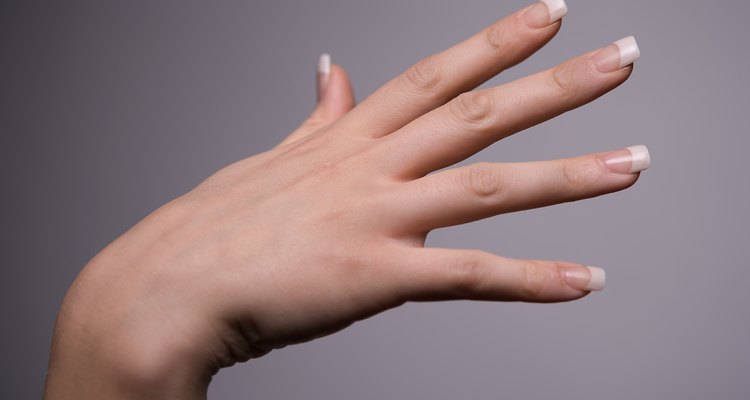
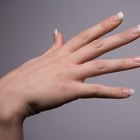
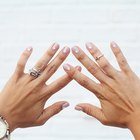
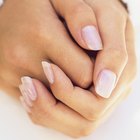
Taking its name from the chic style of Paris, the French-tip manicure remains a fixture in nail salons today. Achieving this classic look requires steadiness and the right tools to get a neatly groomed result. A “tip and dip” manicure allows you to give yourself a French manicure at home in a short amount of time. This simplified dipping method will give you neat, sophisticated nails without having to visit a salon or pay for an expensive manicure.
Preparing Nails
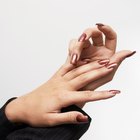
Trim your nails so that they’re all the same length and similarly shaped. Push back your cuticles with a cuticle stick to make the edges of your nails look smooth. Buff your nail carefully to bring out their natural shine without weakening the nail.
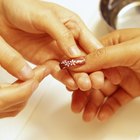
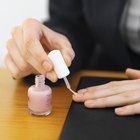
Squeeze a drop of nail glue to the area where the acrylic nail tip overlaps the natural nail. Spread the glue across the area using a nail glue brush. Place the glued edge of the acrylic nail against the tip of your nail and hold the tip in place until it adheres.
Add extra glue along the border where the tips meet to fill any air pockets. Use a buffing tool to smooth down the seam line of the nail tip, and remove extra glue.
Dipping Nails
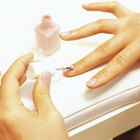
Brush nail glue across your entire nail, including the artificial tip. Dip your entire nail into the container of dipping powder. Keep your nail in the powder for about 10 seconds, so that the nail gets completely covered.
Take the nail out of the powder and wait 30 seconds before using a nailbrush to remove excess powder from the nail. If you need another coat of acrylic, repeat the gluing and dipping process. Brush a coat of glue over the layer of acrylic. Spray the nail with an activating spray to set the acrylic powder.
Let your finished nails set for two minutes until completely dry and hardened. File, buff and shine your nails with a multi-sided buffing tool to finish your manicure.
Related Articles
How to Use a Nailene Acrylic Sculpture ...
How to Get Natural-Looking Acrylic Nails
How to Remove Nail Tips
How to Get a Smooth Surface When ...
How to Put an Acrylic Nail Back on ...

How to Fill in Nails

How to Round Your Nails
How to Apply Nail Polish Without Streaks
How to Do Two-Tone Nails
How to Get Nail Stickers to Stick Well
How to Apply Acrylic Over Polished Nails
How to Get Shiny Acrylic Nails at Home
How Long Can I Wear My Acrylic Nail ...
How to Look Like You Have Long Eyelashes
How to Use Sanding Blocks for Nails
What Is SolarOil?
How to Get Acrylic Nails Off at Home ...
How to Soak Acrylic Nails off in Nail ...

How to Fix a Crease in Nail Polish

How to Mix Two Nail Polishes
References
Writer Bio
Michelle Gordon has been writing professionally since 2004. Gordon has written advertising copy for clients such as Nestle, Safeway, BB&T and Hanes. She holds a Master of Science in advertising from Virginia Commonwealth University.
Photo Credits
Jupiterimages/Photos.com/Getty Images