Whether it's for a family reunion or a work function, creating a meal for 50 people doesn't have to empty your wallet. Avoid the classic mass meal offerings of individual pieces of meat with a variety of side dishes and concentrate on filling foods with less expensive ingredients. Cheap food can still mean a tasty meal, no matter how many guests you're expecting.
Video of the Day
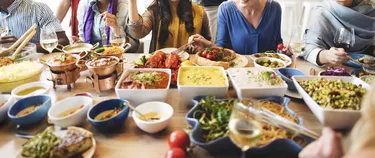
Cooking for 50
When cooking for a large group out of your home or church kitchen, it is important to keep the food at the correct temperature for the food to be deemed safe to eat. The United States Department of Agriculture (USDA) guidelines recommend all cooked foods be kept at a temperature of 140 degrees Fahrenheit or higher and all cold foods be kept at 40 degrees Fahrenheit or colder. This can be accomplished by setting up a buffet table and using food warmers, crock pots, soup kettles and rethermalizers. Insulated food and drink trays that have ice on the bottom would work well for the cold foods.
Video of the Day
Classic Pasta Bar
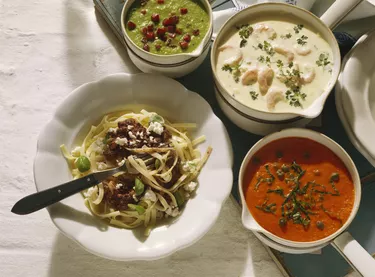
Set up a pasta bar and let guests create their own dishes. Boil four kinds of pasta, from fettuccine to bow tie noodles. Heat up large jars of marinara sauce and a creamy pasta sauce. Fill bowls with ground meat or meatballs, chopped peppers, onions and broccoli and sliced chicken. Set out bowls of Italian spices and Parmesan cheese, and finish the table with hot garlic bread and a green salad.
Breakfast
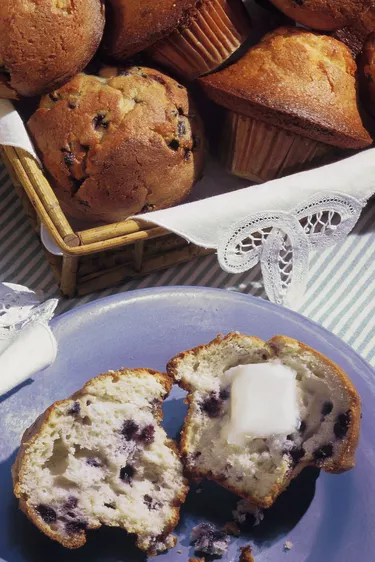
Hold your get-together in the morning or serve your breakfast in the evening. Scramble a gallon or two of powdered eggs or egg substitute. Cook sausage links or patties, as well as some vegetarian sausage pieces. Offer peppers, onions and cheese to mix with the eggs. Bake two kinds of muffins and round out the meal with coffee, tea and juice.
Chili for a Crowd
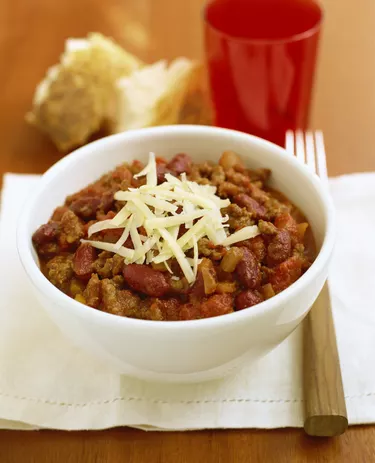
Multiply your favorite chili recipe to make 75 servings, as many people will go back for seconds. Make cornbread muffins, both sweet and savory. Heap a serving tray with carrot and celery sticks and place bowls of grated cheddar cheese and sour cream near the chili pot.
Taco Bar
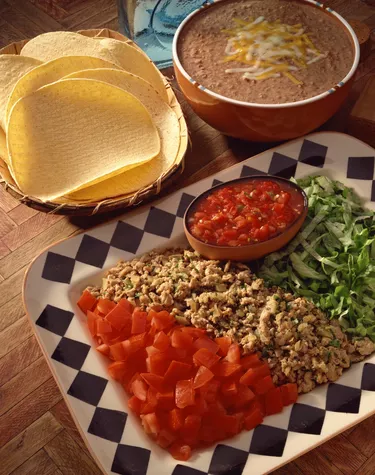
Create a Mexican feast for a crowd by browning 25 lbs. of ground beef and seasoning it with taco seasoning. Heat stacks of tortillas and keep them warm in crock pots. Set out taco filling items like shredded lettuce and cheese, chopped tomatoes and onions, and salsa. Mix rice, black beans and salsa for a quick and easy side dish, and add bowls of taco chips for a crunchy addition.