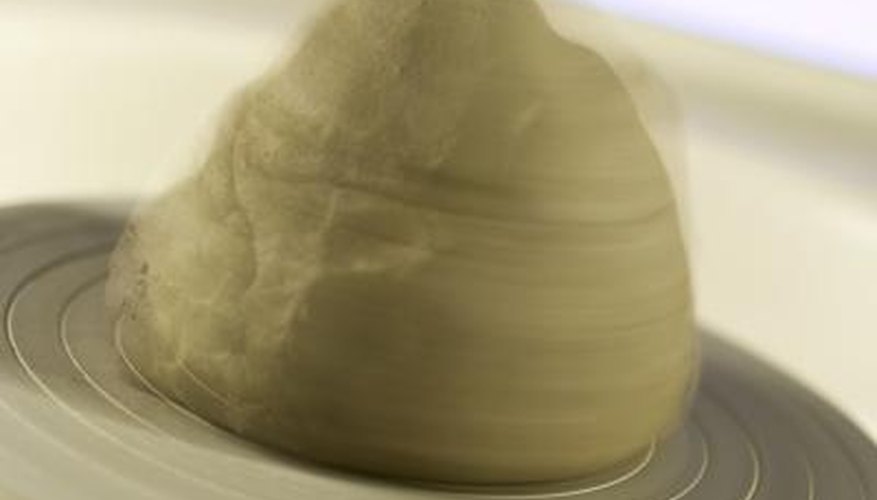
Making Viking pottery is possible, although it may not be made of the same material used by the actual Vikings. Vikings used clay that was accessible close to the surface of the ground in the areas they inhabited. They processed the raw clay by filtering out rocks, then kneading it. The clay was then formed using various methods and cured in a wood-fired kiln. Viking pottery was made using forms, coils and the wheel. A small bowl is easy to make in a few steps without the need for a potter's wheel.
Knead the earthenware clay on a table. Make sure it has an even consistency, which will help you to form it. Form a ball about the size of a tennis ball. Place it on the table and press into the centre to form the bottom of the bowl. Form it a little smaller than you want the diameter of the top of the bowl.
- Making Viking pottery is possible, although it may not be made of the same material used by the actual Vikings.
- Place it on the table and press into the centre to form the bottom of the bowl.
Mix some clay with water in a separate bowl, and create a slurry to use as a binding material. Use a small amount of clay, about the size of a small finger. Break it into little pieces and mix with about a cup of water. Keep mixing it until all the clay is dissolved in the water.
- Mix some clay with water in a separate bowl, and create a slurry to use as a binding material.
- Use a small amount of clay, about the size of a small finger.
Roll out long coils less than an inch thick. Apply the slurry with a brush on any connecting surfaces. Place the coil around the perimeter of the formed base. Push down the clay on the edges to overlap the layers as you continue adding more coils in a circle, layering one on top of the other.
Connect the seams with your fingers to secure the coils into place. Keep the walls even. Let the clay dry enough as you work so that the walls will not distort or fall down.
Build up the walls of the bowl and flare the shape lightly as you reach the middle. Curve the walls in again near the top for a typical Viking pot. Flare the rim just above the area that curves in to complete the shape of the pot. Use a wooden scraper to smooth the surface of the pot on the inside and the exterior. Use a wet sponge to finish the surface.
- Connect the seams with your fingers to secure the coils into place.
- Use a wooden scraper to smooth the surface of the pot on the inside and the exterior.
Create a decorative band with Viking patterns using a knife. Use your reference image to fine-tune the band. Keep detailing until it looks authentic, as it is the main decorative feature of the bowl. Clean your lines with a wet sponge and smooth the rim of the pot.
- Create a decorative band with Viking patterns using a knife.
- Use your reference image to fine-tune the band.
Let dry for several days before firing. Use a wood-fired kiln to create an authentic finish or use brown or black stains and fire using an electric or gas kiln. Refer to the manufacturer's directions regarding the required temperature for curing.