Things You'll Need
Pencil
Pen
Colored pencils (optional)
Paper
Markers (optional)
Patterned paper (optional)
Glue stick (optional)

Neckties can be extremely expressive. We see them every day, and even though neckties are simple to draw, a bit of reference helps. There are many different types of neckties that can be drawn to reflect different personalities and styles; this article will cover the basic shapes. Be creative with your patterns and colors.
Step 1
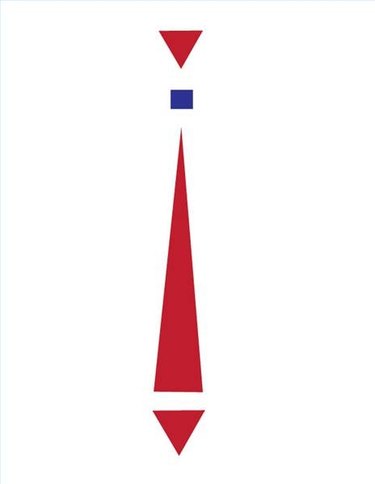
Start by separating the basic shapes visually before drawing. The basic necktie is made up mostly of triangles and one small square shape.
Video of the Day
Step 2

Draw the top knot of the tie. The basic shapes are a triangle inside of a square base.
Step 3
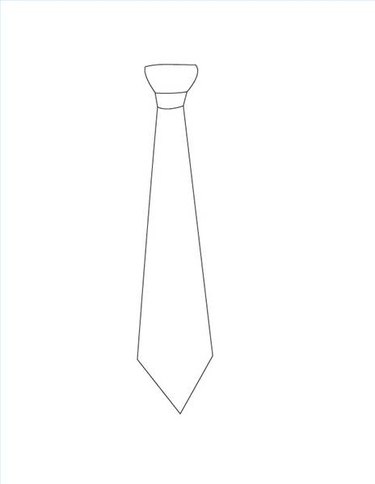
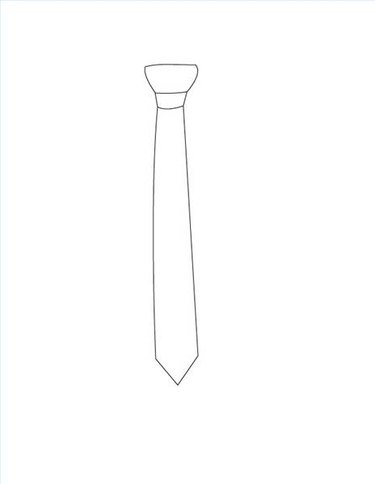
Add the long tie shape, which is made of two trianges, one long shape and one short shape to make the end.
Step 4
Make a skinny tie by creating a long rectangle with a small triangle at the end.
Step 5
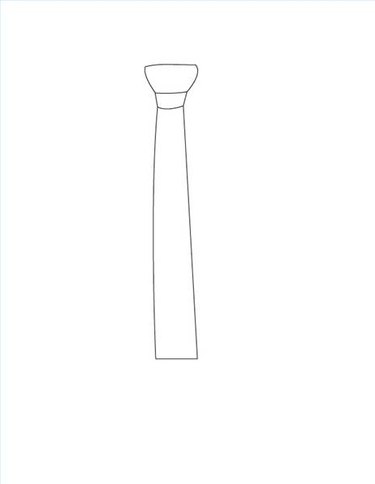
Make a rectangular tie by omitting the smaller triangle point at the end.
Step 6
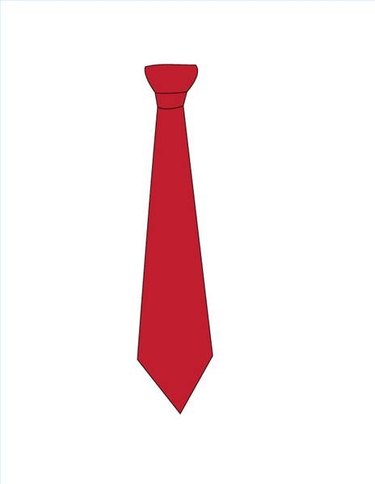
The tie shown has an allover basic color.
Step 7
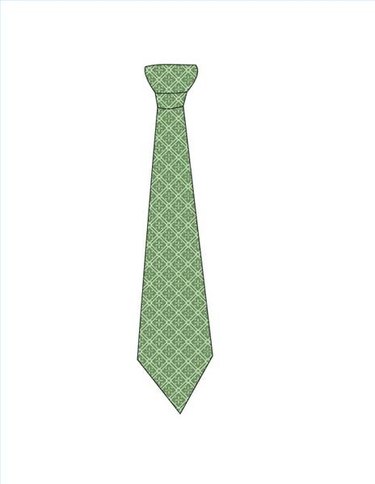
Draw in patterns or cut out patterned paper and paste it onto your drawing for more elaborate effects.
Step 8
Erase any excess pencil lines, unless you like the effect.
Tip
A great way to create a tie effect for a drawing is cutting out fabric in the basic shapes and pasting them on paper.
Video of the Day