Things You'll Need
Fabric square
Pencil
Measuring tape or ruler
Scissors
Hand sewing needle and thread
Lace (optional)
Large needlepoint needle
Narrow ribbon, cord or yarn
Mob caps were popular with women for centuries, which means they are also a popular accessory for many period costumes ranging from medieval times through the American colonial era and up to the Civil War. At its most basic, a homemade mob cap is a circle of fabric with a string or ribbon threaded near the edge to gather it and make it the right size for the wearer's head. More elaborate versions may use ovals instead of circles and be adorned with lace and ribbons. For those making a mob cap at the last minute, simple is best.
Step 1
Select a piece of fabric at least 18 inches wide and 18 inches long.
Video of the Day
Step 2
Find the center of the square by folding it in half from side to side and top to bottom. Make a small mark at the center with a pencil and unfold the fabric.
Step 3
Mark a spot 9 inches from the center with the measuring tape and pencil. Then, keeping the measuring tape at the center mark, continue to make marks 9 inches from the center every 1/2 inch until there is a series of marks forming a circle.
Step 4
Cut out the circle, being careful to cut a smooth line if the mob cap won't be hemmed.
Step 5
Make another series of light pencil marks 2 inches from the edge and spaced 1/2-inch apart to use as a guide when gathering the mob cap.
Step 6
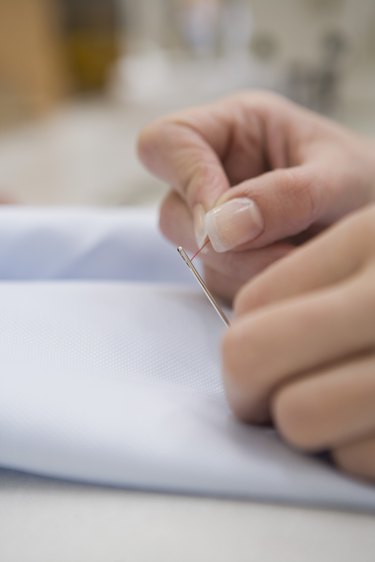
Hand-finish the edge of the mob cap with a sewing needle and thread. Hand-stitch the lace around the edge of the circle of fabric for a fancier look or turn the edge under 1/4 inch and hem for a plain look. Leave the edge raw if time is short.
Step 7

Measure and cut a 36-inch-long piece of ribbon, cord or yarn and thread into the large needlepoint needle. Use the pencil marks made 2 inches from the edge as a guide and hand-sew a circle with 1/2-inch stitches, leaving at least 6 inches of ribbon, cord or yarn at each end.
Step 8
Place the mob cap on the wearer's head and gather by slowly pulling on both ends of the ribbon or cord while holding the cap in place until the cap fits comfortably. Tie the ribbon or cord in a bow, trimming the ends so they are even. Remove the cap and adjust the gathers so they are evenly distributed and the cap is ready to wear.
Tip
Make the inner circle marks and stitches every 1/4 inch for a more gathered look. Use a sewing machine to sew the outer edge hem or lace trim to finish quickly. Cut the outer circle 1 or 2 inches larger in diameter for a puffier mob cap.
Warning
Supervise children who use scissors and needles.
Video of the Day