
How to Build a Lifeguard Beach Chair
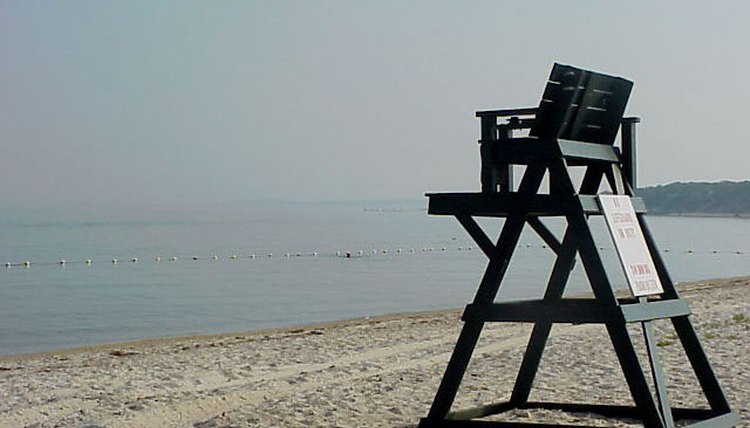
Everyone enjoys a refreshing swim on a hot summer afternoon, and it's even more enjoyable when you know there is someone looking after you and your family while you are enjoying yourselves. A lifeguard is important for everyone's safety and peace of mind, and you can make the job easier and more enjoyable by building a lifeguard beach chair. A lifeguard beach chair gives the user a better view of the beach or pool, and offers the reassurance of greater visibility to swimmers.
The Base
Before you begin work on your lifeguard beach chair, you need to determine what size chair will suit your situation. If you will be using the chair at a small pool for example, a seat height of 36 inches may be sufficient to afford a view of the entire swimming area. For chairs that will be used on a lake or beach, a taller seat height of 72 inches or more may be required to ensure that the lifeguard can see everyone in the water. For our example, we will be building a shorter 36-inch chair; simply add the appropriate length to these instructions to reach your desired height.
The seat of our chair is 20 inches deep and 24 inches wide. Measure and cut one of your 2x4's into two 18-inch lengths and two 24-inch lengths.
Screw these pieces into a rectangle with the longer boards on the outside of the shorter pieces. The longer 3-inch screws are preferable for this job.
Measure and cut four 36-inch lengths of 2x4's. Screw these pieces into the inside of the seat at each corner of the short side. The boards should be at approximately an 80-degree angle, making the bottom of the base wider than the top for stability.
Measure the distance between legs at ground height and cut additional lengths of 2x4's to reach from leg to leg around the outside of the base. Screw these pieces into the legs, creating a similar rectangular frame as the one that is used around the seat. The base should now be freestanding.
Cut an additional 24-inch piece of 2x4 and screw it into the legs on the front of the base, approximately halfway up. This board will serve as a step to climb into the seat, as well as a footrest when in the seat.
The Seat
Cut your 1x4 into four or five 24-inch lengths. These boards will be screwed into the top of the base, forming the platform your lifeguard sits upon. Your 1 1/4-inch screws should be enough to do the job here.
To form the back of your lifeguard beach chair, cut seven 24-inch lengths out of your 1x4's. Arrange six of the boards side by side and lay the seventh across them approximately 10 inches from one end.
Using your 3-inch screws again, screw the backrest onto the back of the seat, making sure the board holding them together is on the back and toward the seat, not the top of the backrest.
Cut your 1x4's into four 14-inch lengths, two 24-inch lengths and two 26-inch lengths. Attach the 14-inch boards to the sides of the chair in the front and back corners. Each should extend vertically 10 inches up from the seat, leaving 4 inches that can be screwed into the base. Screw the two pieces at the back of the seat to the backrest support.
Connect the 14-inch pieces you have just added on each side by screwing a 24-inch length between them from front to back, attaching them to the outside to create your armrests.
Cut out a 2-by-2-inch section from the corner of the 26-inch boards. Tthis will allow you to place them across the top of the armrests you have constructed and extend back past your backrest to create a wider and more stable armrest.
To add durability and protect your chair from the elements, you can now paint or seal it.
Writer Bio
Matt Allex lives in Minneapolis, Minnesota. In addition to writing, he scratches his creative itch by performing improv comedy, acting at the Minnesota Renaissance Festival. He also pursues interests in skepticism, science, horror films, and comic books.