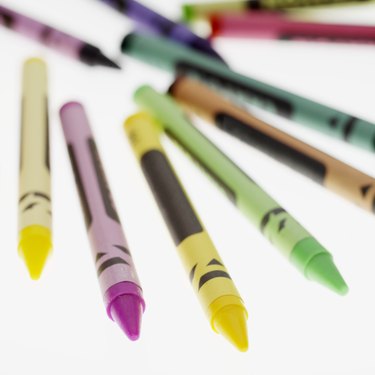
Instead of throwing out all of those crayon pieces from your child's toy box, melt them in a microwave and form the wax into different shapes. Once finished, your child will enjoy using his re-purposed crayons to create unique masterpieces to display in your home. Be careful when handling melted wax, which can burn the skin very quickly upon contact, and avoid overheating the crayon pieces or the wax could splatter inside of the microwave.
Gather Materials
Video of the Day
Here is what you'll need to melt your crayons:
Video of the Day
- Glass or disposable microwave-safe container
- Spoon
- Cooking spray
- Soap molds or muffin tray
- Waxed paper
Prepare the Crayons
Collect all of the crayon pieces you want to melt. Remove all the paper wrappings from the crayons and organize them by color, placing all of the green shades together, the red shade together and so on. This will prevent the melted crayons from mixing together and turning into one large mass of brown wax.
Microwave the Crayons
Place each color set of crayon pieces into a microwave-safe vessel to use for melting, like a glass bowl or disposable microwave-safe container. Using a disposable container allows for an easier cleanup. Set the microwave to the high-heat setting and place one of the containers filled with crayon pieces on the center of the turntable in the microwave. Heat the crayons for about three minutes, stopping the microwave to stir the crayon wax with a spoon at every one-minute interval. Repeat to melt each container of crayon wax.
Reform the Crayon Wax
Spray soap molds or a muffin tray with a light coating of cooking spray, which will enable you to pop out the new crayon shapes easily once they cool. Pour the melted wax directly into the soap molds or muffin cups. You can pour in only one color, a combination of two colors or even all of the colors into the molds to create a rainbow crayon. Let the wax cool completely.
To remove the new crayons, lay out a towel or sheet of waxed paper and turn the soap molds or the muffin tray upside down on top of it. The crayons will pop right out. Store your crayons in a plastic baggie or storage container.