Compressing or shrinking a digital image can mean two different things, though both go hand in hand. One use of the term refers to decreasing the dimensions of an image so that it fits better on a website, in a document or as a profile image online. The other meaning describes decreasing the image's file size, which helps images load faster online. Microsoft Paint doesn't provide detailed compression settings for tweaking file size the way Adobe Photoshop does, but by reducing an image's dimensions, cropping the image or resaving it as a JPG, you also lower the file size.
Step 1
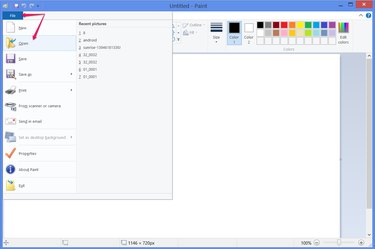
Open Paint -- search for "Paint" on the Windows 8 Start screen or Windows 7 Start menu -- and load an image by clicking "File" and "Open." On Windows 7, the File menu displays a menu icon instead of the word "File."
Video of the Day
Step 2
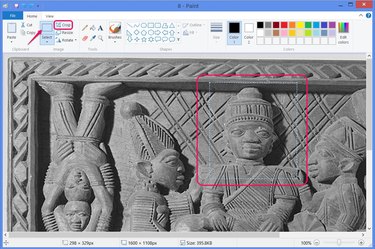
Pick the "Select" tool from the Home tab and drag a box on the image to select a portion for cropping, if desired. Press "Crop" to cut the image down to the selection.
Step 3
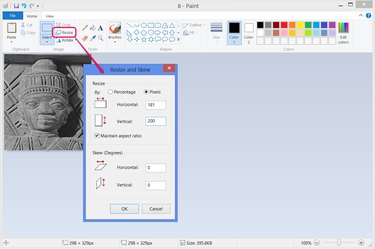
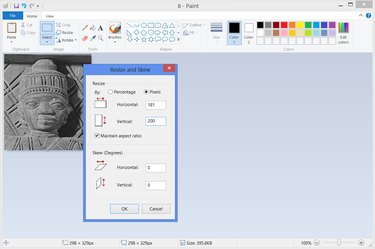
Click "Resize" to lower the entire image's resolution by shrinking its dimensions. Choose "Pixels" if you know the exact size you want, or enter a percentage. In most cases, you should leave "Maintain Aspect Ratio" turned on to avoid a distorted image. Enter either the horizontal or vertical size, and Paint calculates the other dimension automatically. Press "OK."
If a website asks you for an image of a specific size, but provides only a single dimension value -- e.g., "Please reduce images to 1,000 pixels" -- enter that value for the larger dimension.
Step 4
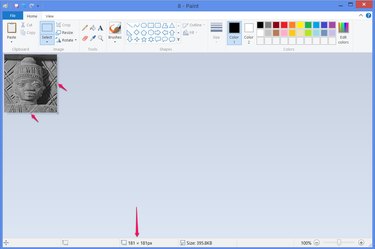
Drag the handles around the image to make minor adjustments to the image's cropping, such as to make an image into a perfect square. As you drag, watch the resolution at the bottom of the window to know where to stop.
Always drag inward on an image from its longer side when making a square. If you drag a handle outward, you end up with extra white space.
Step 5
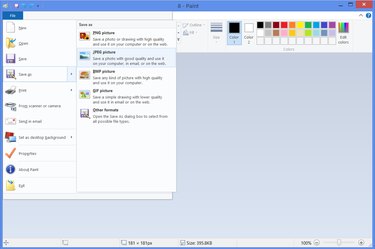
Open the "File" menu, point to "Save As" and pick "JPEG Picture" to save the image without overwriting the original. JPEG images don't look quite as good as PNG images, but JPEG files are usually far smaller, making them ideal for online use.
The only time you should choose "PNG Picture" when trying to compress an image is if your image consists of simple line art or text. In these cases, PNG looks notably better and can even provide a smaller file. PNG files are also better for interim saves, as you lose some quality every time you save as JPEG.
Video of the Day
- Microsoft Windows: Crop a Picture Using Paint
- Microsoft Windows: Resize a Picture Using Paint
- Twitter Help Center: Customizing Your Profile
- Facebook Help Center: What Are the Dimensions of My Page's Profile Picture and Cover Photo?
- PCMag: Loss of Clarity in JPEG Images
- Microsoft Windows: Using Paint