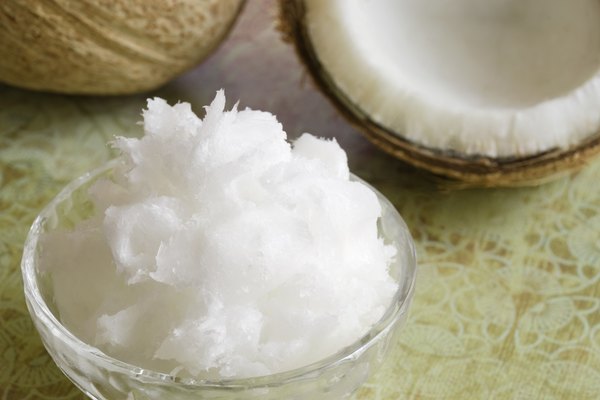
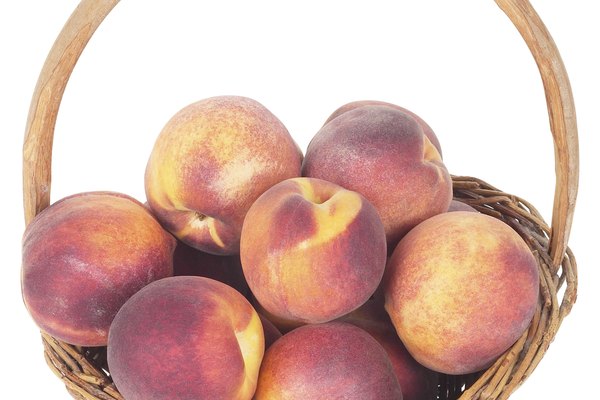
How Does Coconut Oil Help With Weight Loss? A close-up of coconut oil. Nutrition What Foods Can Be Eaten When Prepping for the Colonoscopy Test Procedure? Nutrition The Effects of Too Many Antioxidants Quick Links Weather Traffic Investigations Comics Puzzles Advertise with us Newsletters E-Newspaper Got a tip? Call For Action List of Foods Containing Wheat Nutrition How to Start a Calorie Shifting Plan - Lose Weight for Real Nutrition List of Hypoallergenic Foods Nutrition What Is the White Stuff on a Peach Pit? Nutrition The Health Benefits of Cream of Wheat Vs. Oatmeal Cereal Nutrition How to Substitute Spinach Nutrition What Are Blanched vs. Unblanched Almonds? Nutrition Foods to Break a Fast Nutrition Trending Underactive Thyroid Symptoms What Does Vitamin D Do for You? What Is the White Stuff on a Peach Pit? The Health Benefits of Cream of Wheat Vs. Oatmeal Cereal How to Substitute Spinach What Are Blanched vs. Unblanched Almonds? Foods to Break a Fast