Things You'll Need
Aluminum or diamond plate sheet
Circular saw
Sheet metal brake
Compass
Power drill
¾-inch spade bit
¾-inch-diameter steel pipe
1-by-8-inch oak lumber
Silicone adhesive
Phillips screwdriver
Wood screws
Hacksaw
Mill file
120-grit sandpaper
Wood paint or stain
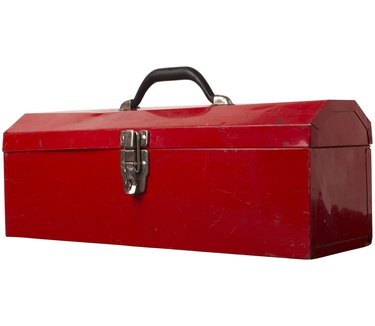
A metal toolbox is a strong, sturdy way to hold all of your tools. Making a toolbox out of metal is an easy project that is great for beginners looking to get into metalworking. This project can be completed in under an hour with a few common power tools and a few simple materials that can be found at any hardware or home improvement store. As always, if children are interested in making this toolbox, adult supervision is required.
Step 1
Cut a piece of aluminum measuring 20 by 24 inches. For a straight cut, use a circular saw with a metal cutting blade.
Video of the Day
Step 2
Bend the metal to make the bottom and sides of the toolbox. Measure 6 inches from each end and bend the metal 90 degrees using a sheet metal brake. This will create two 6-inch sides and an 8-inch metal bottom.
Step 3
Cut two pieces of 1-by-8-inch oak to roughly 12 inches in length. These boards will form the ends of the toolbox.
Step 4
Round the top of the wood boards. Use a compass to mark the rounded top, and use a jigsaw to cut.
Step 5
Bore a hole for the toolbox handle. Using a power drill equipped with a ¾-inch spade bit, drill a hole in the center of the boards, 1 inch from the top.
Step 6
Apply a thin bead of silicone adhesive along the bottom inside edges of the metal. Insert the wood ends, gluing them to the metal to make the box.
Step 7
To reinforce the toolbox, screw the metal to the wood using wood screws. Use two screws for each side and two screw of the bottom on both ends of the toolbox.
Step 8
Use a hacksaw to cut the metal pipe to 24 inches. Insert the pipe through the two holes drilled in the wooden ends. This will form the handle.
Step 9
Sand the wood using 120-grit sandpaper and file the edges of the metal with a mill file.
Step 10
Stain or paint the wood ends to finish the toolbox. Let it dry overnight before using.
Video of the Day