
What do elves wear on their feet? Felt shoes, of course. This holiday season, you can make your own adorable elf shoes for Christmas using that material, plus a few other supplies that you can pick up at any craft store. Elf shoes don't even need to be part of an entire Santa elf costume. These DIY Christmas elf shoes are perfect for wearing around the house and keeping you nice and cozy.
They are fun to wear throughout the entire holiday season, and they can be really festive at Christmas parties. You can find downloadable elf shoe patterns online, but this tutorial project is fairly straightforward. You can also try drawing the elf slippers pattern yourself.
Video of the Day
Video of the Day
Things You'll Need
Tape measure
Paper
Pencil
Fabric scissors
Green or red felt
Pins
Needle
Thread
Puffy fabric paint
Wool for filling
Jingle bells
How to make felt elf shoes
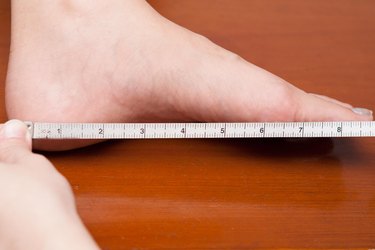
1. Measure the foot length
Measure the length of the wearer's foot. Measure from the back of the heel to the tip of the big toe with a tape measure and add 2 inches to that figure for your elf boots.
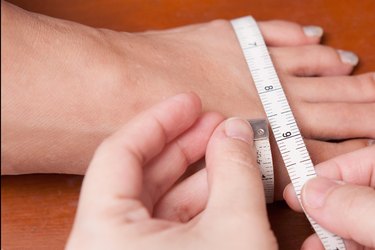
2. Measure the foot width
Then, measure the widest part of the foot (usually below the toes), divide that in half and add 2 inches.
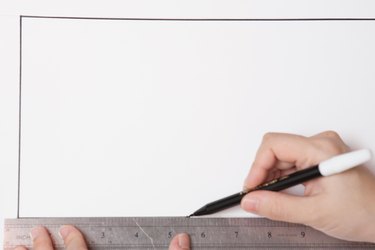
3. Draw a rectangle
Using these two numbers, sketch a rectangle in the middle of a long piece of paper. The length of the foot is the vertical part, and the width is the horizontal part of the rectangle.
Tip
Any type of paper will do here, but using graph paper makes creating the template even easier.
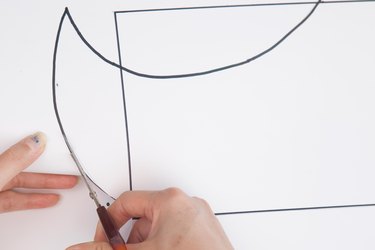
4. Draw the elf shoe shape
Now, draw the elf shoe from a side view around the rectangle. Make the curved-up part on one end, taking care not to place the curved part inside the rectangle. The part covering the ankle will be on the opposite side of the rectangle, and it should also come out of the box. If you draw the elf shoe in the rectangle, it will be too small for the intended feet.

5. Cut out the pattern
Cut out the DIY elf shoe pattern four separate times. Place these sewing patterns on a large piece of felt. This will be used to make two felt shoes. Pin on the patterns and cut out the material. Cut slowly to avoid tearing the fabric.
Tip
Any sharp scissors will work, but a good pair of fabric scissors are best.
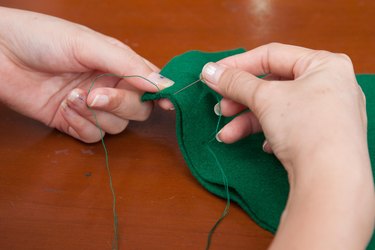
6. Pin the felt together
Now, pin two of the felt pattern pieces together, starting at the front of the shoe to keep everything even. Using matching thread, stitch two patterns with your sewing machine, allowing a 1/2-inch seam all the way around. You cannot sew the top part together, of course, because that needs to stay open so the shoes can be put on and taken off. Repeat by stitching together the second pair of felt pieces that you cut out.
7. Try on the shoes
Have your elf try on the shoes. Do this one shoe at a time, trying on the Christmas elf shoes as you go.
Tip
If they are too big for your shoe size, stitch another seam inside the first one, about another 1/4 to 1/2 inch.

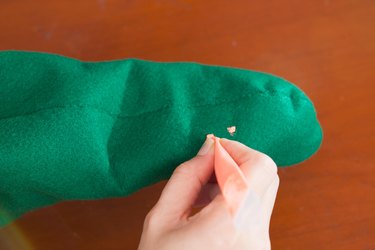
8. Finish the project
Turn the felt shoes inside-out to hide the seams and check again to ensure that they fit properly. You may want to consider stuffing the ends with wool filling to keep their shape. This filling will also make your elf-like shoes warmer for those cool winter nights.
9. Personalization
You can decorate them with puffy paint if you like, and personalization is nice, too. You can write the wearer's name on the shoes followed by the word "elf." For final touches, sew a band around the top of the shoes and sew jingle bells to the curved tips.