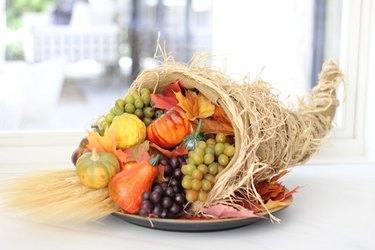
Nothing says fall celebrations like a cornucopia overflowing with autumn produce and botanicals. A cornucopia, or horn of plenty, represents abundance, prosperity and, most of all, gratitude and thanksgiving. This makes it a traditional part of Thanksgiving decor and a part of many Thanksgiving dinner table settings.
But don't limit the Thanksgiving cornucopia to just the holiday. You can enjoy it as a fall centerpiece throughout the season. Whether you use fresh or artificial elements, decorating a cornucopia centerpiece is easy—you just have to take advantage of an easy DIY trick to hold everything together, even as elements like wheat stalks, fall leaves and grapevines appear to cascade out of the cornucopia.
Video of the Day
Video of the Day
Things You'll Need
Cornucopia
Large platter
Real or artificial autumn leaves
Raffia
Wheat stalks
Assortment of gourds and pumpkins
Fake grapes
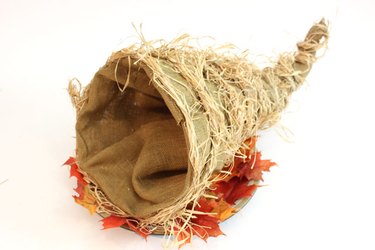
Start with a cornucopia

You can purchase a cornucopia at a store or on Amazon, but it is easy to make your own from chicken wire and burlap. An added bonus to DIY cornucopia decorations is that you can make one that is larger than the ones typically available in stores. The cornucopia used in this example is about 24 inches long. Choose a cornucopia that is a suitable size for your dining table decor.
Cover the platter
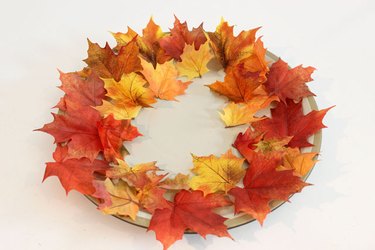
Cover a large platter that is at least 14 inches with real or artificial autumn leaves. Instead of a platter, you can use a wood cutting board or a sheet pan.
Place the cornucopia in the middle of the platter. Arranging the cornucopia centerpiece on a platter allows you to move the cornucopia easily without disrupting the contents of the arrangement.
Fill the back of the cornucopia basket
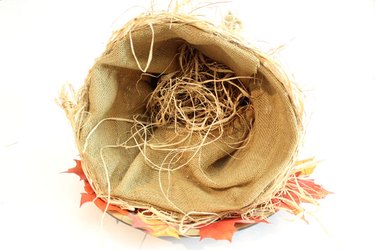
Stuff the back of the cornucopia with enough raffia so that the tapered section of the cornucopia is completely filled. You will need about two handfuls of raffia, depending on the size of your cornucopia.
Arrange the wheat stalks
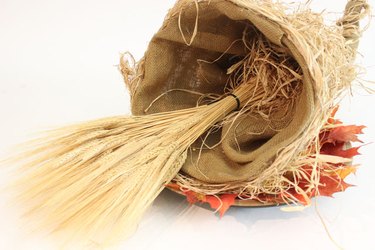
Place a bunch of approximately 20 wheat stalks in the cornucopia, allowing the stalks to extend past the opening. The stems of the wheat stalks should rest against the raffia. You can find wheat stalks in the dried flower arrangement aisle of the crafts store. During the fall, they are also available at supermarkets and farmers' markets.
Place the pumpkin
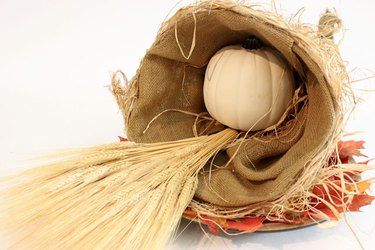
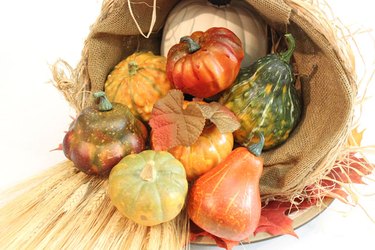
Insert a small pumpkin—between 6 and 8 inches tall—in the back of the cornucopia, against the raffia and on top of the wheat stalk stems. Use either a real or artificial pumpkin. Placing a pumpkin in the back takes up a lot of room, so you will need fewer gourds and other elements in the remainder of the cornucopia.
Arrange the larger gourds
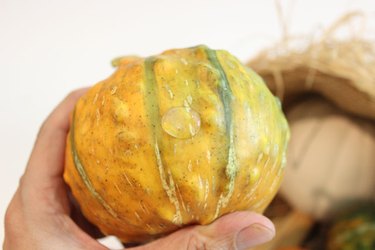
In front of the pumpkin, arrange medium-sized gourds that are 4 to 5 inches tall, or slightly shorter than the pumpkin you use. Rather than just placing the gourds in the cornucopia, place a glue spot on the gourds first. Glue spots, also known as glue dots, are available in the crafts store in the adhesives aisle. These glue spots are the secret ingredient that will keep the gourds and other elements in place so that they don't fall out.
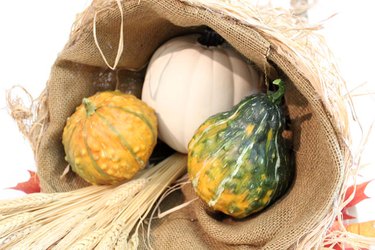
Press the gourds against the pumpkin so that the glue spots adhere them together. As with the pumpkin, you can use real or artificial gourds, although artificial ones are lighter and, therefore, easier to keep in place in your Thanksgiving crafts with the glue spots.
Layer the smaller gourds
Arrange gourds that are 2 to 3 inches tall in front of the larger gourds and pumpkin. Again, place a glue spot on the gourd and press it against an adjacent element. Arrange some of the small gourds so that they cascade out of the cornucopia opening. We want this cup to runneth over.
Tip
For extra support, arrange the smaller gourds so that they touch at least two other elements, with a glue spot at each of those contact points.
Frame the opening of the cornucopia
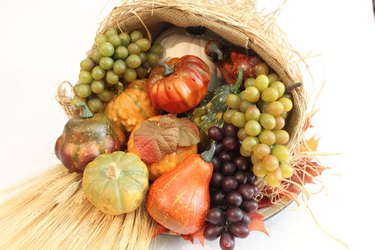
Arrange plastic grapes around the opening of the cornucopia between the rim and the gourds. Place a glue spot on a few of the grapes so that they stick to the gourds. They should spill out of the cornucopia. Do not use real grapes here, as they will spoil and make a mess.
Fill in gaps in the display
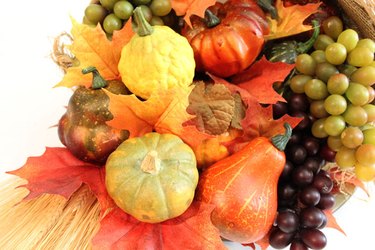
Position additional leaves in the cornucopia to hide any gaps. (Just squeeze them between the elements; you don't need to place glue spots on them.) You can also add one or two more small gourds to balance out the arrangement if you feel there are any large empty spaces.
When your cornucopia centerpiece is bursting with beauty, display it with your home decor in an entryway or on a mantel or tablescape, and enjoy it throughout the fall season.