Most Popular
-
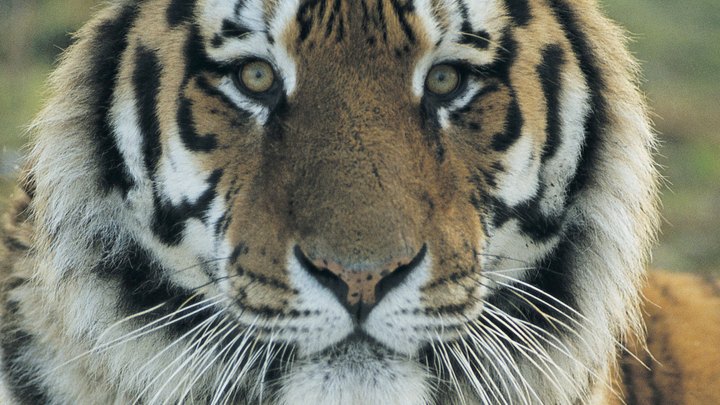 Camping Near Animal Parks in Wellsboro, PA
 -
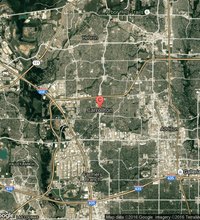
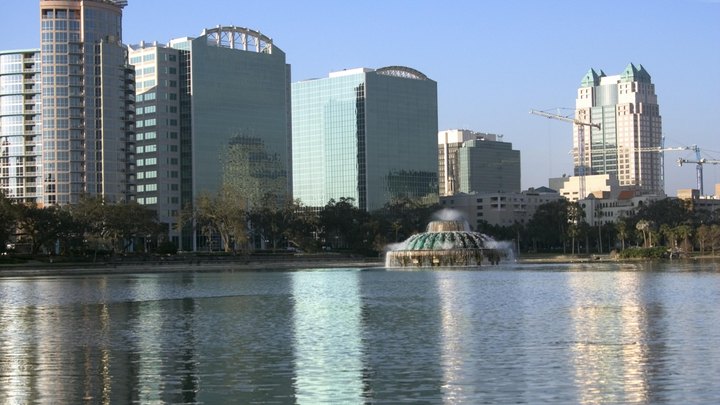 Campsites near Winter Springs, Florida
 -
 Camping at Brands Hatch, UK
 -
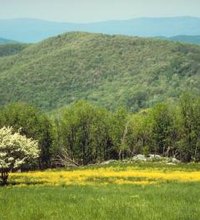
 Campgrounds in Bat Cave, NC
 -
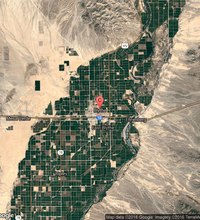
 Beach Camping in Morro Bay, California
 -
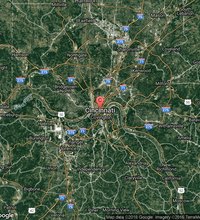
 The Campgrounds Close to Carlisle, Pennsylvania
Quick Links