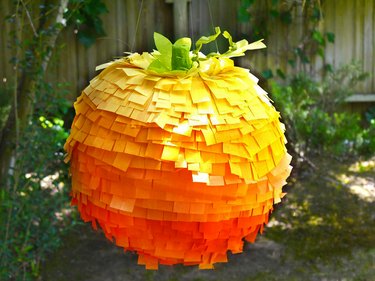
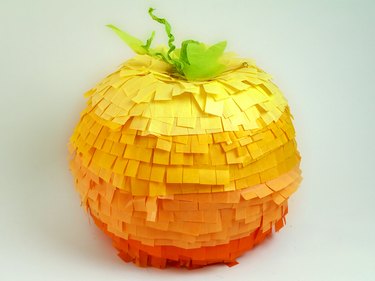
Make a pumpkin piñata to celebrate the fall season. This technique manipulates a large punch balloon into a pumpkin shape, and then uses a simple paper mache method to cover it. Create a beautiful ombre effect with various shades of orange tissue paper, and you'll have a one-of-a-kind decoration for your autumn celebrations.
Video of the Day
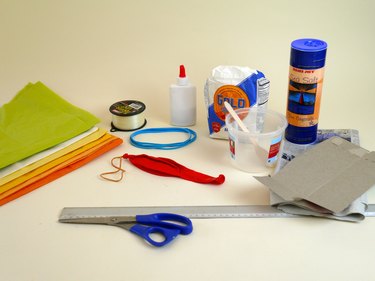
Things You'll Need
Large punch balloon
6 large rubber bands, 7-inch file size
Ruler or measuring tape
All-purpose flour
Salt
Mixing spoon
Container
Newspaper
Scissors
Cooking oil spray
Orange tissue paper (4 different shades, 2 sheets in each color)
Green tissue paper, 1 sheet
Compact disc
Pencil
White glue
Flat paintbrush, medium-sized
Flat container (such as a jar lid)
Utility knife
Floral wire
Thin cardboard (such as a cereal box)
Clear tape
Fishing line
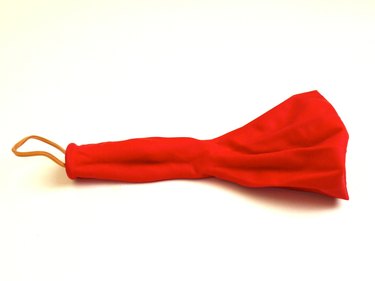
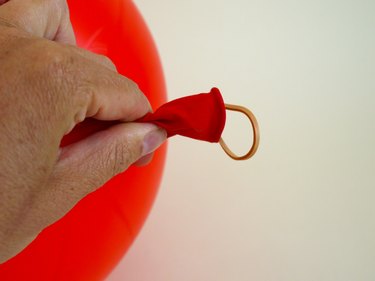
Step 1: Turn the Balloon Inside Out
Start by turning the punch ballon inside-out. The balloon comes with an attached rubber band. Turn it so the rubber band is on the inside with its end sticking out of the balloon's mouth.
Video of the Day
Step 2: Blow Up the Balloon
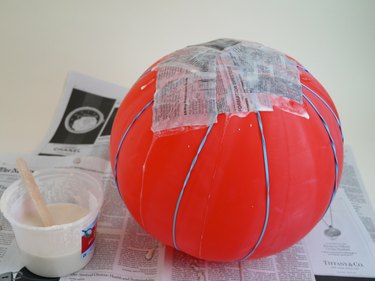
Hold onto the rubber band with your fingers and blow the balloon up to 11 inches in diameter. Pull the rubber band as tightly as possible and tie the balloon and band together. The tension of the band inside the balloon will force it into a pumpkin shape.
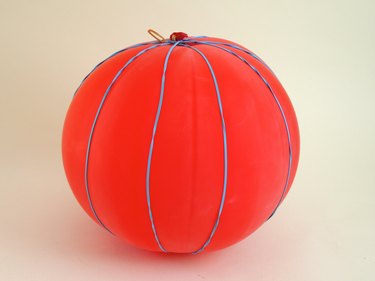
Step 3: Wrap Rubber Bands Around the Balloon
Wrap rubber bands around the balloon to force it even more into a pumpkin shape. Begin by wrapping one band around the balloon, dividing the balloon in half. Then add another band in the opposite direction, forming an "X." Keep adding rubber bands until all six bands are evenly placed over the balloon, creating sections like an orange. Set the balloon aside.
Step 4: Make the Paper Mache Paste
Mix 1 cup of all-purpose flour and 2 cups of water in a mixing container. Add a pinch of salt to keep the mache from molding. Mix until the lumps are gone. The glue should be more thin than pasty.

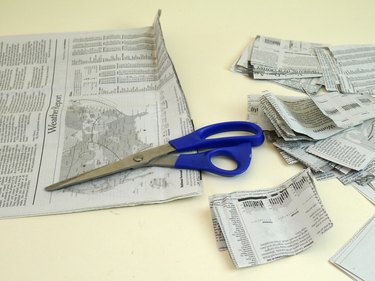
Step 5: Cut Newspaper Into Strips
Take an entire section of the newspaper (about five full sheets) and cut it up into 2-by-3-inch strips. Then use more newspaper to cover your work surface.
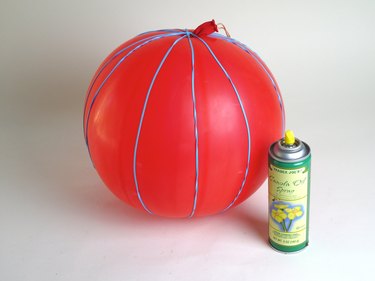
Step 6: Coat the Balloon with Cooking Spray
Before beginning the paper mache process, spray the balloon with cooking oil. This will keep the balloon from sticking to the mache once it is dry.
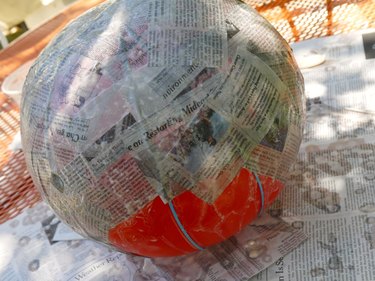
Step 7: Apply the Paper Mache
Dip a single newspaper strip into the paper mache paste and scrap the excess off with the side of the container or your fingers. Place the strip on the top of the balloon. Continue this process, overlapping the strips by about 1/2 inch until the balloon is completely covered with newspaper. Then add a second layer of newspaper strips.
Step 8: Hang to Dry
Once two layers of newspaper mache are completed, hang the balloon to dry overnight. Once dry, add a third layer of mache, and then hang to dry for another 24 hours. Three layers of mache are needed for this piñata.
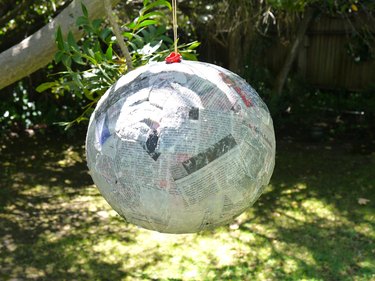
Warning
Don't leave the balloon in the hot sun to dry, or the balloon could expand and pop. If working outdoors, hang the balloon in the shade.
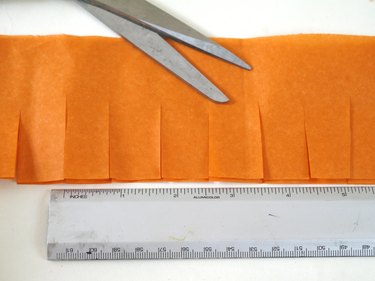
Step 9: Cut Tissue Paper Into Strips
While the paper mache is drying, cut the tissue paper into strips of fringe. Begin by taking one piece of the darkest shade of orange and fold it in half vertically, and then fold it in half again horizontally. Then start at the horizontal fold and trim the entire sheet into 2 1/2-inch strips.

Step 10: Fringe the Strips
Use scissors to cut vertical slits 1/2 to 1 inch apart along the entire length of the tissue paper strips. The slits should go 3/4 of the way up the strip. To make the process more efficient, stack the strips and cut several at a time.
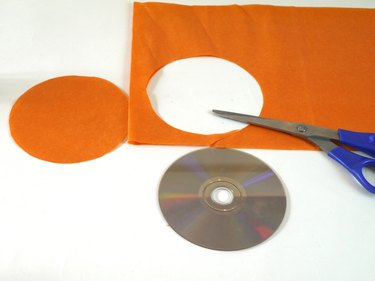
Step 11: Make a Patch
Fold the other piece of dark orange tissue paper in half and then in half again so that it is four layers thick. Trace a compact disc onto the tissue paper and cut it out so there are four separate tissue circles.
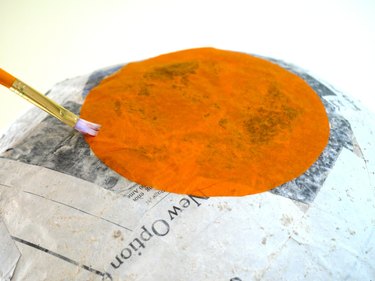
Step 12: Glue the Patch
Turn the balloon over and work from the bottom. If the balloon rolls at all, pop the balloon inside and push the top of the form in a bit so it sits on the table. Add white glue to a shallow dish such as a jar lid. Use a paintbrush to apply the glue to a piece of the round tissue and place it on the bottom middle of the pumpkin form. Add more glue and another layer of tissue. Repeat until all four layers of tissue are glued on the bottom of the pumpkin form.
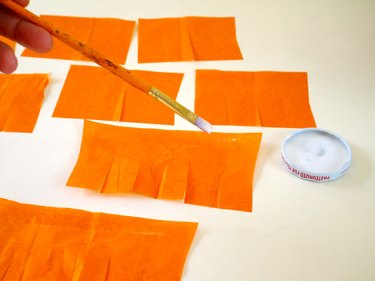
Step 13: Cut Smaller Fringe Pieces
Trim two strips of the dark orange fringe into multiple smaller pieces measuring roughly 3 to 4 inches long. Then lay them out flat on the work surface. Use a paintbrush to add glue to the uncut end of each strip.
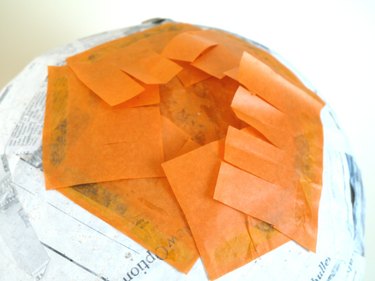
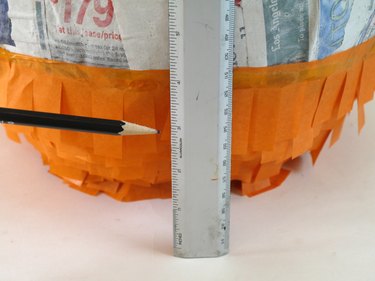
Step 14: Glue the Smaller Fringe Strips to the Patch
Glue one of the small fringe pieces and then another in a circular motion around the patch on the pumpkin form so their ends overlap in the middle. Then add another row, circling the strips about 1/2 inch further down the pumpkin form. Continue adding strips of fringe down the sides of the pumpkin form. Each new row should be about 1/2 inch lower than the previous. Once 1/4 of the form is covered, turn it over and rest it on the work surface. If the bottom of the fringe is about 2 to 3 inches from the ground (the top will be somewhere between 5 and 6 inches,) switch to a new color of fringe.
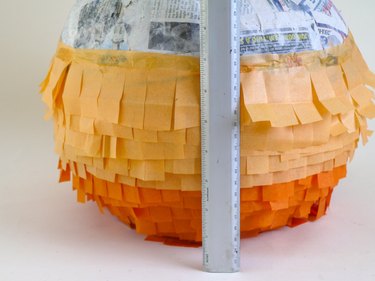
Step 15: Change Tissue Paper Colors
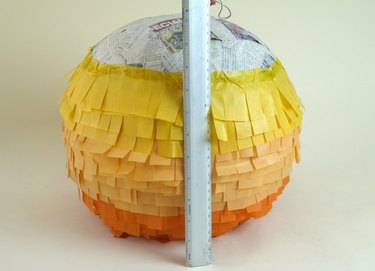
Choose a new shade of orange slightly lighter than the previous one. Repeat the process of folding and trimming the tissue paper into 2 3/4-inch strips, and then fringe the strips. There is no need to cut these long strips up into smaller strips. In fact, it is easier to apply a long strip around the center of the balloon. Continue working up the balloon until the bottom of the fringe measures 5 inches, and then change to an even lighter orange color. Add the third color of fringe until the bottom measures at about 7 to 8 inches.
Tip
The supply list calls for two pieces of tissue paper per color. Start by cutting one piece of tissue, and set the other aside just in case you run out.
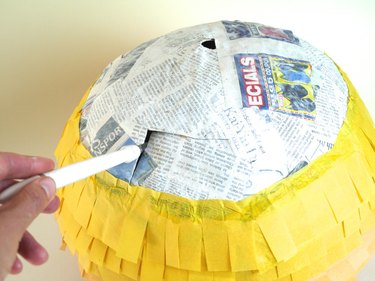
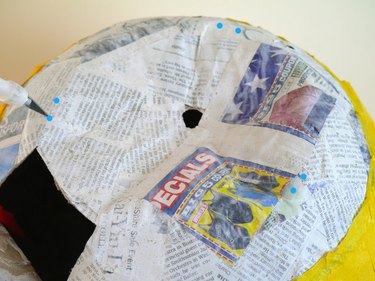
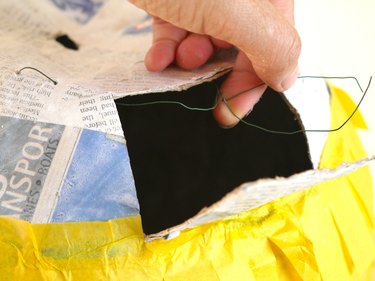
Step 16: Add a Fill Hole
Before continuing with the fourth shade of orange, stop and add a fill hole. Use a utility knife to cut a square hole about 2-by-3-inches in the top of the pumpkin form, just above the fringe. Cut three sides of the hole and fold the mache wall back. If it hasn't already, the balloon inside will pop.
Step 17: Add Holes for Hanging
Because of its round design, the piñata needs three hanging points to make a stable hanger. Press the top of the pumpkin form down so it inverts into a bowl shape at the top. (Note: You might have already done this step previously.) Then use the point of a utility knife to make two holes at three different points along the rim.
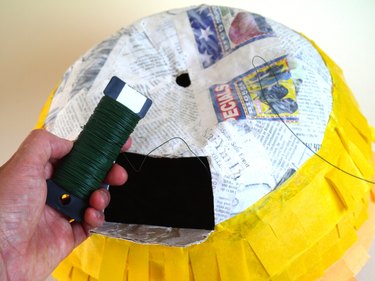
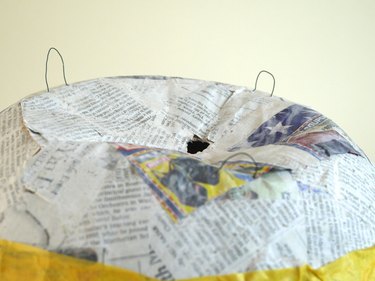
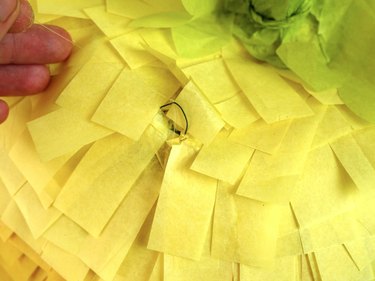
Step 18: Create Wire Hanging Loops
Use a long piece of floral wire to thread through the holes, making a hanger at the 3 points. Enter through the fill hole and insert the wire through the first hanger hole. Pull about 12 inches of the wire through and thread it back down inside the pumpkin, creating a small wire loop. Continue threading the wire through the remaining two sets of holes until there are three small wire loops to anchor the hanger. Twist the wire ends together and clip the excess.
Step 19: Make a Stem
Use a 2 1/2-inch piece of cardboard and roll it up to make a stem. Secure it with clear tape. Then use scissors to trim the bottom 1/2 inch into five parts. Fan the parts out so the stem will sit flat on top of the pumpkin. Glue the stem to the top of the pumpkin and then add tape to hold it until the glue is dry.
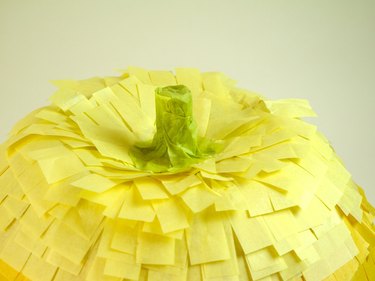
Step 20: Finish Placing the Fringe
At this point, fill the pumpkin with treats and prizes. Close the fill hole door and continue placing the final color of fringe strips over the rest of the pumpkin form, including the fill hole and the hangers. Work the fringe all the way up to the stem -- you will need to cut the strips into smaller pieces to cover the top part of the pumpkin.
Step 21: Cover the Stem
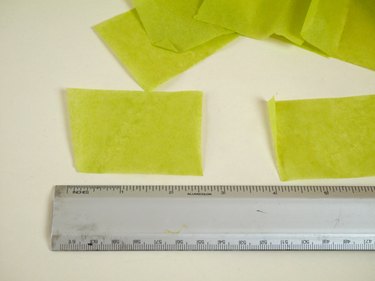
Trim 2-by-3-inch pieces of green tissue paper to cover the stem. Paint the surfaces of the small strips with glue and wrap them around the top and sides of the stem. Add four to five pieces of green tissue or until the cardboard stem is completely covered.
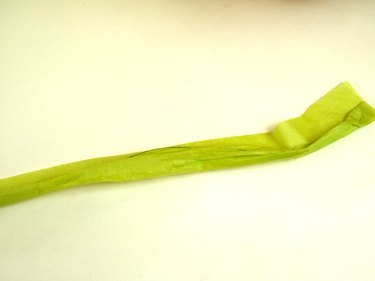
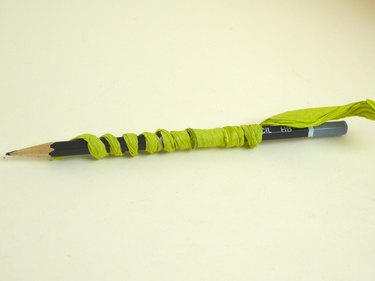
Step 22: Make a Vine
To make a pumpkin vine for your piñata, paint one side of a 3-by-10-inch piece of green tissue with glue. Add a 10-inch floral wire to the glue side of the tissue and roll it up. Twist the tissue around the wire. Then take the tissue-wrapped wire and coil it around a pencil. Loosen the coil and pull the pencil out. Wrap it around the stem of the pumpkin.
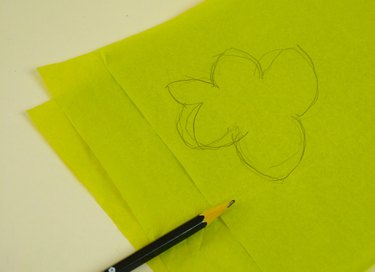
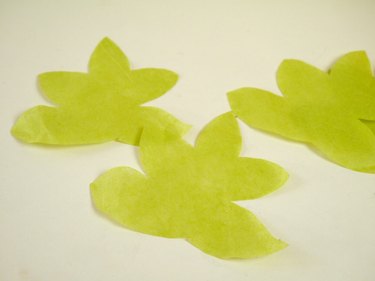
Step 23: Make Pumpkin Leaves
Draw a pumpkin leaf shape onto green tissue paper. Stack three layers of tissue under the drawing and cut out the leaf shape. Glue the bottom of the leaves to the vine or near the stem.
Step 24: Add the Hanger
Find the wire loops hidden under the tissue and tie fishing line to each loop.
Step 25: Hang and Enjoy
Hang the piñata from a sturdy branch with the fishing line and have fun wacking it open!