Things You'll Need
Garbage bag
Newspaper
String
Masking tape
Toilet paper tube
Flour
Water
Salt
Measuring spoons
Bucket
Mixing spoon
Primer
Paint
Hot glue gun
Fake leaves
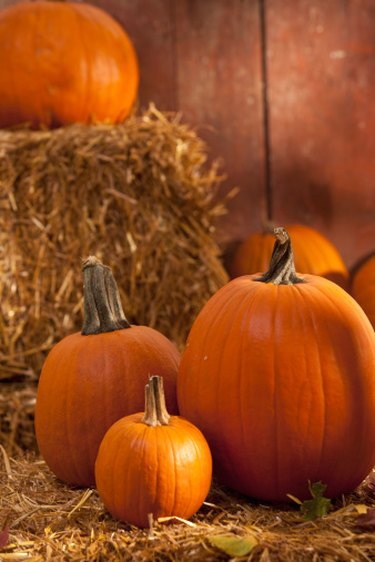
A giant pumpkin can make a great decoration in your yard or home during the Halloween and Thanksgiving seasons. There are many pumpkin decorations for sale in stores during the fall, but you can make your own for a fraction of the price. Use paper mache, which involves applying strips of paper and glue to build up a solid surface. You can even paint a face onto the finished pumpkin to turn it into a jack-o-lantern.
Step 1
Stuff a garbage bag with newspaper until it is as full as you want.
Video of the Day
Step 2
Tie off the top of the bag and trim off any excess above the knot with a pair of scissors.
Step 3
Tie a piece of string to the knot and wrap it tightly around the bag several times to simulate the pumpkin's ridges.
Step 4
Cover the twine with masking tape to ensure that it cannot shift position.
Step 5
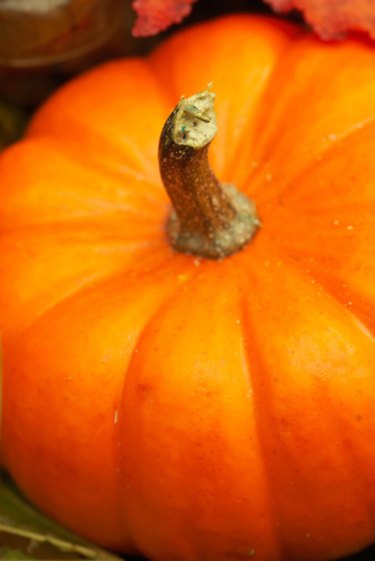
Slip a toilet paper tube onto the bag's knot and tape it in place. This will be the cut stem.
Step 6
Tear several sheets of newspaper into strips 8 inches long and 2 inches wide. The amount you need depends on the size of your pumpkin.
Step 7
Make paper mache paste by mixing equal parts of flour and water in a bucket. Add a tablespoon of salt to prevent mold from growing in the paste over time.
Step 8
Dip the newspaper strips in the paste, then squeegee off the excess between your fingers and smooth them over the bag. Cover the entire bag and stem with overlapping layers.
Step 9
Apply three more layers over the entire pumpkin.
Step 10
Apply a fifth layer of paper mache onto the stem, squeezing the strips into ridges to simulate a pumpkin stem's texture.
Step 11
Allow the paper mache to dry overnight.
Step 12
Spray two or three coats of white primer over the entire pumpkin until all of the newsprint is covered. Allow each coat to dry fully.
Step 13
Paint the pumpkin orange and the stem green. You can use spraypaint or brush-on acrylic paint.
Step 14
Hot glue a few fake leaves from a craft store to the base of the stem.
Video of the Day