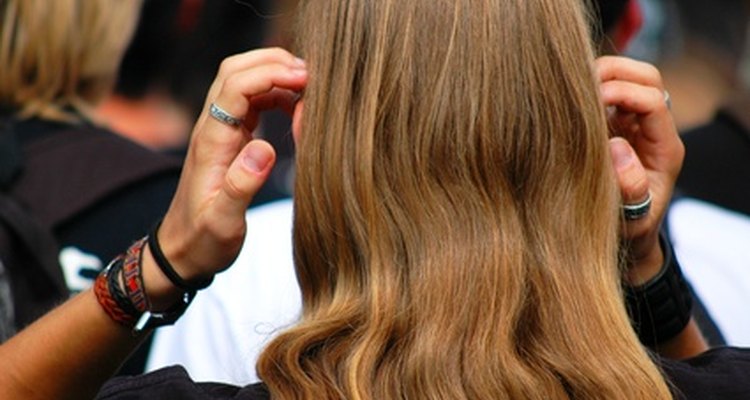
Hair extensions are used to add length to short hair, volume to flat hair and a whole different look to dull hair. Unfortunately, many women know all too well that with beautiful hair extensions comes a large price tag. One of the most expensive aspects of hair extensions are purchasing the wefts, or hair tracks. The hair--real human hair or synthetic--is woven around a long string of fishing line that can be cut into smaller sections, then sewn, glued or bonded into the hair. Instead, you can purchase bulk hair online or at beauty supply stores and make your own wefts.
Tie three fishing line strings from one leg to the other on the bar stool. Tie the three lines into double knots to secure the lines. Once you become good at this, you can wrap the fishing line around all four legs to make a much larger weft.
Pull apart some of the hair from the bulk hair. Pinch a tiny section of hair; the hair should be about 1/8 inch in width.
Cut the ends of the hair strand if you want a blunt look. You can you leave the ends as they are.
Separate the fishing lines so there is about 1/2 inch to 1 inch between each one.
Hold the hair strand in your non-dominant hand under the first (bottom) string. With your dominant hand, pull the hair strand up the bottom string, passing over the middle string and then folded down over the third (top) string.
Loop the hair over the top string once again.
Pull the hair down, passing over the middle string and loop around the bottom string. Pull the hair back up, crossing over the middle string and loop around the top string
Repeat Step 8 once more. Pass the hair in between the middle string and the bottom string.
Tug on both ends of the hair--loosely--so that both ends are even. When the hair ends are even, pull on the hair ends very tightly to keep it in place.
Slide the hair all the way to the left of the strings. Separate another small piece of hair--as in Step 3.
Repeat Steps 6 to 10 with the second strand of hair.
Pull this second section of hair very tightly when finished. Slide this section of hair all the way over the left, next to the first section of hair. This time--and every time after--pull the very last strand of hair up, slide the second section right next to the first strand. Then let the strand fall down. This will make the strand fall in between the two strands of hair from the second section, creating an even look.
Repeat these steps until the entire weft has been created. Unite the strings from the legs of the bar stool. Tie the strings on either side of the weft into double knots. Cut the excess strings from the weft.
Related Articles

How to Do Small Single Braids Yourself
How to Braid in Fake Hair

How to Do a High-Fashion Teased Ponytail

How to Make a Grecian Braid

How to Cut Piecey Hair
How to Do a Rubber Band Hair Weave

How to Do the Beach Wave With Hot ...
How to Do Temporary Dreads
Traditional Spanish Hairstyles

How to Curl Bangs Upward

How to Do a Half Crown Braid

The Best Ways to Do a Gymnast's Hair
How to Wind a Spiral Perm Rod
How to Do Two Strand Twists With ...

How to Tie Up a Hair Weave at Night

Fast Messy Bun Hairstyles With an ...

How to Make Bangs With Glue in Hair ...

How to Make Frida Kahlo Braids
How to Cook a Beef-Pork Combo Roast

How to Test Hair Strength
References
Writer Bio
Andrea Griffith has been writing professionally since 2005. Her work has been published by the "Western Herald," Detroit WDIV, USAToday and other print, broadcast and online publications. Although she writes about a wide range of topics, her areas of expertise include fashion, beauty, technology and education. She holds a Bachelor of Arts in journalism and English from Western Michigan University.
Photo Credits
Hair stylist image by Nina Hergarten from Fotolia.com