Things You'll Need
Fabric
Pillow form or batting/fiberfill
Thread
Invisible zipper
Scissors
Pinking shears
Sewing machine
Iron

Bolster pillows are an elegant addition to any piece of furniture. They add color and comfort to a bed or couch while bringing a new silhouette. This easy project shows you how to measure your own custom pillow and install an invisible zipper for a removable cover and clean look.
Step 1

Use a bolster pillow form, or customize the size of your pillow by filling the fabric cover with loose batting or fiberfill. Determine the yardage of fabric needed for your pillow by adding a few inches to the largest measurement of your pillow. Install a zipper for a washable pillow cover, or hand sew the seam for an easy finish.
Video of the Day
Step 2
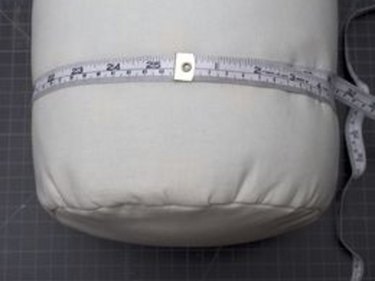
Measure the length and circumference of your pillow for the main pattern piece. Add 1/2 inch seam allowance to each side.
Step 3
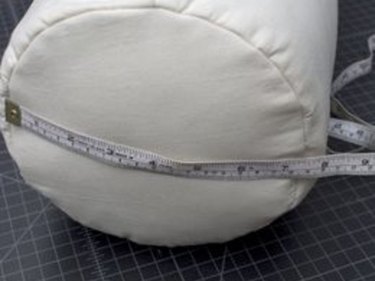
Measure the diameter of your pillow to find the size of the round side pattern piece and add 1/2 inch seam allowance. Use a compass to draw a circle on a piece of paper for your pattern.
Step 4
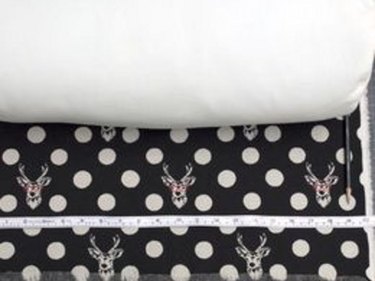
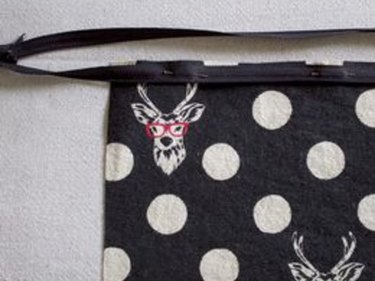
Cut out your fabric while paying attention to the direction of the print, and which way you would like it to wrap around your pillow.
Step 5
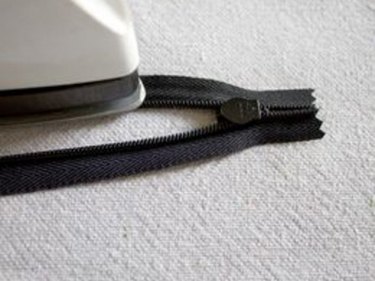
Press the coils of the invisible zipper open with an iron. This will allow you to stitch closer to the edge of the coil.
Step 6
Pin the right side of the zipper to the right side of the fabric. Place the coils along the seam allowance, coils facing inward.
Step 7
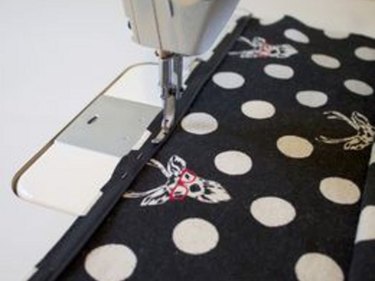
Stitch as close to the coils as you can with a zipper presser foot. Start and stop your stitch at least 1 inch from the edge on both ends of the zipper.
There are two types of presser feet to use for an invisible zipper. One has an open edge (shown), allowing you to stitch close to the side of the coil. The other has a groove in the presser foot, which guides the coil through the groove while you stitch.
Step 8
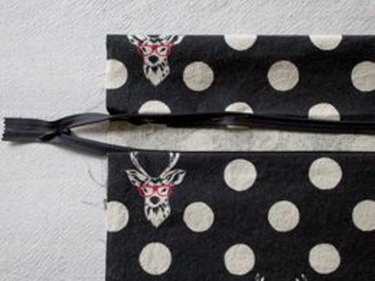
Close the zipper to check your stitch. Pin the opposite side of the fabric to the zipper, coils facing inward as before. It is easy to twist the zipper in this step, so check your placement by closing the zipper to see if it is funcional before you sew. Open the zipper and stitch along the coil. Iron the seam.
Step 9
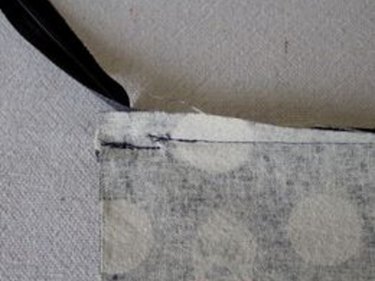
Stitch the ends of the zipper seam closed by placing right sides together and sewing up to the end of the zipper's stitch line. It is OK if the stitch lines do not match up perfectly. Trim the fabric edge with pinking shears to prevent fraying.
Step 10
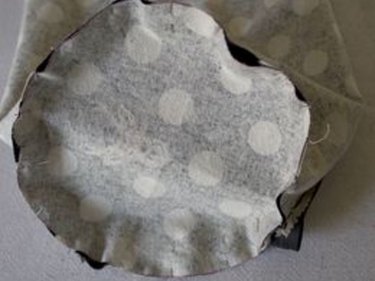
Mark both the rectangular and circular pattern piece by folding them in half and placing a pin in each side of the fold. Fold in half again to find the quarter mark. Pin each piece together by first matching up the marked quarter notches, then the remaining seam.
Step 11
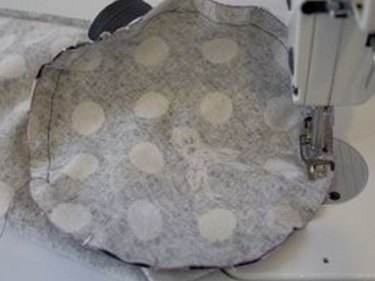
Stitch the pieces together around the circle. Trim seam allowance with pinking shears to prevent fraying.
Step 12
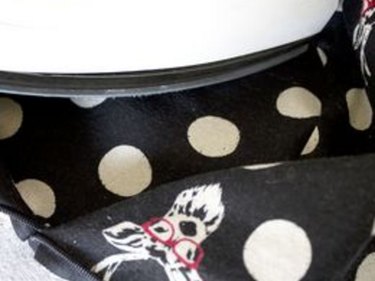
Press the seam allowance towards the length of the pillow, moving around the circle.
Step 13
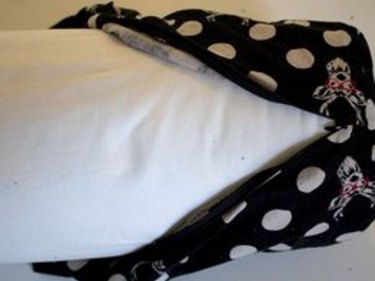
Insert the pillow form into your new bolster pillow cover by placing one end in at a time. Zip closed and enjoy your new pillow!
Tip
A firm bolster pillow is not only more attractive, but more supportive. Take away a 1/2 inch ease from each measurement for a tighter fitting cover.
Video of the Day