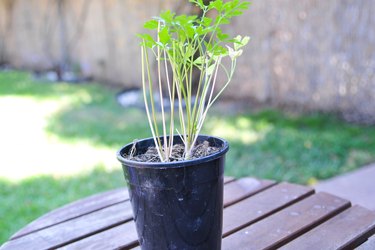
Trying to grow a plant from a seed to a blossoming beauty or simply keeping your adult plant from keeling over can be a daunting task for anyone—even people with a green thumb. After all, growing plants faster involves more than simply providing them with a bit of water and sunshine and hoping for the best. Learn strategies to make all of your plants grow faster and live healthier and longer lives.
Things You'll Need
Manure, grass clippings, or compost
Video of the Day
How to Make Plants Grow Faster
Step 1: Treat the Soil
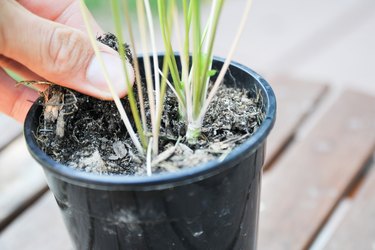
If the soil is lacking in the right balance of organic nutrients, many clumps stick together and prevent air and water from reaching the roots. If the soil has too many rocks in it, it won't be able to hold water the way it needs to. Good workable soil will provide the plant with adequate water, air, and nutrients. If your soil is too sandy or too hard, add soil mixes to the soil to help the plant grow faster. Some good things to add include manure, grass clippings, and compost.
Video of the Day
Step 2: Pick a Suitable Location
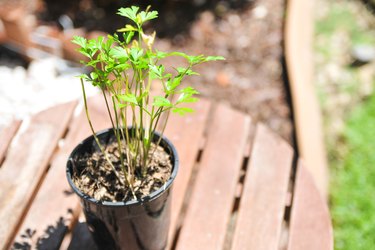
The type of plant you are growing will determine where it should be placed. Some plants love the sunlight, so if you place it somewhere where it doesn't get enough, the leaves won't be green and it will stunt its growth. On the other hand, if you have a plant that doesn't need much sunlight and you place it directly in the sun, it will burn and shrivel up. It's important to read information about the plant or ask a salesperson when buying the plant to find out if it likes the sun or not. Find out this information before planting because it's difficult and detrimental to the plant to move it after it has begun spreading its roots.
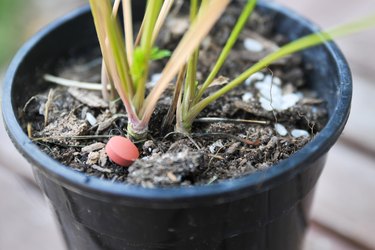
Step 3: Fertilize the Plant
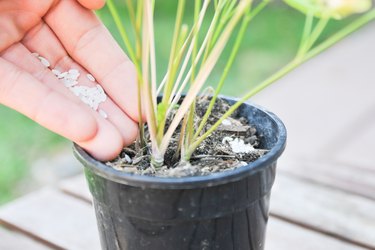
Try conventional methods. An all-purpose fertilizer, such as Miracle-Gro, can be used on all plant types. There are two easy ways to apply fertilizer. You can use a premixed application and mix it with water in a watering can, or you can use a feeder and attach it to your hose. Manure also makes an excellent, all-natural fertilizer that contains, nitrogen, phosphorous, and many other nutrients that ensure faster plant growth.
Step 4: Try Unconventional Methods
By adding 1 tablespoon of castor to the soil and watering the plant well, you can bring the plant back to life. Castor oil works as a fertilizer. If you have accidentally put a plant that requires some shade out in the direct sunlight, you can use the castor oil trick to revitalize it. Also, if you have a plant that has been accidentally doused with pesticides, using castor oil will bring it back to life, virtually overnight.
Step 5: Water Your Plants Adequately
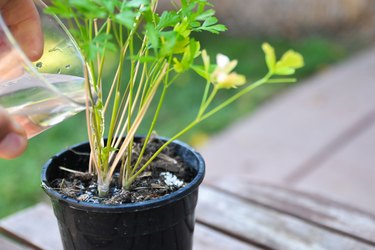
Plants have different watering needs, depending on the type. Too much water is just as damaging as not enough water. Unfortunately, there is no simple rule to determine how much water to use for your particular plant, but there are certain things that you can watch out for. If the leaves are growing slowly, seem to droop, or have brown edges, you're likely not watering enough. If the roots are rotted, there is water at the bottom of the plant's container, or the leaves have rotten sections, you're likely watering too much.
Step 6: Use Grow Lights
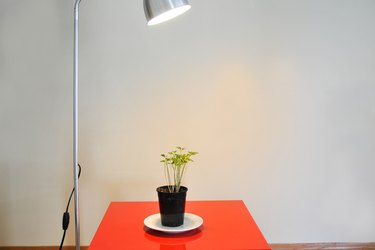
Place grow lights about 6 inches from your indoor plants. Grow lights can support your indoor garden, whether you have permanent indoor plants or you bring the plants inside for the winter. Grow lights are bulbs designed especially for plants. They give plants synthetic sunlight without the harmful rays. Determine the amount of light your plants need, and set a timer each day to give the plants a consistent amount of time under the grow lights.