Conjure up your creative energy by transforming old pill bottles into frightening witch's apothecary jars. Guaranteed to scare trick-or-treaters and sure to impress party guests, this spooky craft is a creepy addition to any Halloween display.

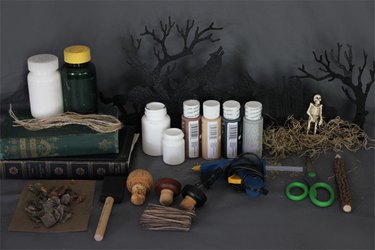
Things You'll Need
Empty pill bottles, labels removed
Sandpaper, 60 or 80 grit
Hot glue gun
Foam brush
Chalkboard paint, varying shades of black and brown
Scissors
Twine
Spanish moss
Tree bark (optional)
Wine cork
Tip
- Chalkboard paint adds texture to the bottles, but if you cannot find colored chalkboard paint, matte acrylic paint will also work.
- Over-the-counter pill bottles work best, but prescription medication bottles will also work.
- To remove sticky bottle labels, soak the bottles in warm, soapy water for 10 minutes and scrub them with steel wool.
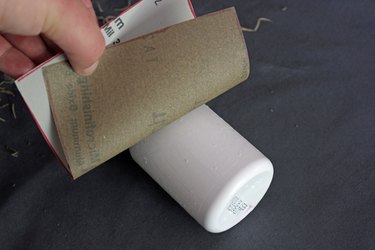
Step 1
Sand the pill bottles until the finish is no longer glossy. This creates a rough surface for the paint to adhere and adds a distressed, old texture to the finished bottles.
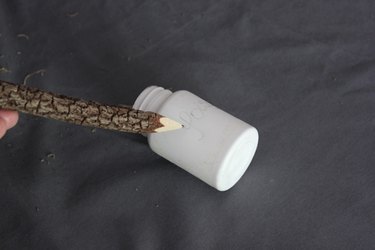
Step 2
Use a pencil to outline the name of your potion or ingredient on the surface of the pill bottle.
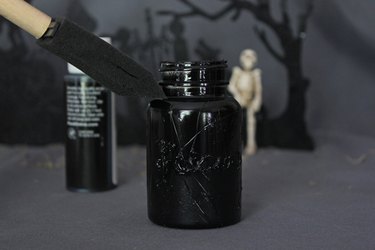
Step 3
Trace the pencil outline with the hot glue gun and allow the glue to dry completely.
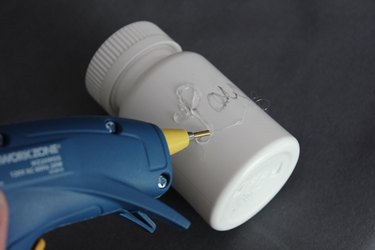
Warning
Use caution while using the hot glue gun.
Step 4
Use the foam brush to apply a coat of the base color to the bottle. Rather than using paint strokes to apply the paint, dab the foam brush on the bottle to create a textured finish. Allow the paint to dry completely, and apply a second coat of the base color.
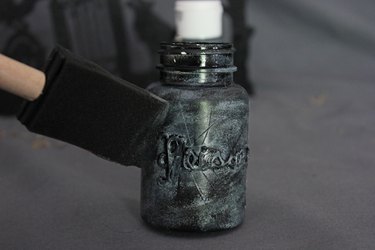
Step 5
Apply a coat of contrasting color to the bottle with the foam brush. Use the same dabbing technique used with the base color to apply the contrasting paint color. Do not completely cover the bottle with the contrasting color. The base color should still be visible underneath the contrasting color.
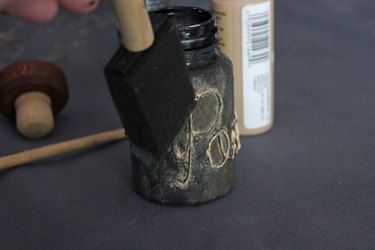
Step 6
Use a third color to highlight the letters you traced. Use the tip of the foam brush to keep the paint mostly on the letters.
Step 7
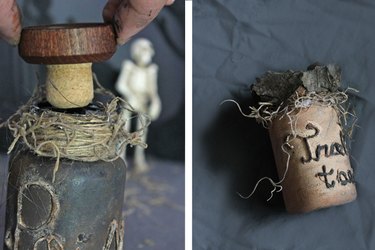
Cut a 2-foot piece of twine and wrap it around the top of the bottle. Use the hot glue gun to secure the twine in place.

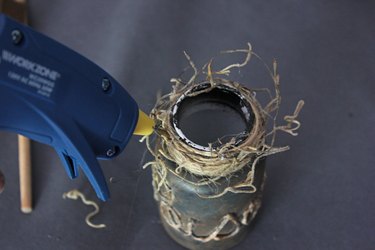
Step 8
Loosely wrap Spanish moss around the twine and glue in place with the hot glue gun.
Step 9
Place a wine cork in the top of the bottle. If you want to use the original pill bottle top instead of a cork, glue some tree bark to the outside of the cap and place the cap back on the bottle.
Tip
If you don't have tree bark available and want to use the original pill bottle cap, paint the top with the foam brush and glue the moss to the cap rather than the neck of the bottle.
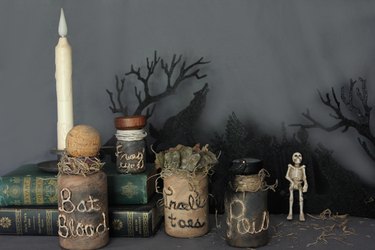
When complete, choose a spot to proudly display your new witch's potion jars.
Tip
Fill the jars with pebbles, marbles or liquid so the jars appear to have real witch's ingredients in them when people pick them up.
Video of the Day