Who Uses Hot Glue Guns?

Hot glue guns have a wealth of uses, from industrial to home settings. Hot glue can be used in the production of items that have layers that need to be joined together, such as corrugated cardboard. It can also seal boxes and cartons during the packaging process. In the home or art studio, hot glue guns are used to assemble crafts, such as decorative wreaths and dollhouses.
What's in the Glue?
Video of the Day

Hot melt adhesives contain a wide range of elements, including ethylene-vinyl acetate, wax, resin and any assortment of polyamides, polyethylenes, polyester or polypropolenes. The adhesive is shaped into cylindrical sticks, in an assortment of lengths and circumferences for different types of guns.
Video of the Day
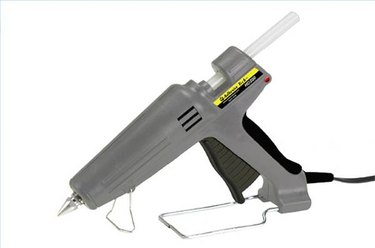
How the Glue Gun Works

The glue gun works by heating the glue stick until it melts. The liquified glue is then fed through the dispenser by using the trigger or manually, by pushing the unmelted portion of the glue stick down into the melting chamber, then out through the pointed nozzle. When using glue guns, a tray, aluminum foil or scrap cardboard is needed to set the gun down when not in use. The melted adhesive will drip from the nozzle, especially when the gun is resting for more than a few seconds. Once the gun is unplugged or turned off, the adhesive re-hardens within the melting chamber until the next use.