
Someone who is turning 90 likely already has most of the material goods he needs. Many gifts that could be given to a younger person may not be appropriate for a nonagenarian, and it is important to think about commemorating this landmark birthday with something personal and thoughtful. Better gifts will not require maintenance, will not be difficult to operate and will not take up too much space, especially if the recipient lives in a small apartment or retirement facility where personal space is at a premium. Think about giving gifts that will provide the recipient with a pleasurable experience and fond memories.
Services
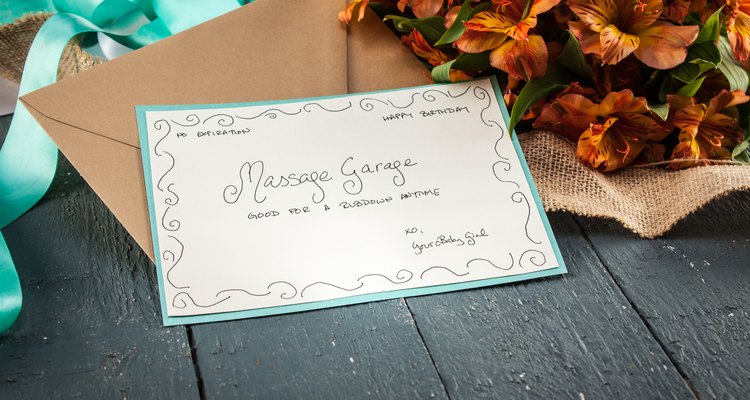
A 90-year-old woman may appreciate vouchers for services for her home or health and beauty. Make a handmade set of "coupons" redeemable for help around the house with offers to clean out her closet or paint a room for her. You can also buy gift certificates for a home cleaning service or a special meal prepared by a personal chef. She may also appreciate vouchers for beauty treatments, like a manicure or a cut and color at her favorite salon.
A Special Experience
If your birthday person has a favorite sports team, invite him to bring a couple friends to a game. Surprise her by announcing her 90th birthday on the big screens at the ballpark or the stadium. Sometimes a sports team will have additional surprises on hand to honor special birthday guests, especially those celebrating such a landmark age. Call the customer service department and ask about possible surprises for a senior birthday.
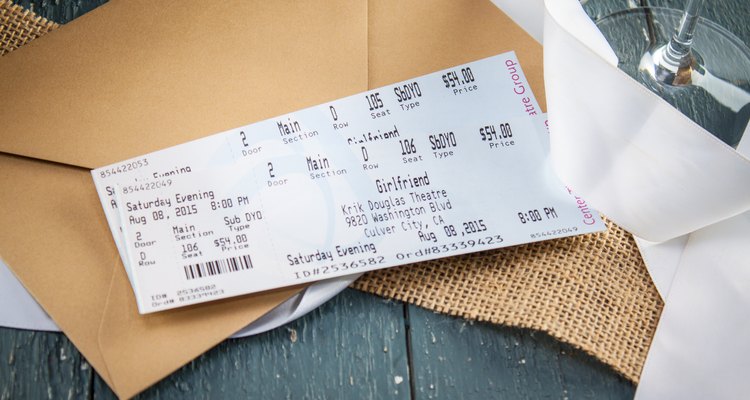
If the recipient prefers music, theater or dance, buy him a few tickets and hire a car service to take the group to the performance. Have the car waiting to take everyone home at the end of the night. Be mindful of any physical limitations he or his friends may have, and call the theater in advance to ask about handicapped access.
A Sentimental Gift
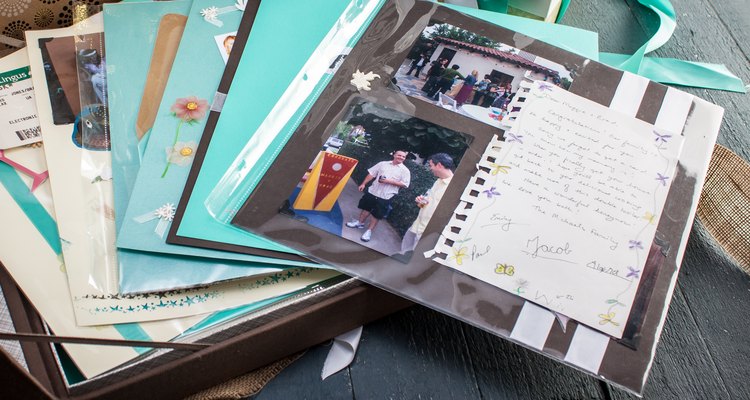
Making a book of special letters and memories can be a relatively easy way to celebrate a 90th birthday. Buy a scrapbook album from your local arts and crafts store and invite friends and family members to decorate a page. Try to include 90 possible pages. If you do not have 90 contributors, fill in the missing pages with timelines with things like news headlines, popular songs, and images of important events from the past 90 years. Remember to give page contributors the appropriate dimensions for the album pages. People can write down memories, retell stories or jokes, and include photos and drawings. Give people about a month to design their pages.
Useful Technology Gifts

A 90-year-old may have a lot of friends and family who live far away. For her birthday you can help her learn how to use online video chat. Help her make her profile and compile her contacts list. This gift can be free and teaching her how to use this technology can be a way to spend time together.
Surprise the recipient with a digital frame that can show photographs from all 90 years of her life. Scan old family photos and upload them to a digital frame. Put in any necessary batteries before wrapping it.
Related Articles

Ideas for a 95th Birthday Gift

Birthday Gift Ideas for an Age 46 Male

Gift for an Elderly & Visually Impaired ...

Birthday Gifts for a 22-Year-Old ...
Birthday Gift Ideas for an 18 Year Old
Gifts for a Woman at the Age of 27

Birthday Present Ideas for a 22 Year Old

What Kind of Present Can You Give Your ...

Birthday Gifts for Moms Turning 65

Birthday Gifts for Women in Their 20s

List of Gift Catalogs

Gift for a Girlfriend Turning 50

Gifts for a 99 Year Old Grandma

How to Celebrate a Birthday in a Long ...

A Gift for a 46-Year-Old Man

Easy Crafts for Elderly People to Make

Gift Ideas for Fathers Over Seventy ...

What Do You Get Your Grandpa for His ...

Employee Farewell Gifts

What Should I Get My Cousin for Her ...
References
Writer Bio
Fern Morris has been writing about the arts, culture, etiquette and society since 2004. She has published her work internationally in various magazines, websites, exhibition catalogues and academic journals.
Photo Credits
Brad Jones/Demand Media