If you are planning a baby shower, you will need to send invitations to your guests. For cramped party locations, or for parties where there are a large number of invitees, you might consider hosting an open house party where guests come and go as they want and don't feel obligated to stay for the entire event. This will help reduce the number of partygoers in the building at any one time.
Step 1
Talk with the mother-to-be or someone close to her. Figure out the best day for the shower and how much time she can tolerate without getting overly tired. Select a location for the shower. Also decide on the theme of the shower--for example, a children's cartoon like Winnie the Pooh, or a theme that coordinates with the baby's gender.
Video of the Day
Step 2
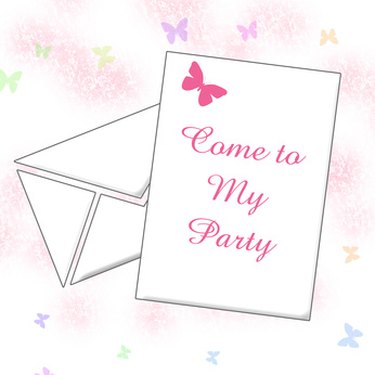
Select an invitation stock that works with the shower's theme. For example if the shower has a feminine theme, then pink invitation stock or a floral pattern would work well.
Step 3
List the date and time of the shower on the invitation, as well as location. The top of the invitation should mention what and who the invitation is for. An example of the opening paragraph might be, "Come join us for the baby shower of..." The date, time and location can be mentioned after the introduction.
Step 4
Insert the fact that it is an open house shower in the introduction, next to the time or at the end of the invitation. Open house might be understood by some, but saying "Drop In" will clarify it better. Suggestions include saying, "Join us at the drop-in baby shower of..." and "Time: 2:00 p.m. - 4:00 p.m., Drop in at any time," or just put "Drop In" or "Open House" at the bottom.
Step 5
Insert information about the theme and overall feel of the shower in the introduction or in a closing paragraph. You could say that the event is casual or "come as you are" to let guests know that there is no need to dress up, or suggest they wear their best island attire for a Hawaiian theme. Other ideas include mentioning that you will be celebrating the birth of a new baby boy, or to join everyone at the 100 Acre Woods for a celebration.
Video of the Day