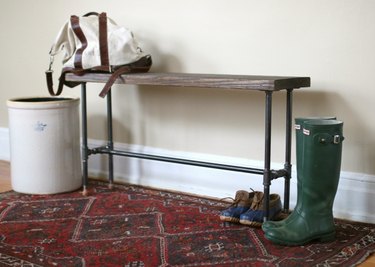
Making a modern industrial bench isn't outside the skill level of a beginning DIYer -- you can even have the hardware store cut your lumber to size for you to make it even easier.
Things You'll Need
Video of the Day
- 12-inch pipe, ½-inch round, 4
- 6-inch pipe, ½-inch round, 4
- 2-inch pipe, ½-inch round, 4
- 36-inch pipe, ½-inch round
- 6 T-fittings, ½-inch round
- 4 floor flanges, ½-inch round
- Untreated wood board, 1 1/2 inches by 11¼ inches by 42 inches (commonly named "two-by-12" lumber)
- Medium-grit sandpaper, #60
- Palm sander
- Wood stain, color of your choice
- Paintbrush
- 16 wood screws, ¾-inch, #6
- 4 bottle corks, at least 1/2-inch round
- Box cutter
Video of the Day
Tips Look for standard plumbing pipes and fittings at your local Restore or on Craigslist or even FreeCycle to cut down on overall costs. Adjust the bench to a custom length by using a longer or shorter wooden board and connecting base pipe; all other components and the following steps remain the same.
Step 1
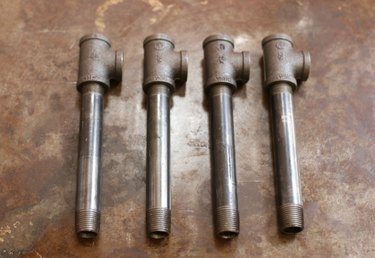
Attach each of the four T-fittings to the four 6-inch pipes, positioning the "T" vertically on the pipe.
Step 2
Attach each of the four 12-inch pipes into the exposed arm end of the T-fittings. These four (now 19-inch) pipes will become as the bench seat legs.
Step 3
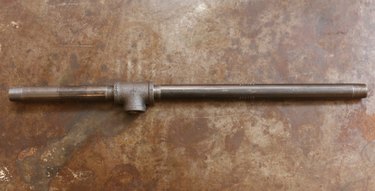
Use two of the 2-inch pipes connected by a T-fitting to join two of the now 19-inch bench legs. Repeat with the remaining pipes and fittings to create two identical "H" shaped structures.
Tip: Face the T-fitting that connects the smaller 2-inch pipes perpendicular to the direction of the other T-fittings.
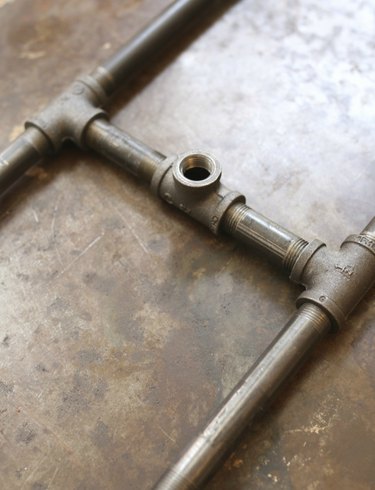
Step 4
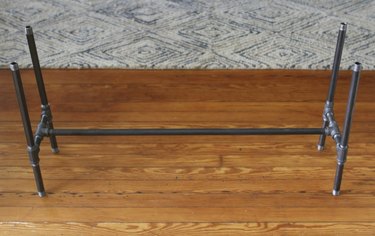
Join the two side leg structures by attaching the 36-inch pipe into the ends of the T- fittings left exposed in Step 3. This joining pipe will help give the resulting bench added support, helping to evenly distribute weight.
Step 5
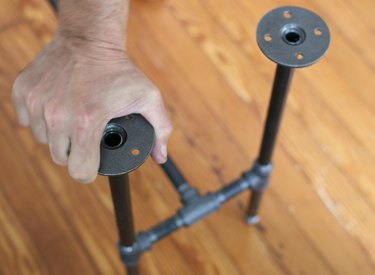
Screw each of the four flanges onto the threaded ends of the 12-inch pipes, right side facing down.
Step 6
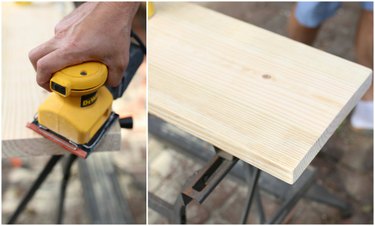
To prepare the wooden bench seat, sand the 42-inch wood board using a medium-grit sandpaper to smooth away any debris, splintering and jagged edges. A palm sander will make lighter work of the task.
Step 7
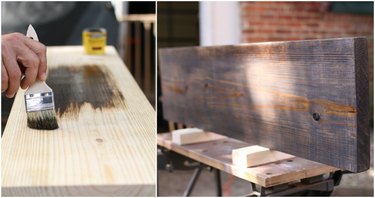
Stain and seal the top, sides and bottom of the wood to your desired finish using a paintbrush, allowing the finish to dry fully before adhering the bench base.
Step 8
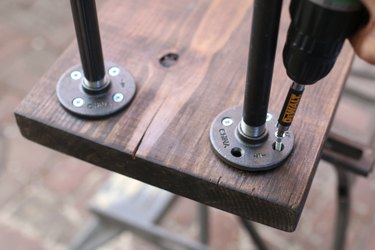
Turn the entire base structure of the bench over so the flanges rest centered onto the underside of the bench board. Adhere the structure to the wood seat by screwing the 16 wood screws into the openings of each flange.
Step 9
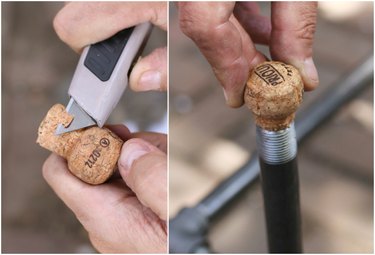
Make custom feet for the bench using corks. Gently shave each cork with a box cutter to slide directly into a bench leg opening. The corks can be adjusted to account for any floor unevenness and provide a protective barrier against scratching.
Step 10
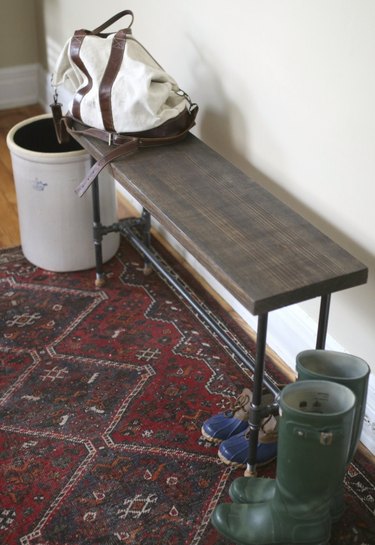
Position the bench near your home entryway or mudroom to create a stylish and functional nook. Use the bench to take a seat while putting on or removing shoes and a landing spot for bags and other entryway essentials.