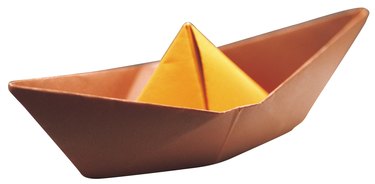
The paper boat, a classic origami project, introduces many beginners to the Japanese art of paper folding. Making the boat is similar to the process of making a paper hat. It begins with a standard piece of 8 1/2-by-11-inch paper, not with the paper square that's more common in origami projects.
Step 1
Lay the paper on your work surface vertically. Fold it from top to bottom and crease it well. Keep it folded down with the open edge at the bottom.
Video of the Day
Step 2
Fold the top right and left corners down to meet in the middle of the folded rectangle.
Step 3
Fold the bottom edge up to cover the folded-down corners. Turn the piece over and fold the opposite bottom edge up in the same way.
Step 4
Fold each of the four bottom corners in, lapping them over each other. You should end up with a triangle shape.
Step 5
Place your thumbs inside the bottom opening, one in the center of each open edge. Extend your thumbs. Press down on the paper to make a square.
Step 6
Hold the square with the flaps facing down. Fold the bottom point up to meet the top point. Flip the figure over fold the other bottom point up to meet the top point. The model should look like a triangle again.
Step 7
Place your thumbs inside the bottom opening, one in the center of each open edge. Extend your thumbs and press down to make a square shape as before. Crease firmly.
Step 8
Pull the outermost triangles apart gently. Your paper boat is ready to float.
Video of the Day