If a VHS tape is damaged or just doesn't work properly anymore, you can often fix this. Loose or broken tape can be repaired. Additionally, if you can't record over a tape, it may be because someone broke out the break-out tab on the edge of the tape, the purpose of which is to prevent accidentally recording over the original recording. When you see lines appearing on the screen and bad audio, the tape is not tracking properly or the playback head is dirty.
Tape Not Allowing Recording
Video of the Day
Step 1
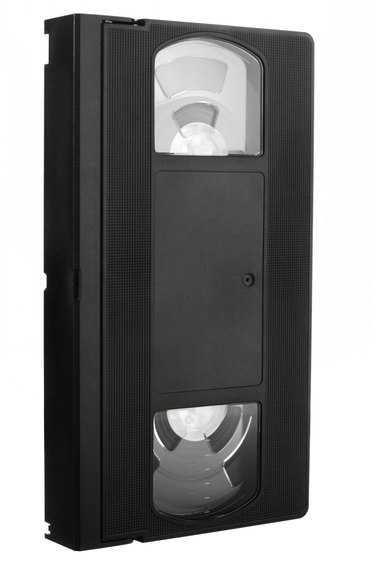
Locate the break-out tab on the edge of the cassette, opposite the edge you insert into the VHS recorder.
Video of the Day
Step 2
Cover the tab area with a piece of masking or electrical tape.
Step 3
Insert the cassette into the VCR and record.
Lines on Screen and Poor Audio
Step 1
Locate the Tracking button or wheel on the front of the recorder.
Step 2
Insert the cassette into the VCR. Push the Play button on the remote or on the front of the machine.
Step 3
Push the "Tracking" button -- or adjust the tracking wheel -- as the tape plays, until the picture and sound playback is acceptable.
Broken Tape
Step 1
Unscrew the five screws on the bottom of the cassette that hold the cassette together.
Step 2
Turn the cassette right-side up again and push the small tab on the left side of the cassette. This allows you to open the front of the cassette.
Step 3
Hold the front open, then gently lift off the top of the cassette. Take care not to disturb any of the other parts in the cassette.
Step 4
Remove both reels from the cassette.
Step 5
Cut off any crumpled or twisted sections of tape, then bring the two ends together so that they overlap and make a diagonal cut with the scissors.
Step 6
Place the piece of splicing tape with the inner side, facing up on the video tape. Leave room on the splicing tape for the end of the other piece of video tape. Make sure the tape has no wrinkles or bubbles.
Step 7
Moisten the space on the clean surface a little where you are going to make the splice to keep the other end of the tape from curling. With the other end of the tape adhered to the clean moistened surface, align the video tape with splicing tape attached.
Step 8
Cut off the excess splicing tape on both sides, making sure you cut it all off. Sticky surfaces, such as excess tape hanging out, could later adhere to the insides of the machine.
Step 9
Replace the top of the cassette carefully, turn it over, and install and tighten the five screws.
Lines on the Screen and Poor Audio
Step 1
Purchase a head cleaner.
Step 2
Insert the head cleaner into the machine. The device cleans the head in just a few seconds.
Step 3
Take the recorder to a repair shop for the head to be professionally cleaned if the problems persist,
Loose Tape
Step 1
Turn over the tape and unscrew the five screws that hold the cassette together.
Step 2
Turn the cassette right-side up again and push the small tab on the left side of the cassette. This allows you to open the front of the cassette.
Step 3
Hold the front open, then gently lift off the top of the cassette. Be careful not to disturb any of the other parts in the cassette.
Step 4
Turn one of the tape reels until there is no slack tape.
Step 5
Replace the cassette cover carefully and turn the cassette over.
Step 6
Re-install and tighten the five screws.