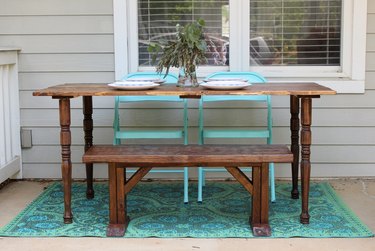
Building a piece of furniture can be intimidating, but you can make a beautiful wooden outdoor table for picnics with just a few supplies and steps. Have your local hardware store cut the wood for you into the lengths that you need, and you won't even need to touch a saw.
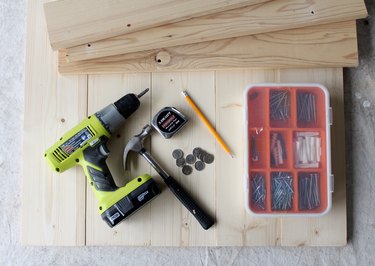
Things You'll Need
10-foot one-by-six common white boards cut in half, 3 (you will have one extra board to discard or reuse for another project)
8-foot one-by-four common white board, 1, cut into three 25-inch pieces (discard or reuse the excess)
Hammer
Quarters or other objects for spacers (optional)
Wood glue
28-inch wood table legs with pre-installed hanger bolts, 4
Measuring tape
Drill with a Philips-head screwdriver bit
1 1/4-inch wood screws, 15
4 straight top plates for table legs
Electric sander and 220-grit sandpaper or sanding block
Tack cloth
2 sponge brushes
Rubber gloves
Wood stain
Water-based polyurethane
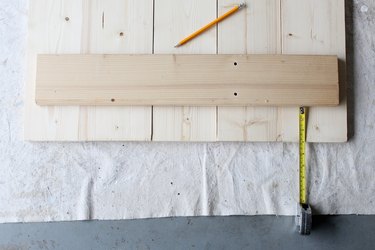
Step 1: Assemble the Boards
After your boards are cut, lay out your 5-foot boards vertically and add your spacers between the boards if desired. Use your hammer to tap the ends of the boards lightly to align them so that they are flush. Place your 25-inch wide support boards horizontally across the tabletop boards, three inches from the ends of the vertical boards and approximately one inch from either side. Mark where the support board will go.
Video of the Day
Tip
Using spacers between the boards can add character to the table. Any thin object, such as quarters, will work. After the table top is assembled, use a flat-head screwdriver to knock out the spacers by gently tapping the end of the screwdriver with a hammer.
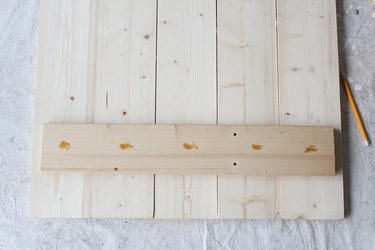
Step 2: Glue Supports
Add wood glue to one side of the first support board, flip it over and press gently onto the tabletop boards. Repeat with the other two support boards, one on the opposite end of the tabletop and the other in the middle.
Step 3: Attach Supports With Screws
Allow the glue to set for 10 minutes. Then screw five screws into the first support board, approximately 2 to 3 inches apart, avoiding the seams. Hold the base boards tight while drilling in the screws so the boards don't separate. Repeat this step with the other two support boards
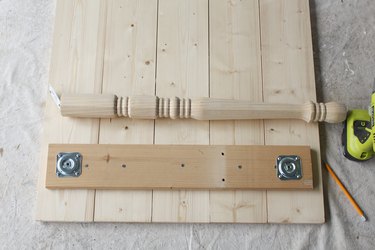
Step 4: Add the Legs
Attach the four straight top plates for the table legs with the included screws to each end of the support boards, approximately 1 inch in from the edge on all three sides. Screw the legs into the straight top plates.
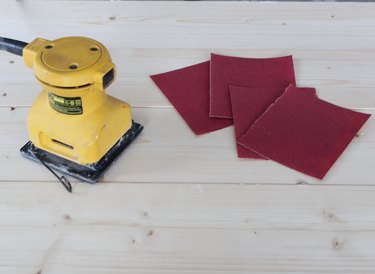
Step 5: Finish It Off
After removing spacers, lightly sand the table with sandpaper and an electric sander or a sanding block. Wipe off dust with a dry cloth.
Step 6: Stain the Table
Apply a generous coat of wood stain to the table base and legs using a medium-sized sponge brush. This project uses the color English Chestnut.
Warning
Apply stain and polyurethane in a well-ventilated area such as outside or an open garage. Avoid skin contact and use a face mask.
Step 7: Apply Poly
Allow the stain to dry overnight, and then apply one coat of water-based polyurethane with the second sponge brush.

Tip
If your table will stay outdoors permanently you can add two more coats of polyurethane for protection, lightly sanding between each coat, or opt for an exterior-grade polyurethane.
Put It to Use
The other beauty of this table is that it's lightweight and easily portable. Instead of the run-of-the-mill folding table, you can wow your guests or attendees with a gorgeous homemade farmhouse-style table at your next soiree.

Video of the Day