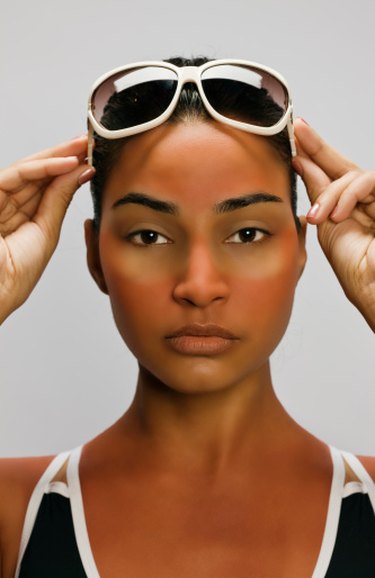
You can use GIMP to alter the appearance of the skin tone in a digital picture. Taking advantage of GIMP's ability to maintain separate layers, you can add a colored, semi-transparent overlay to your image and simply cut out any portions that cover what you want to keep from the original image. You can then merge the two layers, resulting in a seamless patchwork featuring a realistic-looking altered skin tone.
Step 1
Launch GIMP and open the image you want to transform. Click on "File" and "Open" to locate the image among your documents, selecting the picture and pressing "Open."
Video of the Day
Step 2
Open the "Layers" toolbar by clicking "Windows," "Dockable Dialogs" and "Layers." Insert a new layer by clicking on the "Create a New Layer" icon at the bottom of the Layers bar. Select a "Layer Fill Type" of "Transparency" and click "OK."
Step 3
Click on the "Foreground Color" box in the main toolbar, and the "Change Foreground Color" box will appear. Select the shade of color you want to the skin tone to become and click "OK."
Step 4
Select "Edit" and "Fill With FG Color." Using the Layers toolbar, change the "Mode" of your layer from "Normal" to "Multiply." Use the "Opacity" scroll bar to decrease the visibility of the layer until you reach your desired skin tone.
Step 5
Use the "Eraser" tool to eliminate any unwanted portions of your colored layer. For example, erase the parts of the colored layer that rest over the subject's eyes, teeth and hair.
Video of the Day