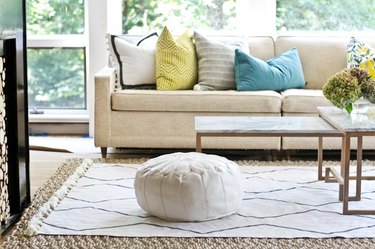
Adding an area rug to a space is the perfect way to add warmth and character to your home, but they can be pricey. If you're looking for an inexpensive, non committal solution - try making a drop cloth version. Today, I'll share how to make a West Elm inspired rug that won't break the bank or take a lot of time. With basic crafting skills and a few basic materials, you can easily make this rug in just an afternoon.
Video of the Day
Things You'll Need
6-foot x 9-foot drop cloth
Iron
Template - you can download it HERE
8.5-inch x 11-inch paper and printer
Clear tape
Craft knife, metal ruler, cutting mat
Tape measure
Painter's tape
Acrylic paint
Fabric paint medium
Flat paint brush (about 3/4-inch wide)
Cotton crochet thread (gauge 10)
Cardboard
Scissors
Tapestry needle
Step 1: Prewash and Iron Drop Cloth
Prepare the drop cloth by, washing and drying in washing machine and dryer. Once dry, iron the drop cloth. It will most likely still have some wrinkles, most will come out in the second ironing (see step 8); however, drop cloth, by nature will have a relaxed look.
Video of the Day

Step 2: Print and Prepare the Template.
Print the 6 page template, included in the list above (in printer settings, chose scale to fit). Then, line up the outer lines, in order as shown on the template and tape together.
Tip
Hold the paper template over a window while assembling to easily line up.
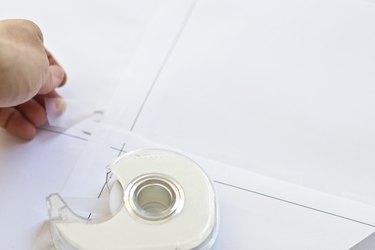
Step 3: Reinforce the Template
Apply clear tape over the gray lines, to both sides. This will help stabilize the template and make it waterproof while painting.

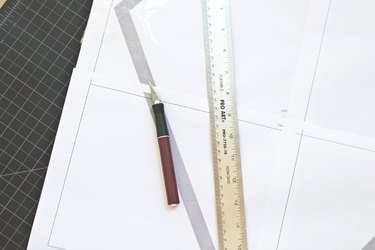
Step 4: Cut Out the Template.
Using a craft knife, metal ruler and cutting mat, cut out the gray lines to make the template.
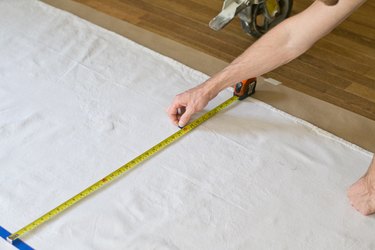
Step 5: Measure the Columns and Mark with Tape.
Find the center of the drop cloth (each drop cloth will vary slightly, so be sure to measure). Create three stenciled columns total - from the center, measure 22 1/4 inches on both sides.
After taping the center line, measure 22 1/4 inches out on each side, mark and tape lines marking the center of the outer columns. You should have three vertical strips of tape to mark the center of the stencil. The center of the stencil will line up on this mark.
Step 6: Mix the Fabric Paint
Mix one part fabric medium to two part acrylic paint.
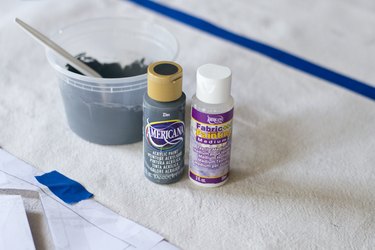
Tip
Use fabric paint to make the drop cloth washable.
Step 7: Place the Template and Paint
Secure the template with painter's tape to the drop cloth. Stabilize the template by holding down with two fingers, as shown below, paint using the flat paintbrush.
Remove the template, move it down one stencil length, line up the stencil and center. Finish the entire center column and repeat on the outer columns.

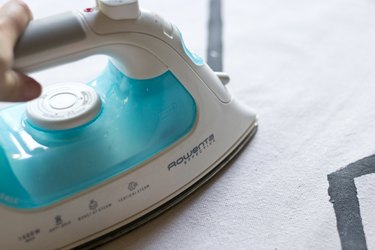
Step 8: Heat Set the Paint
Allow the paint to dry per the instructions on the paint, and then heat set with an iron.
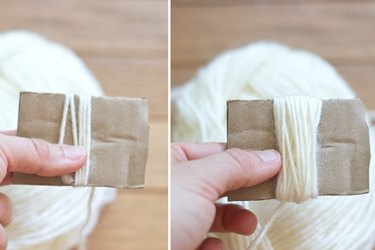
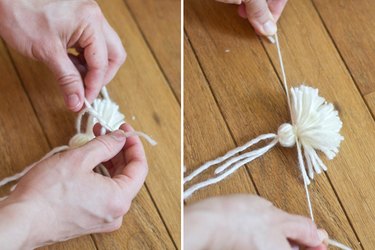
Step 9: Create the Tassels
Cut a piece of cardboard the length of the desired tassel -- about 2 1/2 inches. Wrap the cotton crochet thread around the cardboard, holding it down with your thumb. It should feel fairly thick. Once you do one, you will know the approximate thickness for the remaining tassels. It doesn't have to be exact, but close.
Cut a 6-inch piece of thread and double knot the top of the thread. Pull the thread off of the cardboard and cut the end of the loop (opposite of the knot just tied).

Cut another approximate 6-inch piece of thread. Near the top of the tassel, tie a single overhand knot, flip the tassel over and tie another single overhand knot. Repeat until the tie holds itself tight. Then tie a double knot to secure it. This process makes it easier for one person, because the thread self tightens as you go.
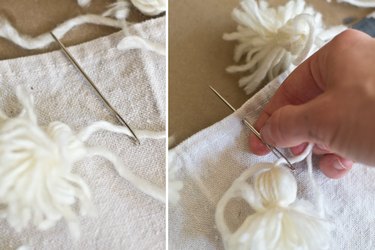
Step 10: Secure the Tassels to the Rug
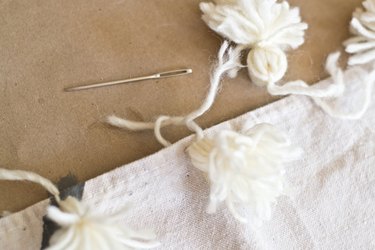
Thread a tapestry needle with one end of the top. On the edge of the drop cloth, thread the needle and thread through the cloth. Place tassels on both shorter ends of the rug. For a 6-foot x 9-foot rug, you will need about 23 tassels per side. For spacing the tassels, eyeball the distance or use a ruler to measure precisely.
On the underside of the drop cloth, tie a double knot.
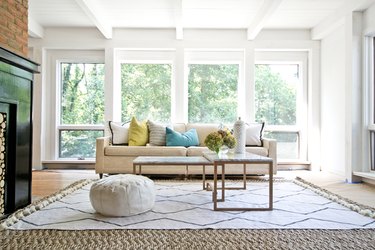
Step 11: Layer Drop Cloth Rug and Natural Rug
Layer over another rug for added dimension.