There is a right way and a wrong way to wrap an electrical wire around a screw terminal. Most of the electrical devices that you will install will have screw terminals. Duplex receptacles, range receptacles, dryer receptacles, light switches and many other devices all use screw terminals. Wrapping a wire around a terminal screw in the right direction ensures a safe, effective connection. Wrapping a wire around a terminal screw in the wrong direction creates a dangerous condition that places you and your property at risk.
Step 1
Adjust the wire stripper's depth of cut using a scrap piece of wire, the same gauge (size) as the circuit wires that you will be stripping. To adjust the cutting depth, loosen the adjusting screw and squeeze the handles of the strippers until it cuts through the insulation and makes light contact with the wire. Tighten the screw.
Video of the Day
Step 2
Remove one inch of insulation from the scrap wire. To strip the wire, squeeze the stripper's handles together, rotate the stripper around the wire and pull the insulation off the wire. Inspect the bare copper wire closely for signs of damage. If the wire stripper cut a groove in the copper wire when the wire stripper is rotated around the wire, you need to readjust the strippers. You will need to readjust the wire stripper's cutting depth, until it cuts through the insulation covering the copper without biting into the copper wire.
Step 3
Remove 3/4 inches of insulation from the ends of the wires to be connected to the screw terminals. Check the stripped wires for signs of damage.
Step 4
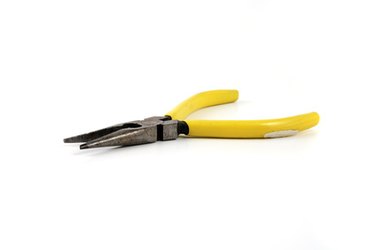
Make a loop in the stripped ends using the needle nose pliers. When finished the loop should look like a question mark with the diameter just large enough to slip over the terminal screw's threads.
Step 5
Place the loop around the terminal screw's threadsso that the wire is running in a clockwise direction. Squeeze the open loop closed around the screw using the needle-nose pliers. Squeeze the loop close but make sure that the wire does not overlap itself. If the wire overlaps itself, the terminal screw will not make solid contact with the entire loop and an unsatisfactory connection results.
Step 6
Tighten the terminal screws down securely on the wire, but do not over tighten them. Over-tightening will strip the threads in the device and you will need to replace it.
Video of the Day