Things You'll Need
Drafting Tapes
10x Magnifying Glasses
Isopropyl Alcohols
Sponges
Wire Brushes
Acetone
Allen Wrenches
Electrical Testers
Needle-nose Pliers
Rosin-core Solder
Soldering Guns/irons
Wire Crimpers
Wire Nippers
Wire Strippers

How to Solder Wires. Soldering properly is a skill every electronics and computer hobbyist needs. Proper soldering appears deceptively simple, but it requires practice.
Step 1
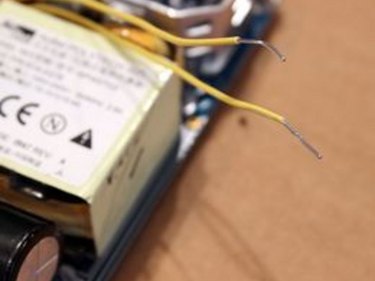
Clean the area to be soldered, scraping the wire down to bare metal and then wiping it clean with alcohol or acetone.
Video of the Day
Step 2
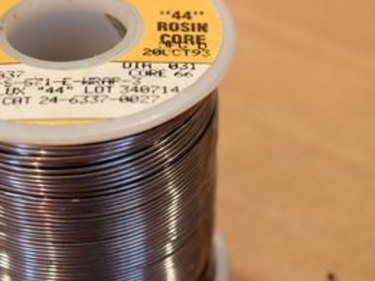
Use rosin-core solder for electronic applications. This solder normally comes in coils.
Step 3
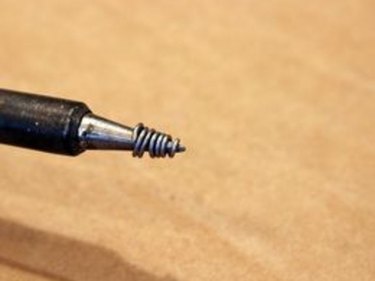
Tin (coat with solder) the soldering tip first: Wrap one or two inches of solder around the tip while the iron is cold; set the iron to the solder's temperature range; and allow the solder to melt.
Step 5
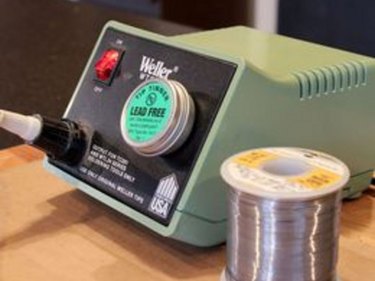
Set the soldering tool to the minimum temperature necessary to melt the type of solder being used.
Step 6
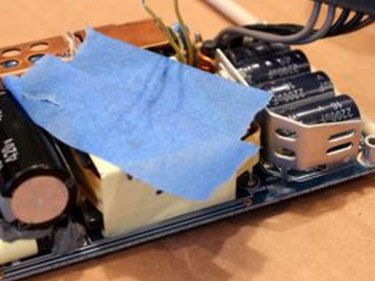
Mask off with drafting tape any part of the work that might be damaged by solder.
Step 7
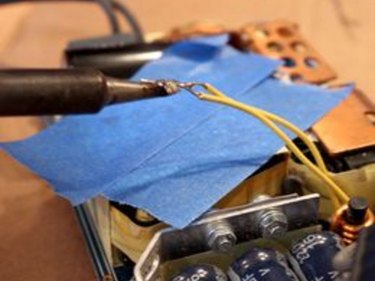
Tin objects that you intend to solder together by holding the soldering unit tip at a slight angle with the line of the chisel point parallel to the side of the work.
Step 8
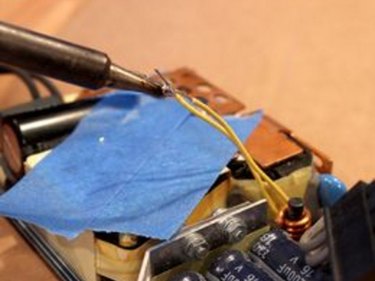
Join the wire elements that are to be soldered. Wires can be temporarily crimped together.
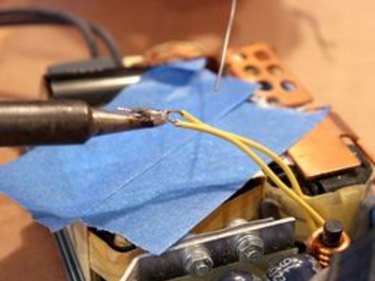
Step 9

Heat the joint with the soldering iron tip.
Step 10
Place the rosin-core solder so that it touches on the opposite side of the joint rather than directly next to the soldering tool tip.
Step 11
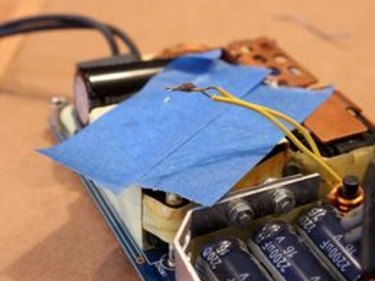
Do not overapply solder. A blob of solder does not provide a good joint.
Step 12
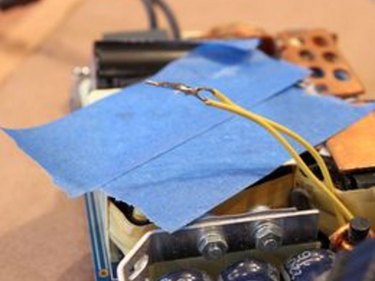
Lift the end of the solder coil before lifting the soldering iron. The solder joint should be clean, shiny and uniform.

Step 14
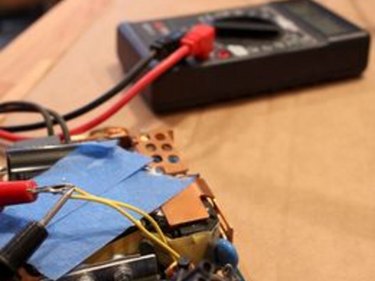
Use a volt-ohm meter to test for continuity.
Tip
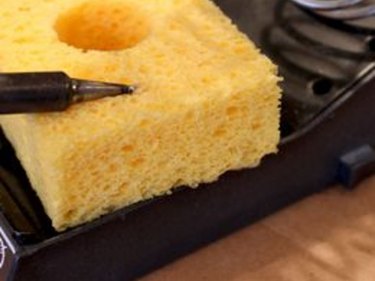
Clean the soldering tip with a sponge between every application. Rosin-core solder is necessary because the chemical reaction resulting from the application of heat cleans the connection to allow the proper flow of electrical energy. Soldering is intended to provide an electrical connection rather than a mechanical weld.
Warning
Avoid damaging a soldering iron by knocking it against a solid object to clear the tip. Use a sponge instead. Filing or sanding the soldering iron tip will damage the plating. Clean the tip with a sponge and re-tin the tip regularly. Do not use a high-wattage soldering tool for small joint work; the heat may damage the circuit on which you are working. Before cleaning a circuit board with alcohol or acetone when you intend to solder wires to it, you should test a small area to make certain the fluid will not damage the board.
Video of the Day