
How to Make a Brace Support for a Park Bench

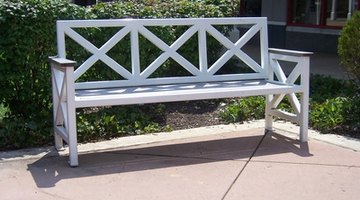
Little is as relaxing as sitting outside on a sunny day on your own park bench. Park benches are a great way to unwind--except when you're worried that they might not support your weight. To ensure that your weight will be properly held by your park bench, it is a good idea to install a brace support. A brace support will make sure your relaxing is not interrupted by a collapsing bench.
-
Measure the length of seat on the bench. Divide the measurement in half to find the length to the middle of the bench. Measure to the middle of the seat and lightly mark it with a pencil
-
Measure the distance of the middle of the bench to the base of the right leg. Do the same for the left leg. The two measurements should match. If they do not, relocate the middle of the bench.
-
Cut your boards to match the length from the middle of the bench to the base of the legs. Hold your boards up to the span the distance from middle bench to leg base. Mark off the angles needed on either end of the board for it to lay flush against both the leg and the under part of the seat.
-
Saw off the appropriate angles on your boards. Place your newly made support against the base of the leg and the middle of the bench. Screw the brace down onto both the bench and the leg. Do the same on the other side of the bench.
References
Writer Bio
Nathanael Rittichier began writing in 1995. He received a Bachelor of Arts in telecommunications with emphasis on production and a minor in philosophy from Ball State University.
Photo Credits
- park bench image by palms from Fotolia.com
More Articles