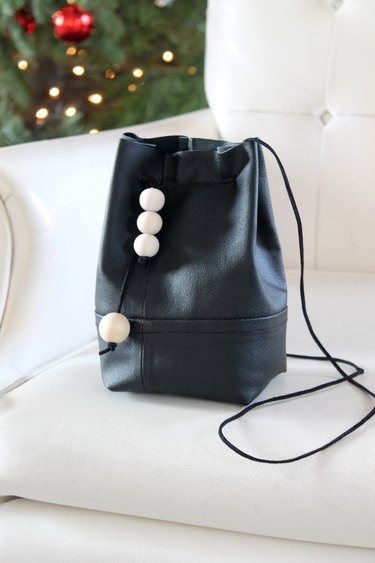
If you've been wanting a trendy bucket bag, but you don't like the expensive price tags on those you find in stores, we've got some good news: You can create your own chic bag from an old leather jacket that's been collecting dust in your closet. Using a handful of accompanying items — including contrasting wooden beads for a cool detail — you can sew together your new favorite accessory for a fraction of what a labeled alternative would cost. And when you're finished, you can sling this versatile bag over your shoulder knowing that you made exactly what you wanted.
Video of the Day
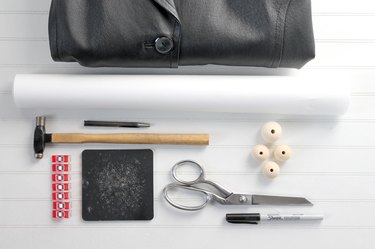
Things You'll Need
Pre-loved leather jacket
Freezer paper
Marker
Sharp scissors
Leather hole punch
Wonder clips (or large paper clips)
Leather needle (110/18)
Leather cord
Wooden beads
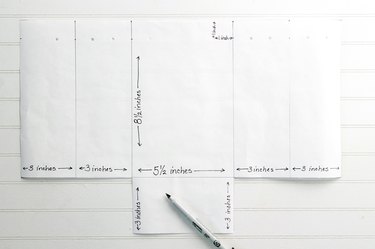
Step 1: Create the Pattern
Use freezer paper to create your pattern with the same dimensions as the photograph below.
Video of the Day
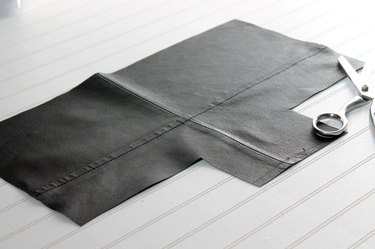
Step 2: Cut the Back Off the Jacket
Cut the lining from the jacket, and then cut the back off the jacket to create a piece of leather that is big enough for the pattern piece. The seams on a jacket can create some interesting lines on your bag.
Step 3: Cut the Leather Using the Pattern
Use the paper pattern as a guide to cut the leather. Instead of using pins to hold the pattern in place as you cut, opt for pattern weights instead. This way, you don't put holes in the leather.
Step 4: Mark Holes
Place the pattern on the back side of the leather and mark the holes with a marker.

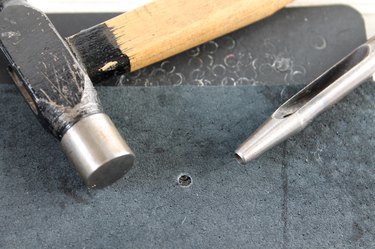
Step 5: Punch Holes
Punch holes in the leather according to your marks using a leather punch.
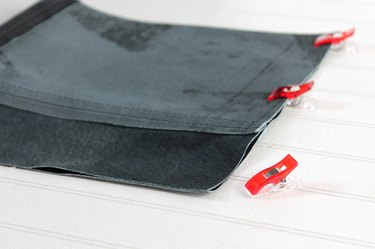
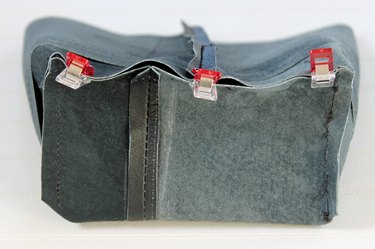
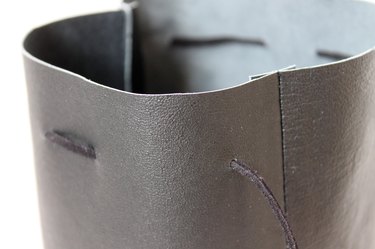
Step 6: Fold the Leather in Half
Fold the leather in half with the right-sides together and use clips to hold it in place. This seam will become the back of your bag.
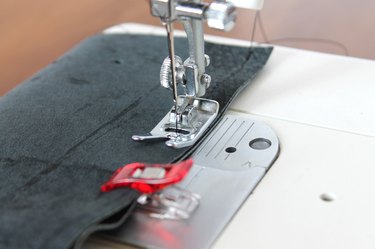
Step 7: Sew With a Leather Needle
Sew a 1/2-inch seam allowance with a leather needle (110/18). Be sure to remove the clips as you sew.
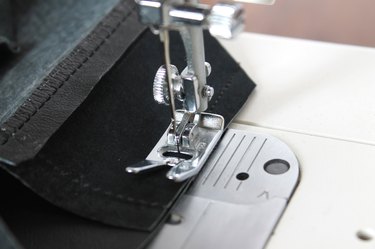
Step 8: Clip Bottom Edges and Sew
Fold the bottom piece up and clip the two opposing sides with the right-sides together. Sew with a 1/2-inch seam allowance.

Step 9: Clip and Sew the Third Side
Clip and sew the third side with a 1/2-inch seam allowance.
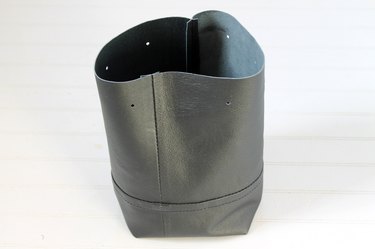
Step 10: Turn Right-Side Out
Turn the bag right-side out. Push out the bottom corners with your finger.
Step 11: Thread Leather Cord
Thread the leather cord through the holes starting in the front.
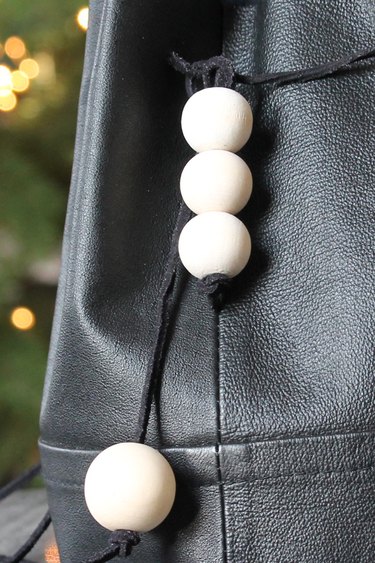
Step 12: Attach Beads
Thread the beads onto the ends of the cord and tie a knot to hold them in place.
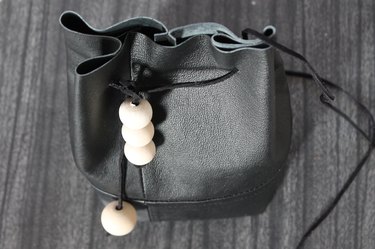
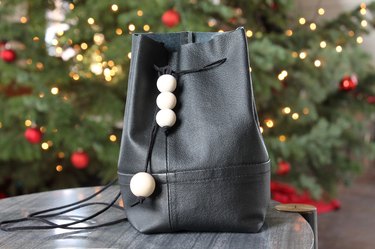
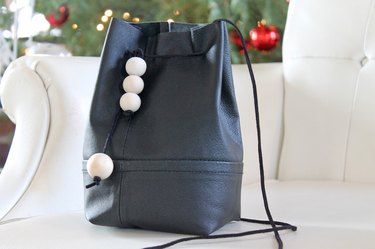
Step 13: Pack, Cinch and Go
Now you have an on-trend accessory that you can take with you anywhere!