An orchid is not just another pretty face. Unlike many flowering plants, orchids do not thrive on neglect and require more than the occasional splash of water to thrive. Light, humidity, temperature, water and fertilizers all play important roles in an orchid's health and vigor. And complicating matters, different types of orchids (and there are 3,000 varieties growing in the wild) have different cultural requirements. Despite this, you can learn to care for an orchard properly if you are willing to work at it.
Let There Be Light
Video of the Day
"Let there be light" might be an orchid's motto.The single most important variable when growing orchids indoors is light. But how much light? Ah, that depends on what kind of orchid you have. Some like high light, others medium, and still others need low light.
Video of the Day
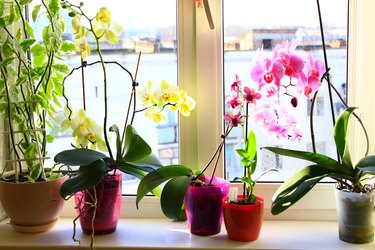
High-light-loving orchids need unobstructed sunlight. These plants can thrive in a clear, south-facing window or in a greenhouse that gets at least six hours a day of sun. Light lovers include Vanda, a genus in the orchid family Orchidaceae. Vanda species are highly prized for their fragrant, long-lasting and vivid flowers.
Medium-high light orchids do best in sites that get indirect, bright light, like east and west exposures. These include species in the genera Phragmipedium (commonly known as slipper orchids), Oncidium (the species are generally epiphytes) and Dendrobium (one of the largest orchid genera).
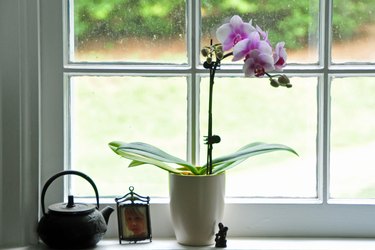
Some orchids require just a little less light. These medium-low light plants include Phalaenopsis (moth orchids) and Paphiopedilums. Low light orchids, like jewel orchids, need a limited northern exposure or another exposure where the light is blocked by something like a tree.
Humidity and Temperature
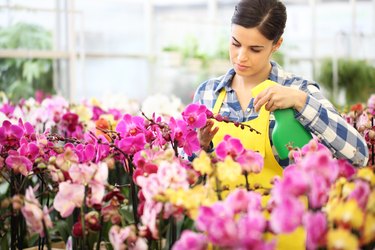
Most orchids available at the garden store come from a tropical place where the temperature and humidity are quite different than your living room or kitchen. They have to adjust a little, and you have to be careful when you select your plant.
Some orchids like it warm, some like it cold. Many like it intermediate. Your best bet is not trying to match the temperature to an orchid's preference, but to measure the temperature range in your orchid location and then find an orchid that loves it at just that temperature.
You may never match the humidity of the tropics, but you can keep your orchids happier by boosting the humidity in their immediate growing area. Grouping plants together automatically increases humidity, and you can do more by building a dry well. Place pebbles on a platter or tray, then add water to just cover them. Group your potted orchards on top.
Water, Water, So Complicated
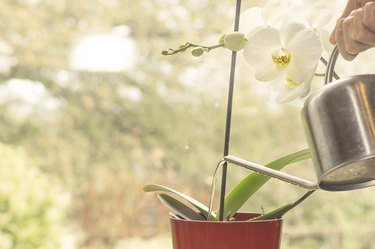
Was irrigation ever so complicated as it is for orchids? If you have already tried to water one, you know how fast every drop of water you pour into the pot runs out. That's because orchids are not potted in traditional potting soil, so you need to be creative about getting that bark mix wet.
You need to get each bark particle to soak up as much water as possible. The best plan is to put the entire pot in water for 10 or 15 minutes, then let it drain. Use this technique for orchids in a clay plot, because clay lets in water. For orchids in plastic pots, add the pot to the bowl before you put in the water. Otherwise, the water pushes the bark up and out, away from the orchid roots. If an orchid is potted in long-grain sphagnum moss or soilless mix, just add water until it runs out to the saucer below.
You should water your orchid once every four to seven days. Drought-tolerant orchids, such as cattleyas, oncidiums, and dendrobiums should get water once a week. Others should get water every four to five days. Thoroughly water orchids every time you irrigate, and then let them dry out before watering again.
For fertilizer, make it easy on yourself. Buy orchid food at the flower store, and apply it according to label directions.