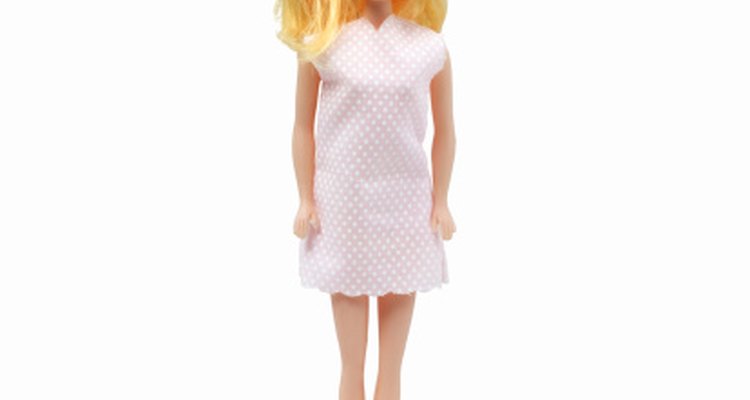
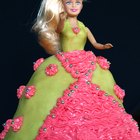
You may have wondered how to make those pretty princess doll cakes without investing in a cake pan that you will never use again. The good news is that you can use a large Pampered Chef glass measuring container to bake the cake doll skirt. The 8-cup (2-quart) Classic Batter Bowl is the perfect size for the skirt and cooks up nicely, without sticking to the sides. The fun part of making the cake is adding decorative designs with frosting and cake embellishments.
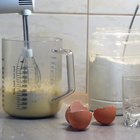
Make your favorite two-layer cake recipe or prepare batter from a box mix. Avoid substituting the oil or eggs for a low-fat option to keep the cake at a standard consistency when baking.
Preheat the oven to 350 degrees or the temperature listed in the recipe.
Spray the inside of a glass 8-cup Pampered Chef Classic Batter Bowl with cooking spray. Pour the cake batter into the container. Set a baking sheet in the preheated oven and place the container on top; this creates a sturdy base during cooking.
Bake for about 60 minutes, or until a toothpick inserted into the middle comes out clean. Remove the container from the oven and let it cool for 15 minutes. Remove the cake from the container by slicing around the inside edge with a sharp knife and inverting the cup onto a cooling rack.
Wash the body of a princess doll with soap and water and let it dry. Stick the doll into the top of the cooled cake, stopping at the waist. Slice excess cake to taper it naturally from the waist to the middle of the cake.
Place rolled fondant over the cake for a smooth skirt, or frost the entire cake using a star tip. Decorate the doll bodice with a star tip application, adding delicate straps over the shoulders.
Add metallic balls as decoration around the dress while the frosting is soft.
Related Articles
Easy White Cake Recipe

Easy Strawberry Cake Recipe
How to Make Red Velvet Cake From Scratch
Easy Pumpkin Roll Recipe
How to Make a Dome-Shaped Cake

How to Make an Elsa Cake

Directions for an Egg-Shaped Cake for ...

How to Decorate Fake Cakes
Simple Chocolate Frosting Recipe
How to Adjust Cake Baking Times for ...
How to Store Leftover Pancake Batter
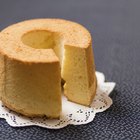
How to Keep Chiffon Cake From Shrinking
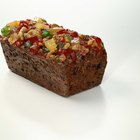
Instructions for Baking Fruit Cake in ...

How to Make a Bible-Shaped Cake
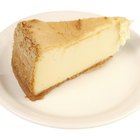
How to Cook Cheesecake in a Cupcake Pan
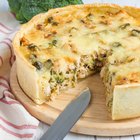
Low-Fat Breakfast Quiche
How to Steam Cook a Cake
How to Make Petit Fours
How to Cook a Cake in a Pyrex Measuring ...
Can You Make a Pumpkin Roll With a Cake ...
References
Writer Bio
Jennifer Loucks has been writing since 1998. She previously worked as a technical writer for a software development company, creating software documentation, help documents and training curriculum. She now writes hobby-based articles on cooking, gardening, sewing and running. Loucks also trains for full marathons, half-marathons and shorter distance running. She holds a Bachelor of Science in animal science and business from University of Wisconsin-River Falls.
Photo Credits
Stockbyte/Stockbyte/Getty Images