Things You'll Need
Microsoft Office Word 2007
20# bond paper
Paper cutter
Printer
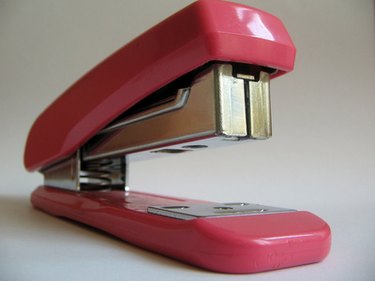
Stapler
Envelopes

Jazz up your next house party or backyard barbecue by whetting your guests' appetite for adventure and intrigue with airline ticket invitations -- invites that look like plane tickets -- that you design and print yourself. The ticket design can be as simple or fancy as your time and talent will allow and will give your invitees a lasting memento of a great destination. For the purposes of this article, you'll need Microsoft Office Word 2007 to access a 3-up template certificate. If you're using a different program, alternative directions are provided in Tips at the end of this article.
Step 1
Open a new document in Word and click on the Microsoft Office icon in the upper left-hand corner. Click on "New" which will provide you with a left-hand menu of available templates.
Video of the Day
Step 2
Select the template for "Gift Certificates." Choose the template that is labeled "Gift Certificate (differing colors, 3-up)" to make your invitation look as much like a real airline ticket as possible. When you download this template, the screen that opens up will be a vertical format that has three certificates, each displaying the same wording. Replace the existing wording with the particulars of your upcoming event, per the following instructions..
Step 3
Replace the words "Company Name" with the title of a fictitious airline. Examples: "Fly By Night Airways"; "Anderson Family Flights of Fancy"; "Jetting with the Jacksons." Replace the words "Gift Certificate" with the words "Official Airline Ticket" followed by the phrase "Non-Transferable" in parentheses.
Step 4
Delete the phrase "This certificate entitles" with the full name of the passenger/guest. Just below this, delete the word "to" and type "Departure," and what time your event kicks off. Below these two lines, you'll replace the left-hand address block information with the location of the party. Leave the authorization line as-is (this is where you'll sign your name). Enter the date of the party as the expiration date of the ticket. Add "RSVP" to the space for a number, and replace the "not redeemable for cash" wording with an advisory that passengers must confirm their attendance no later than 48 hours prior to their flight and bring their boarding documents with them.
Step 5
Copy and paste your new data into the second and third certificates on the page.
Step 6
Print out enough copies of this document on 20# bond paper so that each guest will receive a set of two, one of which they can keep for themselves, the other to present at the party. Keep straight edges on your invites by using a paper-cutter. Staple the pairs of tickets on the left-hand side and insert into addressed envelopes for mailing to your guests.
Tip
If you're not using a Word template to create your faux tickets, make a template of your own using text boxes. Set your page margins for 1" on each side and insert a top text box that measures 6-1/2" by 3". Create a design that includes all of the data referenced in Steps 3 and 4. When you're happy with how it looks, copy and paste to create second and third tickets on the same page. Check out websites such as Free Web Templates (listed under Resources) to get ideas for other designs.
Video of the Day