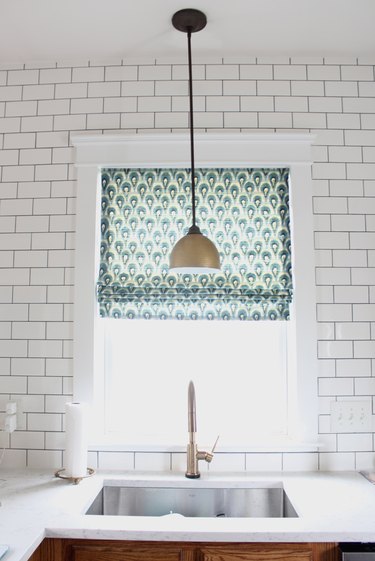
Switching up the lighting is an easy way to add a splash of character to a space. It's understandable that changing a light fixture may feel intimidating, but that doesn't have to be the case. Anyone can remove and replace a ceiling light with a few tools and a little concentration.
Video of the Day
Things You'll Need
New light
Wire cutters/wire strippers
Wire connectors
Scissors
Screwdriver
Warning
Before starting any electrical project big or small, be sure to turn off the switch inside and also turn the power off at the breaker box.
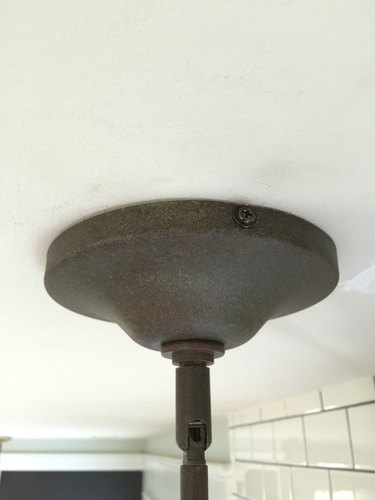
Step 1: Remove the Old Fixture
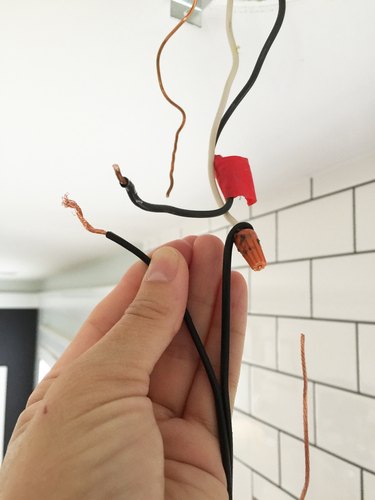
To begin, remove the old light by unscrewing the canopy and removing the wire connectors. The wire connectors are the plastic, cone-shaped caps that twist onto the end of the wire. They are usually red or white. Then untwist the two pairs of wires that are connected.
Video of the Day
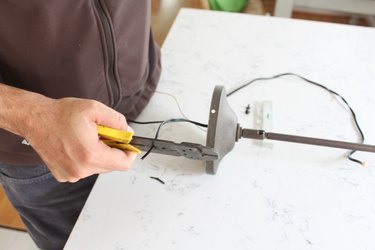
Step 2: Assemble the New Light Fixture
Unpack the new light fixture and lay out the parts. Assemble the new light according to the instructions.
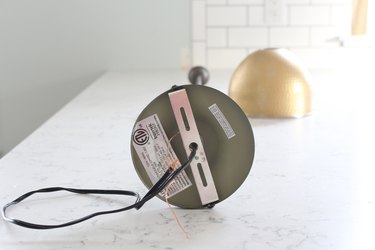
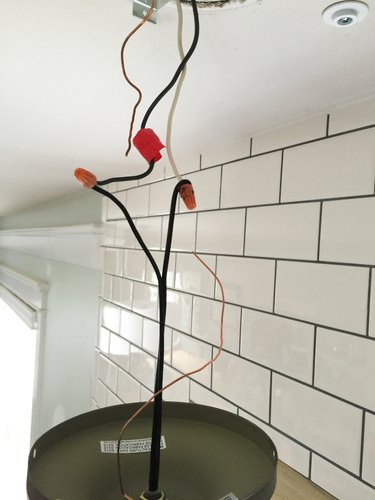
Using wire cutters, cut the wire on the new fixture to the length you need. This will vary depending on the size of the light and how much wire you have in the existing box.
Step 3: Prepare Light Fixture for Installation
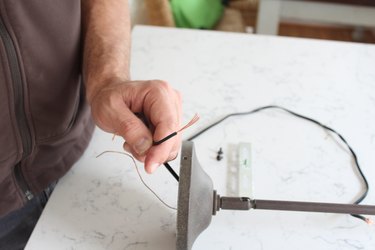
The wire on the new light will come bound together and you will need to separate the two pieces. Use scissors to cut the wire down the center so that each side is about an inch or an inch and a half long.
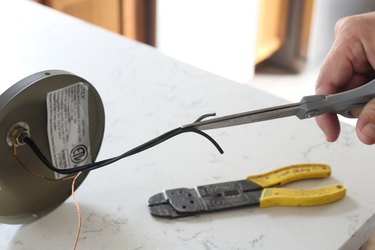
Use the wire cutters to strip off about an inch of black wire coating on each wire by clamping down and pulling the cutters away from the wire. Now your new light fixture is ready for installation.
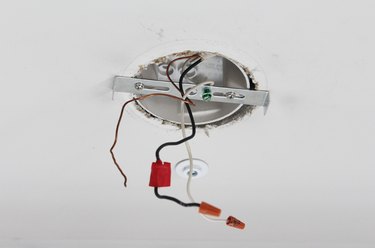
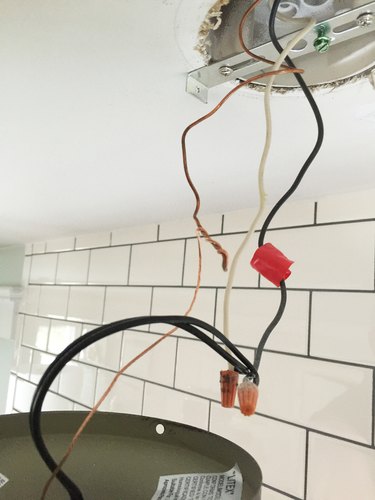
Here is the electrical box after the old light has been removed, prior to installing the new light.
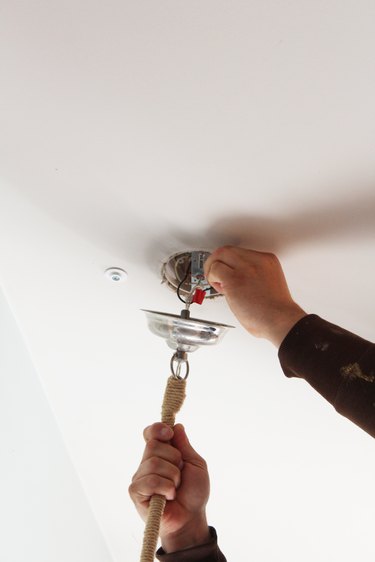
Step 4: Match the Wires and Connect
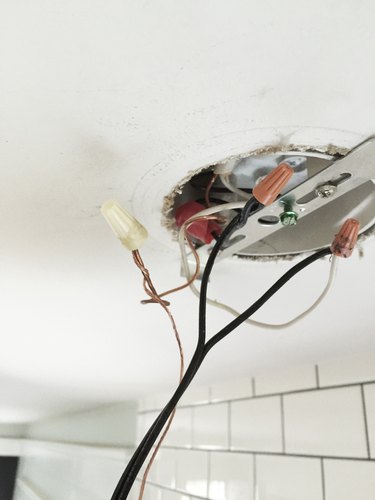
Connect one of the ends of the wire from the old fixture with the end of the wire to the new fixture by twisting the exposed wires together. When the two wires are twisted around one another, place the wire connectors over the ends and screw it on until it is secure. Repeat this step with the other pair of wires.
Tip
Typically, the black wires connect to each other, and the white wires connect to each other, but in some cases they don't differentiate. Follow the instructions on your new light for matching the wires on the new fixture to the existing wires.
Step 5: Connect the Copper Wires
Same as the steps above, connect the two loose copper wires together by twisting the ends around one another. The purpose of the copper wire is to ground the wired fixture.
Add a wire connector to the end of the copper wires.
Step 6: Attach the Light Fixture
Push all of the wires back into the electrical box and screw on the canopy. Turn the power back on, and now your new light is ready to go!