There are several methods to apply a stroke in Photoshop, producing very different results. In some cases, the stroke can easily be adjusted or removed; in others, the stroke can't be adjusted and, depending on how it was applied, can be almost impossible to remove without starting over from scratch.
Stroking a Path
Video of the Day
A stroke applied to a path:
Video of the Day
- Is a raster stroke and can't be painted on non-raster layers
- Is painted following the path in the order the nodes were placed
- Is painted using the tool and options you select, as if you were painting manually on your image with that tool
- Is painted on whatever layer you currently have selected in the Layers panel
- Is a destructive action, with the resulting pixels replacing existing pixels on the selected layer
- Can't be easily altered after being applied
- Can't be easily removed, unless it was painted on a layer that was previously blank
For the sake of non-destructive editing, the process of stroking a path should always begin with the creation of a blank raster layer. This is the only way you can make certain that the stroke can always be either altered or removed — by hiding or outright deleting the layer — without affecting the rest of the image.
Step 1
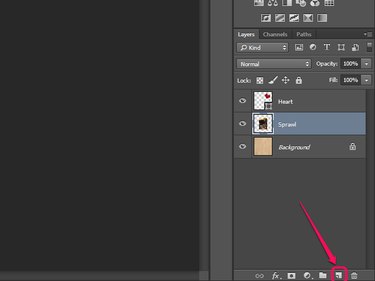
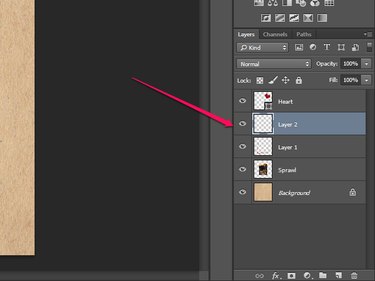
Click the New Layer button in the Layers panel. This creates, and automatically selects, a new blank raster layer above whatever layer you currently had selected.
Step 2
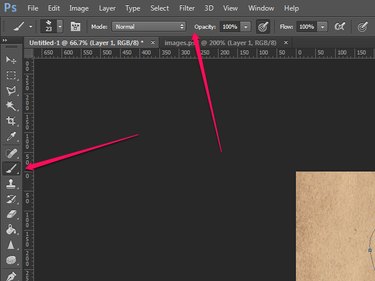
Select the tool you want to use to stroke the path in the Tools bar — this is generally the Brush tool. Adjust the tool options in the Options bar as needed. For example, you can change the size, shape and hardness of the brush tip, or set the tool to paint with a lower opacity.
Step 3
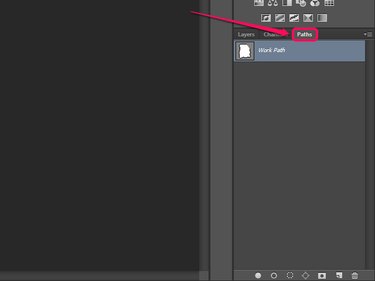
Open the Paths panel and select the path you want to stroke.
Step 4
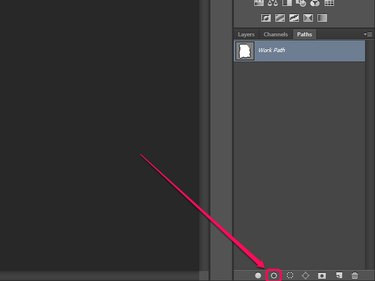
Click the Stroke Path button at the bottom of the panel.
To remove a stroke applied in this manner, hide or delete the layer it was painted on, assuming you applied it to a blank layer. If you applied it to an existing layer instead, the only way to remove the stroke is to use the Undo option to return to the point just before the stroke was painted; if the undo history doesn't stretch that far, you may have some luck using Photoshop's retouching tools to repair the damage, but you'll likely have to start from scratch.
Stroking a Layer or Selection
A stroke applied to a layer or selection in the manner described in this section:
- Is a raster stroke and can only be painted on raster layers
- Is painted on the currently-selected layer, whether you are stroking a selection or a layer
- Is a destructive action
- Can't easily be altered or removed, unless it was painted on a layer that was previously blank
To ensure that you can easily alter or remove the stroke, you may want to apply it to a blank layer. If you're stroking a selection, doing so is easy: Just create a new layer before applying the stroke. If you want to stroke a layer, there is a trick you can use. Hold Ctrl and click the thumbnail for the layer you want to stroke in the Layers panel, which creates a selection matching the layer's contents. From there, create a new layer and then apply the stroke to the selection.
Step 1
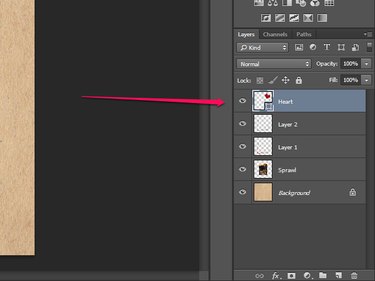
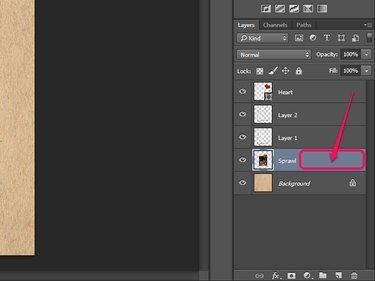
Select the raster layer on which you want to draw the stroke in the Layers panel.
Step 2
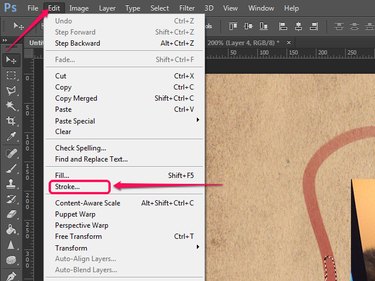
Click Edit and select Stroke.
Step 3

Adjust the various options in the dialog box and then click OK.
To remove a stroke applied in this manner, hide or delete the previously-blank layer it was painted on. If you painted the stroke on an existing layer instead, undo your work until you reach the point just before the stroke was painted, use Photoshop's retouching tools to repair the damage, or reload the image and start editing again from scratch.
Stroking a Shape
A stroke applied to a Shape layer:
- Can be a solid color, a gradient or a pattern
- Can be solid, dotted or dashed, including a custom sequence of dots and dashes
- Can have mitered, rounded or beveled corners
- Remains the specified thickness even when the shape is scaled up or down
- If your shape is defined by an open path, is only applied to the path segments, not to the entire boundary of the shape
- Can be a non-integer value in thickness — for instance, a stroke that is 2.5 pixels thick
- Can be applied, removed and adjusted at will
Step 1
Select the Shape layer in the Layers panel.
Step 2
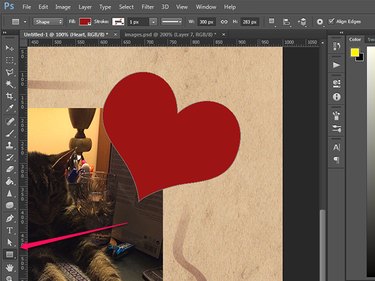
Ensure you have either a Shape drawing tool, the Path Selection tool or the Direct Selection tool selected in the Tools bar. When these tools are active and a Shape layer is selected, the Options bar displays settings for that shape.
Step 3
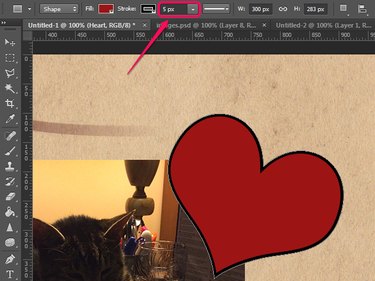
Type the width you want your stroke to have in the Stroke Width field. Doing this automatically enables a stroke for the shape.
Step 4
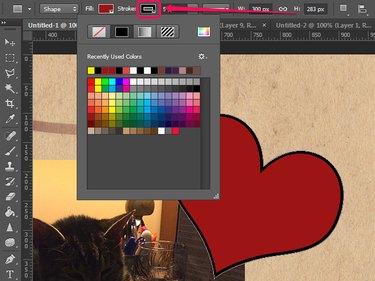
Click the Stroke Color button to unfold a menu with stroke color options. The first of the four buttons at the top of the menu removes the stroke; the other three, respectively, set it to a solid color, gradient or pattern. The remainder of the menu changes contextually depending on which button you select, giving you additional configuration options.
Step 5
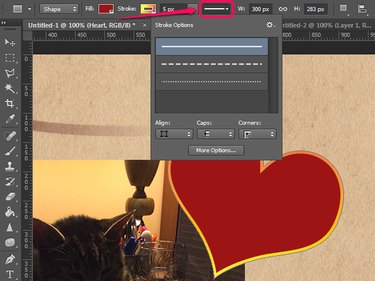
Click the Stroke Options button to unfold a menu with additional stroke options. Here you can choose whether you want the stroke to be solid, dotted or dashed — if you want to design your own pattern of dots and dashes for the stroke, click More Options. You can also change whether the stroke straddles the edge of the shape or falls entirely outside or inside it, and whether the shape's corners appear mitered, rounded or beveled. An option to set the line cap type is also available, although line caps are only visible if the shape is defined by an open path.
To remove a stroke from a Shape layer, click the Stroke Color button and select No Color, the first of the four buttons at the top of the menu that appears.
Stroking Through Layer Styles
A stroke applied to a layer using a Layer Style:
- Automatically adapts to the content of the layer — if you add or remove content, the stroke changes to match the new content boundaries
- Can be a solid color, a gradient or a pattern
- Can have its opacity adjusted independently from the layer's content — changing the Fill value for a layer doesn't affect Layer Styles, and changing a Layer Style's opacity doesn't affect the layer
- Can only have rounded corners
- Is automatically applied to the entire boundary of the layer, even if the layer is a shape layer defined by an open path
- Can be applied, removed and adjusted at will
Step 1
Double-click an empty part of the layer's entry in the Layers panel to open the Layer Style dialog box.
Step 2
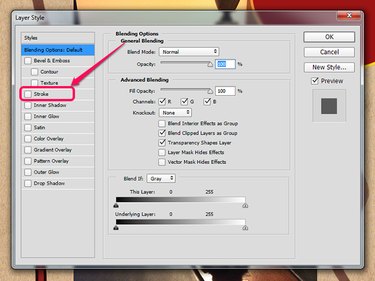
Select Stroke. This automatically adds a stroke to the layer using the default settings.
Step 3

Adjust the stroke settings as needed.
Step 4
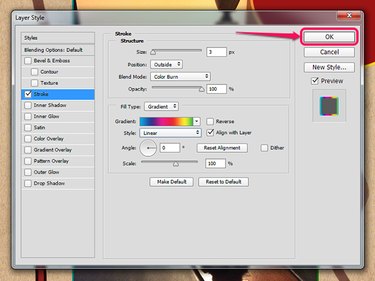
Click OK.