


Real pregnancy and parenting resources
The ultimate expert-backed resource for stage-specific information, inspiration and support to help guide you every step of the way.
Join NowYour Journey Starts Here

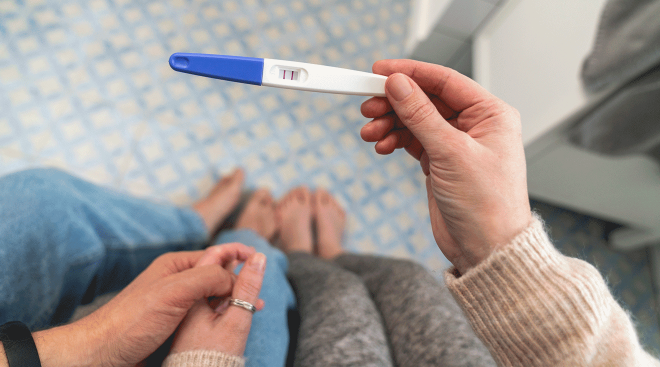
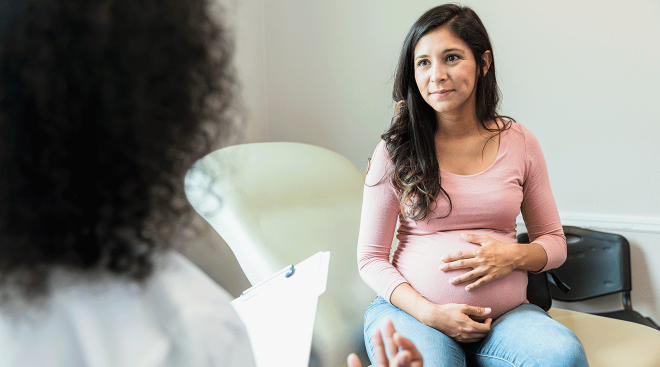
Getting Pregnant
From fertility signs to look for to ways of upping your odds of conception, get actionable advice that’ll set you on a path to parenthood.

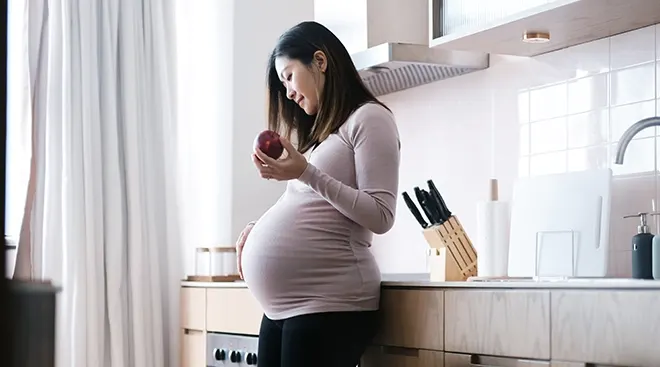
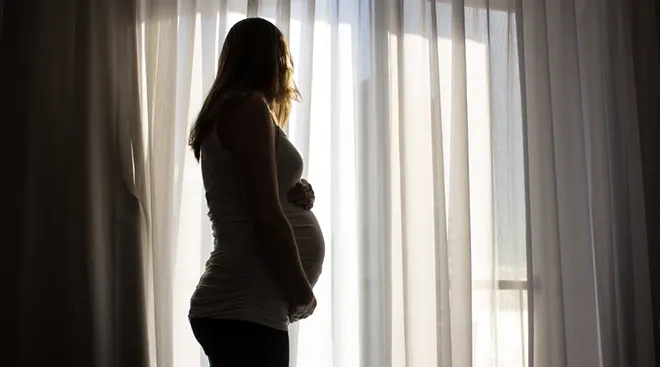
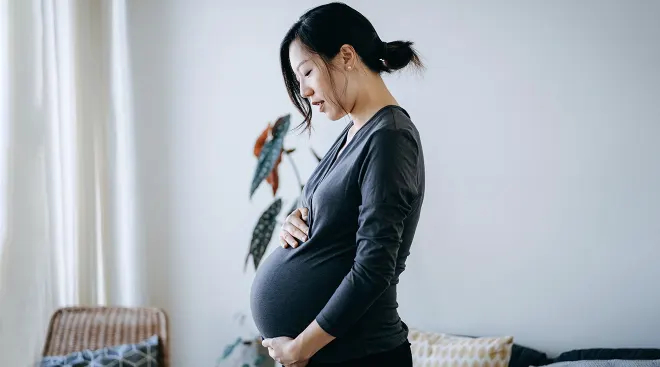
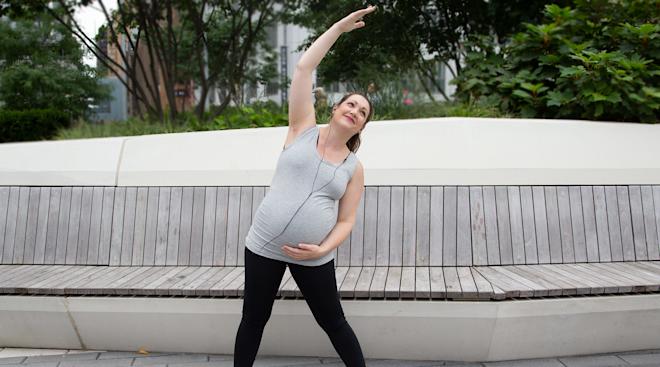
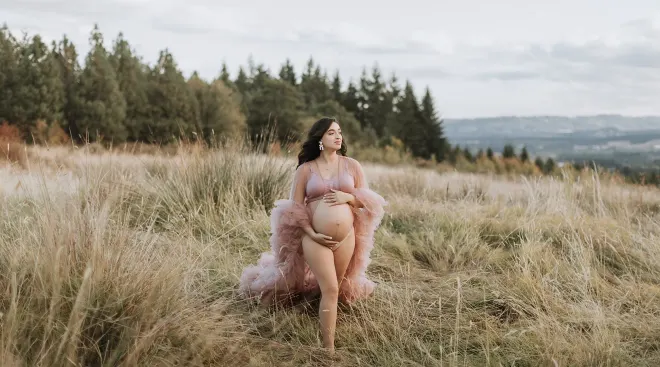
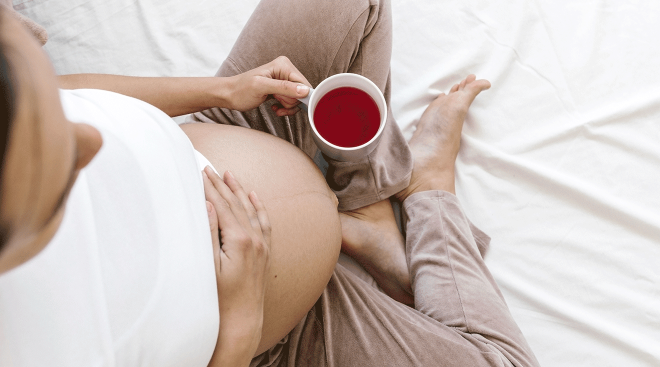
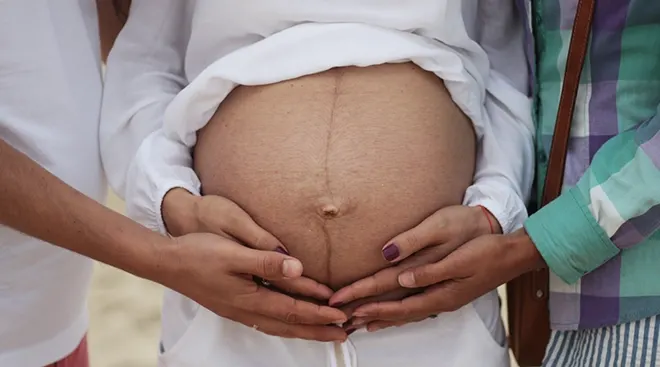
Pregnancy
Growing a human is hard work! Learn more about what’s going on with your and baby’s body and how to prep for parenthood.

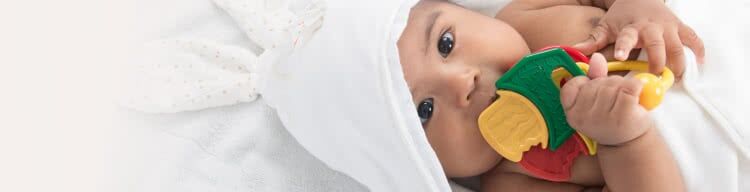
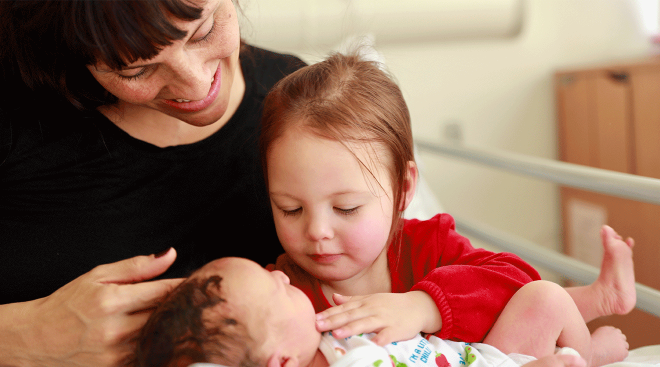
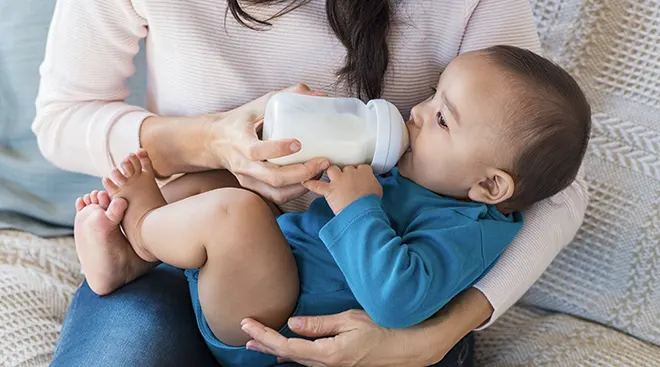
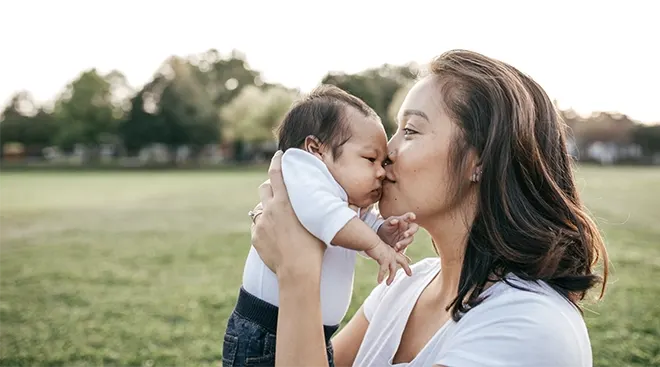
Newborn & Baby
Read up on how to nurture baby and tend to their ever-evolving needs—and care for your own wellbeing in the process.

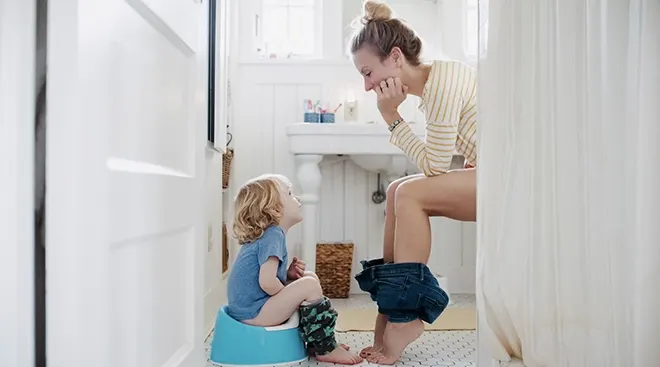
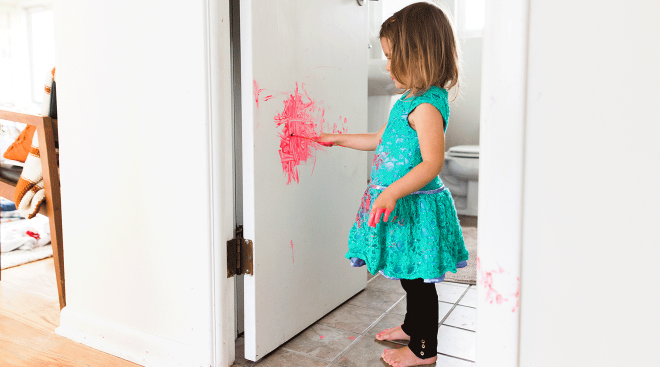
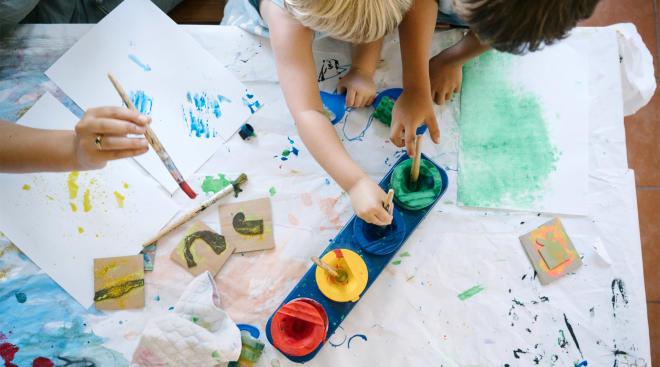
Toddler
Discover which new milestones are around the corner and how to support your toddler’s ongoing learning and development—and yours!
ADVERTISEMENT
Resources You’ll Love
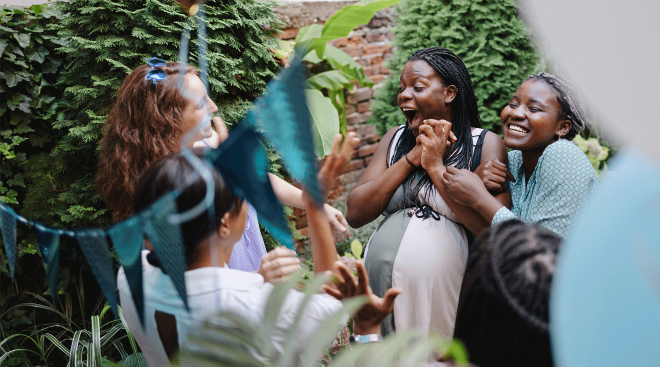
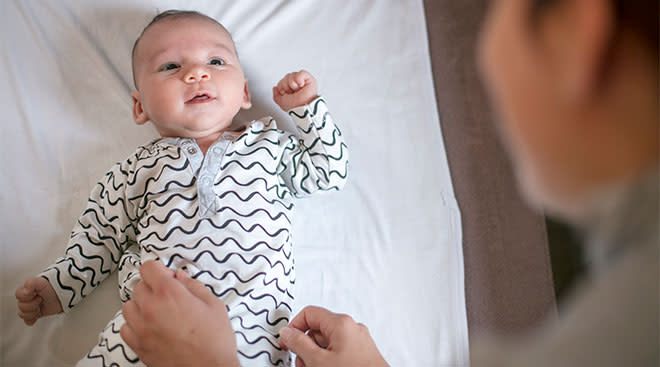
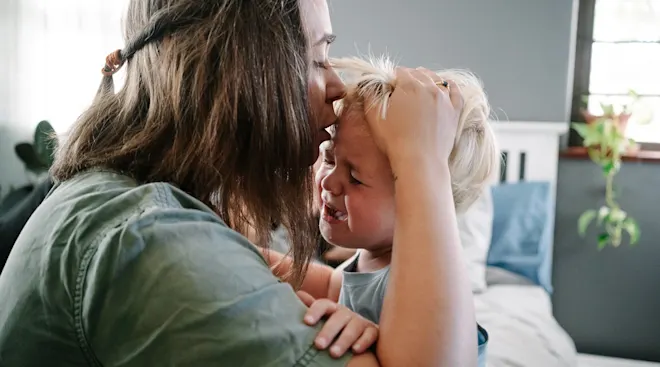
Fourth Trimester
The first three months postpartum—known as the fourth trimester—can be full of excitement and love, as well as stress and exhaustion. Get expert guidance and advice from real parents who've been in your shoes to help you navigate this major life transition.
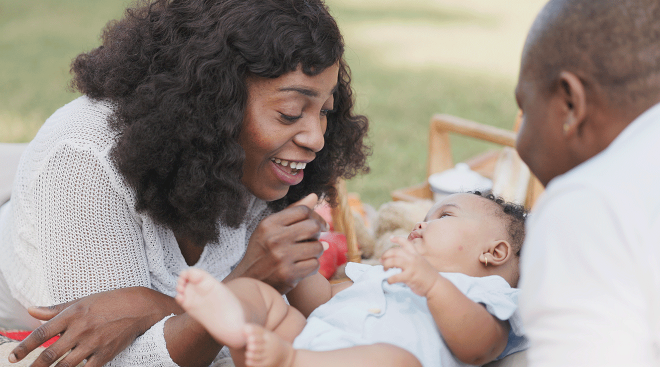
Black Maternal Health
It’s our collective responsibility to champion Black maternal health and wellness. Here, you'll find resources to keep you informed, supported and empowered throughout your pregnancy and parenting experience.
LGBTQ+ Family
There are many ways to make a family. We're here to support and guide all parents and parents-to-be, no matter what your journey looks like. Families are bound by love and commitment, and we’re all about celebrating that.
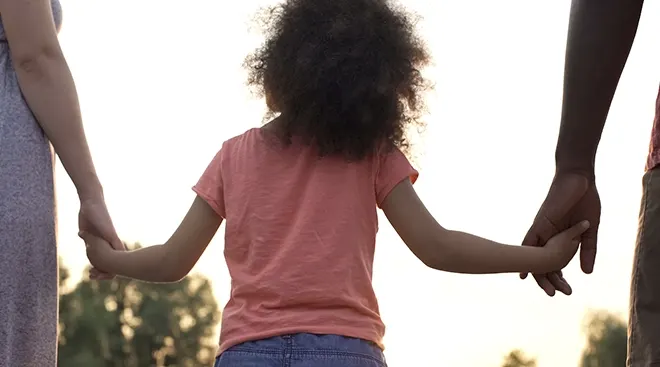
Expert Pregnancy & Parenting Advice


ADVERTISEMENT


Popular Tools
Baby Name Finder
We make finding a baby name fun and easy! Search by letter or origin, or browse hundreds of baby name lists for inspiration. Start exploring now and discover the perfect baby name.
Community
Whether you're pregnant, a parent or trying to conceive, The Bump Community forums offer a wealth of insider tips and emotional support from other parents and parents-to-be. Start connecting today.
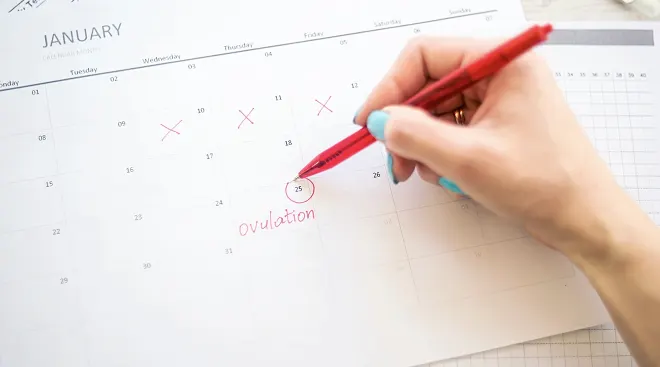
Ovulation Calculator
Figure out your exact fertility window with The Bump's ovulation calculator. Track your menstrual cycle and learn how to spot the telltale signs of ovulation.
How Big is Baby?
Bookmark this week-by-week guide to learn what's up with those pregnancy symptoms and bodily changes, and track baby's ongoing development. You can even see baby in 3D!
Chinese Gender Chart
Our Chinese Gender Chart, based on the lunar calendar, is a fun way to predict baby's sex. Give it a try!

Article saved.Go to My Saved Articles
Article removed.