Things You'll Need
Wooden chair
Chair cushion with ties
Firm-stock cardboard
Sheet (or fabric)
Tulle
Ribbon
Safety pins
Fabric paint
Adhesive rhinestones
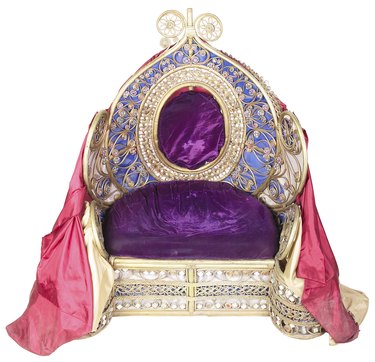
Whether you are decorating a little girl's room in a princess theme, or throwing a Medieval-themed banquet, bachelor party or birthday party, you can transform a regular wooden chair into a beautiful throne with just a few materials. Making your own throne means you can customize it however you want.
Step 1
Tie a chair cushion to the seat of the chair. It doesn't matter what color you use because it won't be visible when you are finished.
Video of the Day
Step 2
Tape a piece of firm-stock cardboard to the back of the chair. The size depends on the size of your chair, but it should extend at least 12 inches above the back of the chair.
Step 3
Throw a sheet or some fabric over the chair to cover it entirely. Add tulle over the fabric for a layered effect. Use different colors, such as green tulle over light blue fabric, or different shades of the same color, such as lavender tulle over plum-purple fabric.
Step 4
Wrap a section of long, thick ribbon around the back of the chair down by the arms, and tie a large bow behind the chair.
Step 5
Gather the excess fabric around the chair's front legs, and use safety pins to hold the fabric in place. You can make bows from the extra ribbon, and glue the bows to each safety pin to hide them.
Step 6
Write "Princess" or "King" or the honoree's name on the chair with fabric paint, and decorate with adhesive rhinestones.
Tip
Try lush velvet for a more mature-looking throne.
Spray paint the chair in gold before adding the material and let the arms and legs of the throne show.
Place the throne on top of a platform so it is the highest spot in the room and everyone else has to look up at the person sitting there.
Video of the Day