
A cone is a three-dimensional shape with a round base that narrows until it becomes a point. It is different from triangle because it has only one point instead of three, and unlike a pyramid it has no corners or straight edges. You may recognize a three-dimensional cone shape from ice cream cones or party hats. Follow these simple directions to make your own three-dimensional cone. When you’re done, you could even turn it into a party hat of your own!
How to Make a 3D Cone Shape
- Compass
- Tape
- Ruler
Open your compass so that the distance between the point and the pencil is at least 2 inches. The wider you open it, the larger if your cone will be.
Place the point firmly on your paper and draw a circle with your compass.
Using your scissors, cut out the circle along the line you have just drawn.
Fold the circle in half. You will now have a semicircle.
Fold the semicircle in half so that the two corners touch each other.
Open the paper. Your circle should now be divided into four quarters.
Cut out one quarter of your circle along the folded lines.
There will now be a gap in your circle. Close the gap by binging the two edges together until they touch.
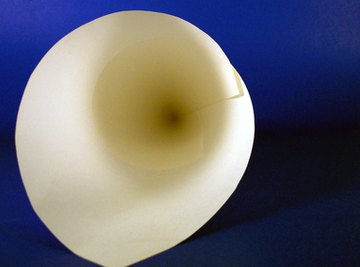
Tape the edges together. You will now have a three-dimensional cone shape.
Things You'll Need
References
About the Author
Sal Griffin has been writing professionally since 2006. She has written for a number of online and print publications, including the "Philadelphia City Paper" and "New York Arts Magazine." Her writing specialties are home improvement, gardening and travel. Griffin received her Bachelor of Arts in English from Bard College.
Photo Credits
inside of a cone image by timur1970 from Fotolia.com