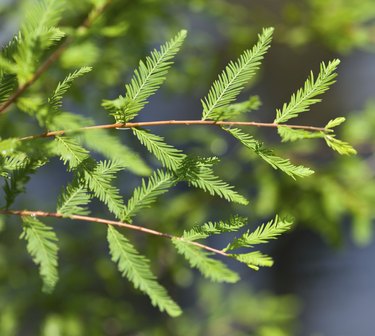
When you look at your bald cypress (Taxodium distichum ) seed, it may be difficult to envision its potential -- a 120-foot tree that will most likely live 600 years and, perhaps, as many as 1,200 years. When growing the tree from seed, it's important to mimic, as much as possible, conditions the seed would encounter in its native habitat.
Recreating Nature
Video of the Day
In the wild, in U.S. Department of Agriculture plant hardiness zones 4 through 9, the bald cypress tree's cones turn from green to brown in fall. By winter, they will crack open, dropping the seeds into the mud or water where, if not eaten by wildlife, they remain dormant. Winter and spring flood waters pick up the bald cypress seeds and disburse them. They will not germinate under water so they remain dormant until the flood waters recede and the soil warms. The ideal germination bed is saturated with water, but not under water, for a period of one to three months.
Video of the Day
Prepare the Seed
Wrap the bald cypress seed in a handful of moist sphagnum peat moss, place the bundle in a plastic zip-top bag and leave it in the refrigerator for 90 days. The cold, moist conditions mimic what happens to the seed in nature, breaking down the seed coat to allow moisture to penetrate to the embryo.
Germination
The ideal potting mix for bald cypress seed germination is a wet mixture of equal parts of coarse sand and peat moss. After the 90-day stratification period, remove the seed from the bag and push it 1 inch into the soil and ensure that it's covered. The bald cypress seed needs light and heat to germinate and the best way to provide these conditions is by setting the pot on a heat mat, set to 70 degrees Fahrenheit, near a window that gets indirect sun. Continue to saturate the planting mix with water so it remains wet while the seed germinates, which should happen within three to four weeks. Germination is erratic, so don't give up hope if you reach the four-week mark and there's no sign of a sprout. It may take as long as three months.
Seedling Care
After the seed sprouts, lower the heat on the heat mat by 5 F every day until it's turned off. This is also the time to start reducing moisture. The soil should never completely dry out but be kept consistently moist, rather than wet. Grow the seedlings in the same filtered or indirect sunlight until they can safely be transplanted outdoors -- typically after one year.