Things You'll Need
Metal eyelets
Ruler
Polymer clay
Paring knife
Toothpicks, sandpaper or other texturizing and/or carving tool
Isopropyl alcohol
Cotton swabs
Paper towels
Baking sheet designated for only polymer clay
Toaster oven, convection oven or regular/traditional oven
Aluminum foil
Non-toxic acrylic sealant
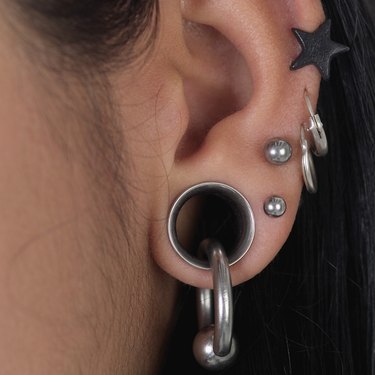
Although the act of stretching earlobes was originally practiced centuries ago in various cultures, earlobe gauging has been re-introduced and is a growing fashion trend. A wide variety of plug earrings are available commercially to accent stretched earlobe piercings, but making your own, customized plug earrings allows you to showcase your creativity and style. When protected from touching an ear by a metal eyelet, polymer clay is a safe jewelry-making material. It is available in a variety of colors and can be embedded with any texture or carving, allowing you to create lightweight, durable and one-of-a-kind plug earrings.
Step 1
Measure the height and width of the metal eyelets that you will use to create plug earrings. The final clay pieces need to be slightly smaller than the metal eyelets' measurements in order for the polymer clay to fit snugly in the eyelets.
Video of the Day
Step 2
Knead polymer clay by folding, stretching, rolling and squishing it with your hands. The clay will soften and become easier to mold after it is kneaded and exposed to your hands' warmth. Well-conditioned polymer clay is also less prone to cracking during the molding process.
Step 3
Mold the polymer clay into the same cylindrical shapes as the metal eyelets by using your fingers and a paring knife. Either create solid-color plug earrings, or combine different colors of clay to create plug earring patterns and designs. Use household tools, such as toothpicks and sandpaper, to create various textures and carvings in the clay.
Step 4
Place your finished polymer clay designs inside the metal eyelets. If necessary, shave the edges of the clay pieces with the paring knife so that they will fit into the eyelets. The polymer clay should fit snugly in the eyelets so it will remain firmly in place.
Step 5
Put isopropyl alcohol on a cotton swab, and use the swab to brush the polymer clay designs. The isopropyl alcohol will smooth the clay and remove fingerprints from the clay. Use a paper towel dabbed in isopropyl alcohol to sterilize and remove excess polymer clay from the exterior of the metal eyelets. Wait for the isopropyl alcohol to dry on the polymer clay and the metal eyelets.
Step 6
Place the plug earrings on a baking sheet designated for polymer clay. Although using a toaster oven or convection oven only for baking polymer clay is advisable if you plan to bake polymer clay on a frequent basis, you can bake polymer clay in a regular, or traditional, oven. To reduce the amount of fumes released from the clay while it bakes, fold a piece of aluminum foil over the plug earrings like a tent, ensuring the foil does not touch the earrings. While most polymer clays bake between 215 and 300 degrees Fahrenheit for 15 to 30 minutes per every 1/4 inch of thickness, reading the baking instructions for your brand of clay is important because baking temperatures and times vary among brands.
Step 7
Remove the plug earrings from the oven when they have baked for the appropriate time. Let the earrings sit on the baking sheet to cool until they reach room temperature, about 15 to 60 minutes. During the cooling process, the polymer clay becomes harder and less flexible.
Step 8
Brush the cooled polymer clay pieces with a non-toxic acrylic sealant applied with a cotton swab. The sealant gives the earrings a glossy and protective finish.
Step 9
Wipe the earrings' metal eyelets with a paper towel dabbed in isopropyl alcohol to sterilize your finished earrings thoroughly before inserting them in your earlobes.
Tip
If the brand of polymer clay that you use shrinks significantly during baking, consider making new clay pieces slightly bigger than the metal eyelets, baking only the clay pieces and then securing them in the metal eyelets with a non-toxic glue.
To add extra flair to your plug earrings, paint the polymer clay pieces with acrylic paint after you bake and cool the clay pieces. Let the paint dry completely, and then brush the clay pieces with non-toxic acrylic sealant.
Warning
Clean plug earrings regularly with isopropyl alcohol to reduce the risk of bacteria growth in your ears.
Wash your hands after working with polymer clay to avoid its accidental ingestion. Isopropyl alcohol will help to remove polymer clay from your hands more thoroughly than soap and water.
Do not eat from any items, such as baking sheets, plates or utensils, that came into contact with polymer clay because the clay can be dangerous to ingest. Even cleaned items still can contain clay remnants.
Video of the Day