
How to Vent a Furnace Room

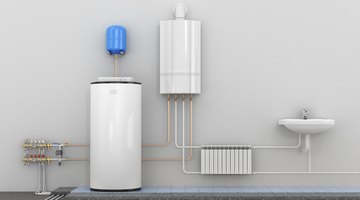
A furnace room is an enclosed space in a home or basement that houses appliances such as the furnace, dryer, washing machine, water heater and air conditioner. Furnace rooms are typically small to save space elsewhere in the home.
However, without adequate ventilation the appliances inside won't be able to function properly. You can make several small changes to your furnace room to supply enough ventilation for combustion air to enter the space as needed.
Things You Will Need
- Screwdriver
- Circular saw
- Sawhorses
- Drywall saw
- Electric box fan
- Carbon-monoxide detector
Tip
Before making significant or expensive changes to a furnace room, consult with an HVAC professional to determine which ventilation options are necessary. Begin by making the simplest ventilation modifications, saving costly modifications until they become necessary.
Warning
Read the manufacturer's installation instructions for ventilation requirements for each appliance in your furnace room. Ducts that carry away carbon monoxide are separate from the ventilation that allows combustion air to enter the furnace room, though both are important for safe and efficient operation.
Adding Ventilation
-
Unscrew the hinges from the furnace room door with a screwdriver. Place the door across two sawhorses. Cut off the bottom few inches of the door with a circular saw to create a gap that allows air to vent into the furnace room. Replace the door by reattaching the hinges.
-
Cut out a square of drywall with a drywall saw in one of the furnace room walls. Cut out several squares, each of which is several inches wide and long, if the furnace room has appliances that require combustion air against different walls.
-
Place an electric box fan in one of your drywall cutouts. Plug the fan into an outlet within the furnace room. Switch the fan on whenever you use the dryer or when the furnace is under a heavy load due to very cold outdoor temperatures.
-
Plug in a carbon-monoxide detector within the furnace room. Test the detector regularly to ensure that it alert syou to a carbon-monoxide leak or poor drafting due to inadequate ventilation.
The Drip Cap
- A furnace room is an enclosed space in a home or basement that houses appliances such as the furnace, dryer, washing machine, water heater and air conditioner.
- Unscrew the hinges from the furnace room door with a screwdriver.
- Cut off the bottom few inches of the door with a circular saw to create a gap that allows air to vent into the furnace room.