


Our Everyday Life
Your Food & Drink Guide
Our Featured Articles
Food & Drink
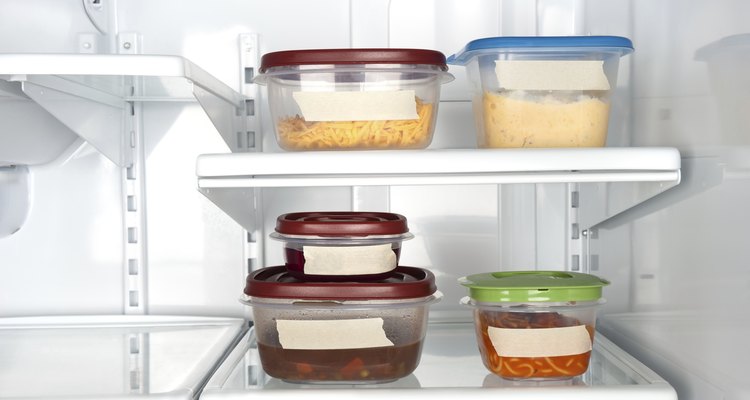
Which Plastics Are Safe to Reuse?
During the past 100 years, plastic packaging has replaced time-tested containers like glass, tin ...
Food & Drink
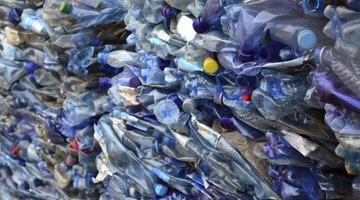
Which Plastic Bottles Are Safe?
Some plastic bottles can leach harmful chemicals into the ...
Food & Drink
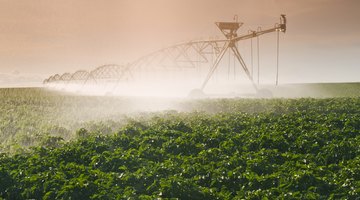
Which Foods Take the Most Water to Produce?
There are some eating choices we can all make each day that ...

Food & Drink
What Causes Ice Crystals on Frozen Food?
There are a few different factors that lead to ice crystals ...
Our Recent Posts

Food & Drink
What Are the Dangers of Titanium in Cookware?
Food & Drink
What Are the Dangers of Plastic Bags for Food Storage?

Food & Drink
What Are the Dangers of Boiling Food in Plastic Bags?

Food & Drink
Tips on Baking with Date Sugar

Food & Drink
How to Bake a Cake: A Step-By-Step Guide

Food & Drink
The Definition of "Go Green"
Food & Drink
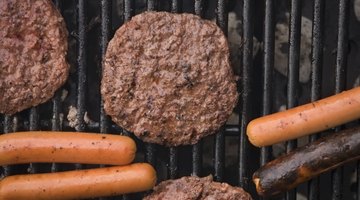
Temperature of a Medium-Well Hamburger

Food & Drink
Spirulina Cultivation Methods

Food & Drink
Sorbet Vs. Italian Ice

Food & Drink
Should I Pierce Eggs Before Boiling?
Food & Drink
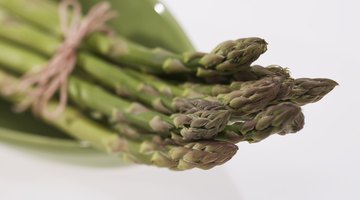
Serving Size of Steamed Asparagus

Food & Drink